> ## Documentation Index
> Fetch the complete documentation index at: https://docs.rootly.com/llms.txt
> Use this file to discover all available pages before exploring further.

# Creating a Status Page

> Set up and customize public status pages in Rootly to communicate service health, incident updates, and scheduled maintenance to your customers.

Creating a status page only takes about a minute. Before you do so, Rootly recommends you have at least one [service](/configuration/services) configured in Rootly that you can display on your status page. You can do this by visiting **Configuration > Services** or if you have the [PagerDuty integration](/integrations/pagerduty/pagerduty) configured, you can easily import services directly from PagerDuty then add them to your status page.

To create a new status page:

1. In the Rootly navigation bar, click on **Configuration**, then **Status Pages**.
2. Next, click **Add New Status Page**.
3. Give your status page a name and description. These are internal to Rootly, and will not be used on the actual Status Page.

## **Customize your Status Page**

Once you've created your status page, you're able to customize the look and feel of the page to tailor the contents to your end users.

## **Setup**

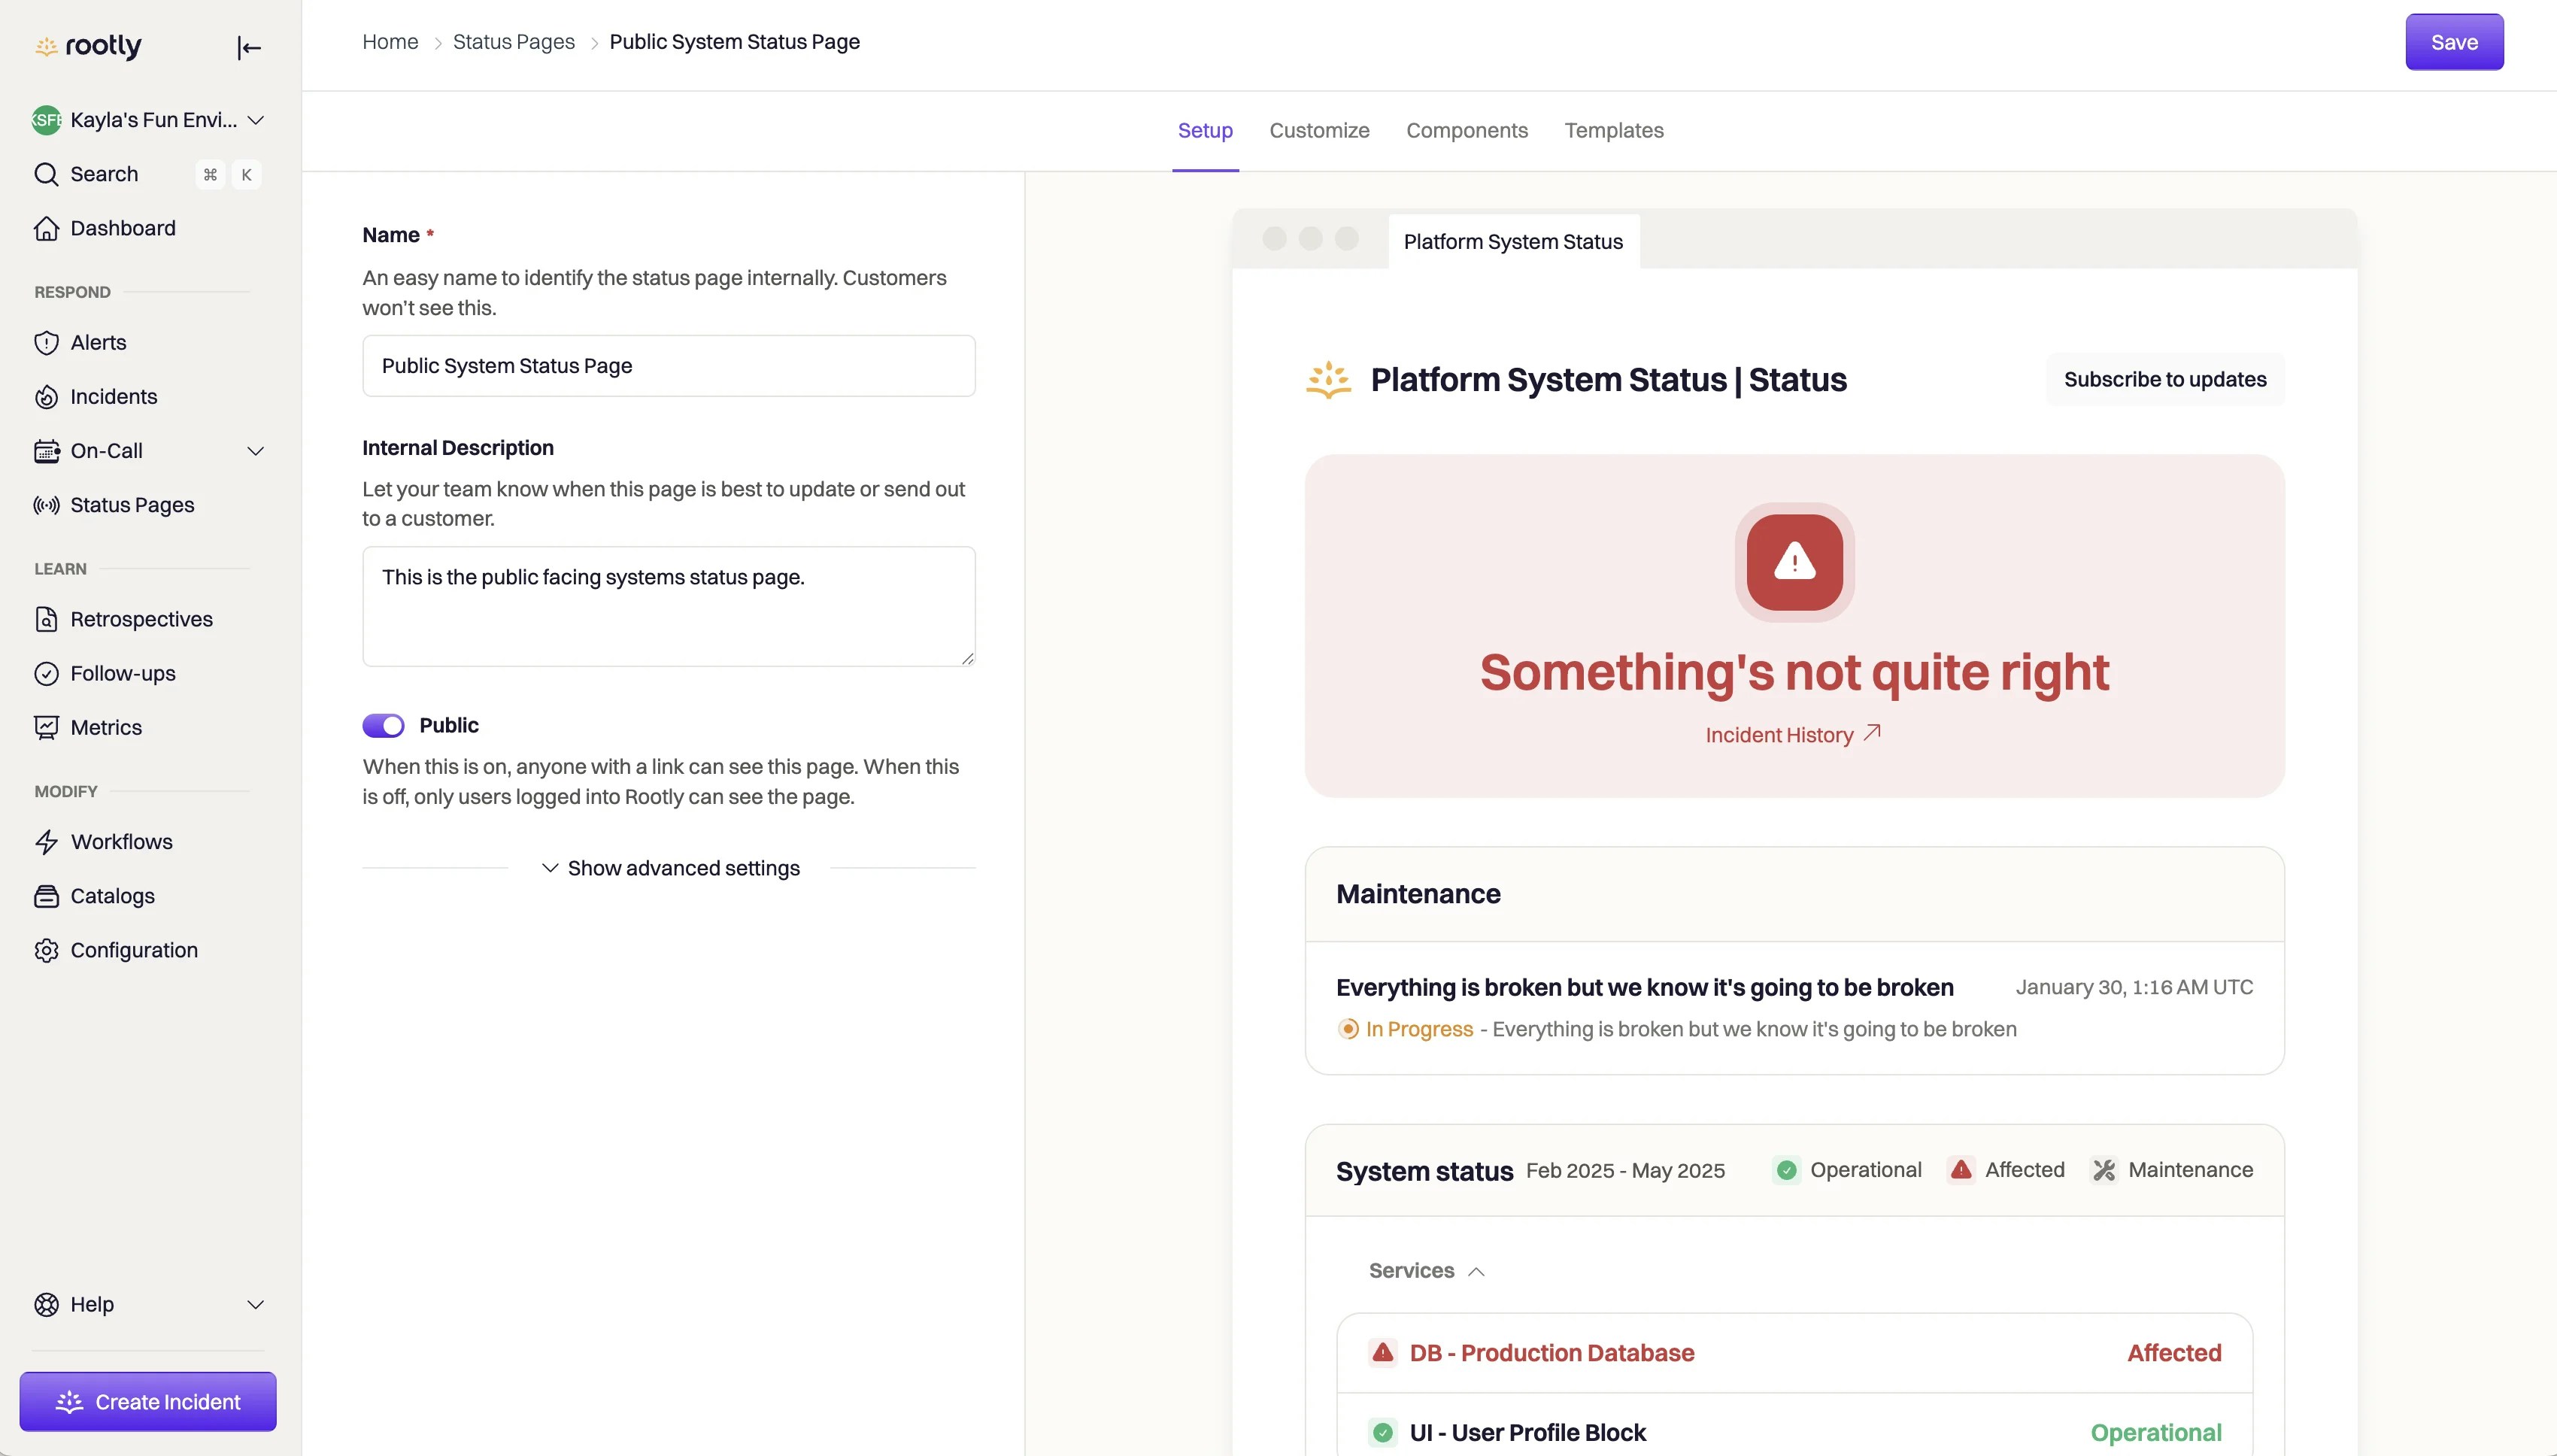
Under setup, you're able to make changes to the name and description of your status page. Remember: these are internal only so should be descriptive for other Rootly admins to know what the status page is.

Here, you can also determine if the page will be private or publicly available. Learn more about [public and private status pages](/configuration/status-pages#public-or-private).

In the Advanced Settings, you can also customize the domain name of the status page. By default, Rootly will assign each Status Page a URL in the following format:

`rootly.com/teams/[your-org-name]/status-pages/[status-page-name]/[public/private]`

Configure your own custom domain by following: [Custom Domain Names for Status Pages](/configuration/custom-domain-names-for-status-pages). Note: for custom external domain names, you may need to talk with the team at your organization to have them help you configure a custom domain name and associated DNS. 
<img src="https://mintcdn.com/rootly/7ojKISea6oiQMk0o/images/status-pages/status-page-setup-tab.webp?fit=max&auto=format&n=7ojKISea6oiQMk0o&q=85&s=9a97051442f495a6c183c560e2d62d39" alt="Setup Status Page" width="3400" height="1936" data-path="images/status-pages/status-page-setup-tab.webp" />

## **Customize**

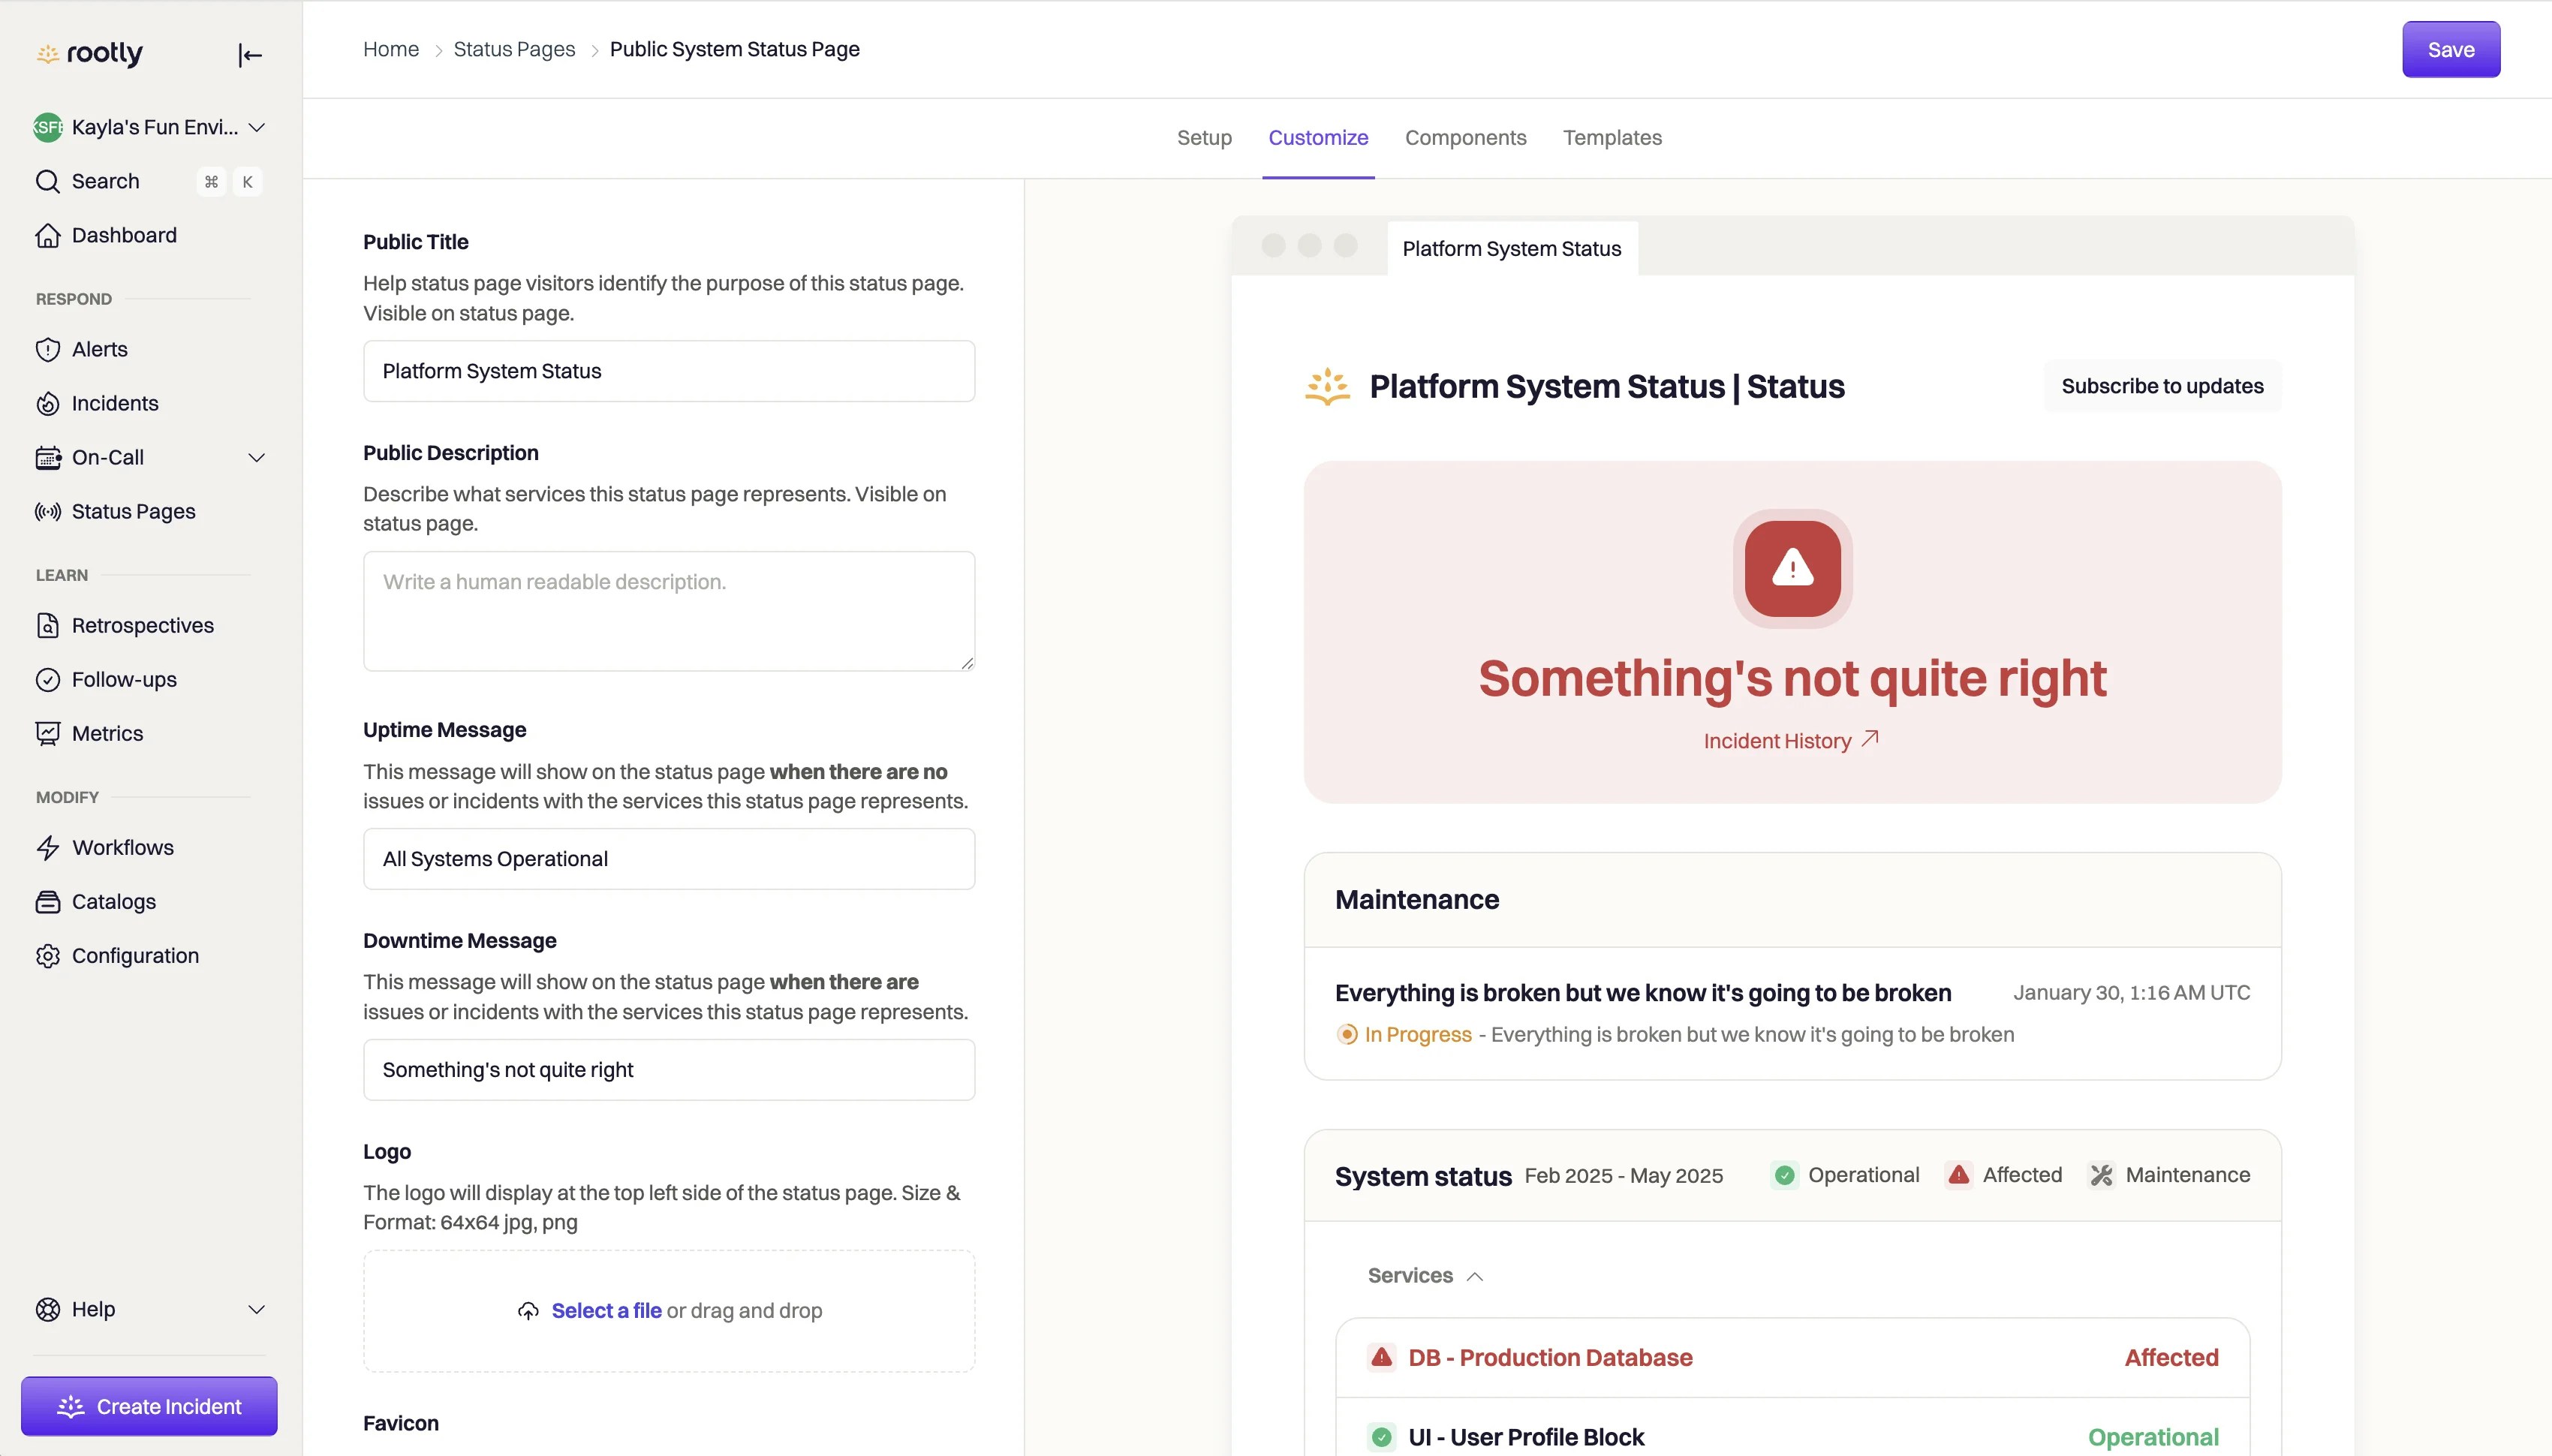
Customize the default content and look-and-feel of your status page in the Customize tab. As you make changes to the settings in this tab, the right-hand preview of your status page will reflect your latest updates.
<img src="https://mintcdn.com/rootly/7ojKISea6oiQMk0o/images/status-pages/status-page-customize-tab.webp?fit=max&auto=format&n=7ojKISea6oiQMk0o&q=85&s=f5b1597158260a04433082e2e3da66a5" alt="Customize Status Page" width="3400" height="1940" data-path="images/status-pages/status-page-customize-tab.webp" />

## **Components**

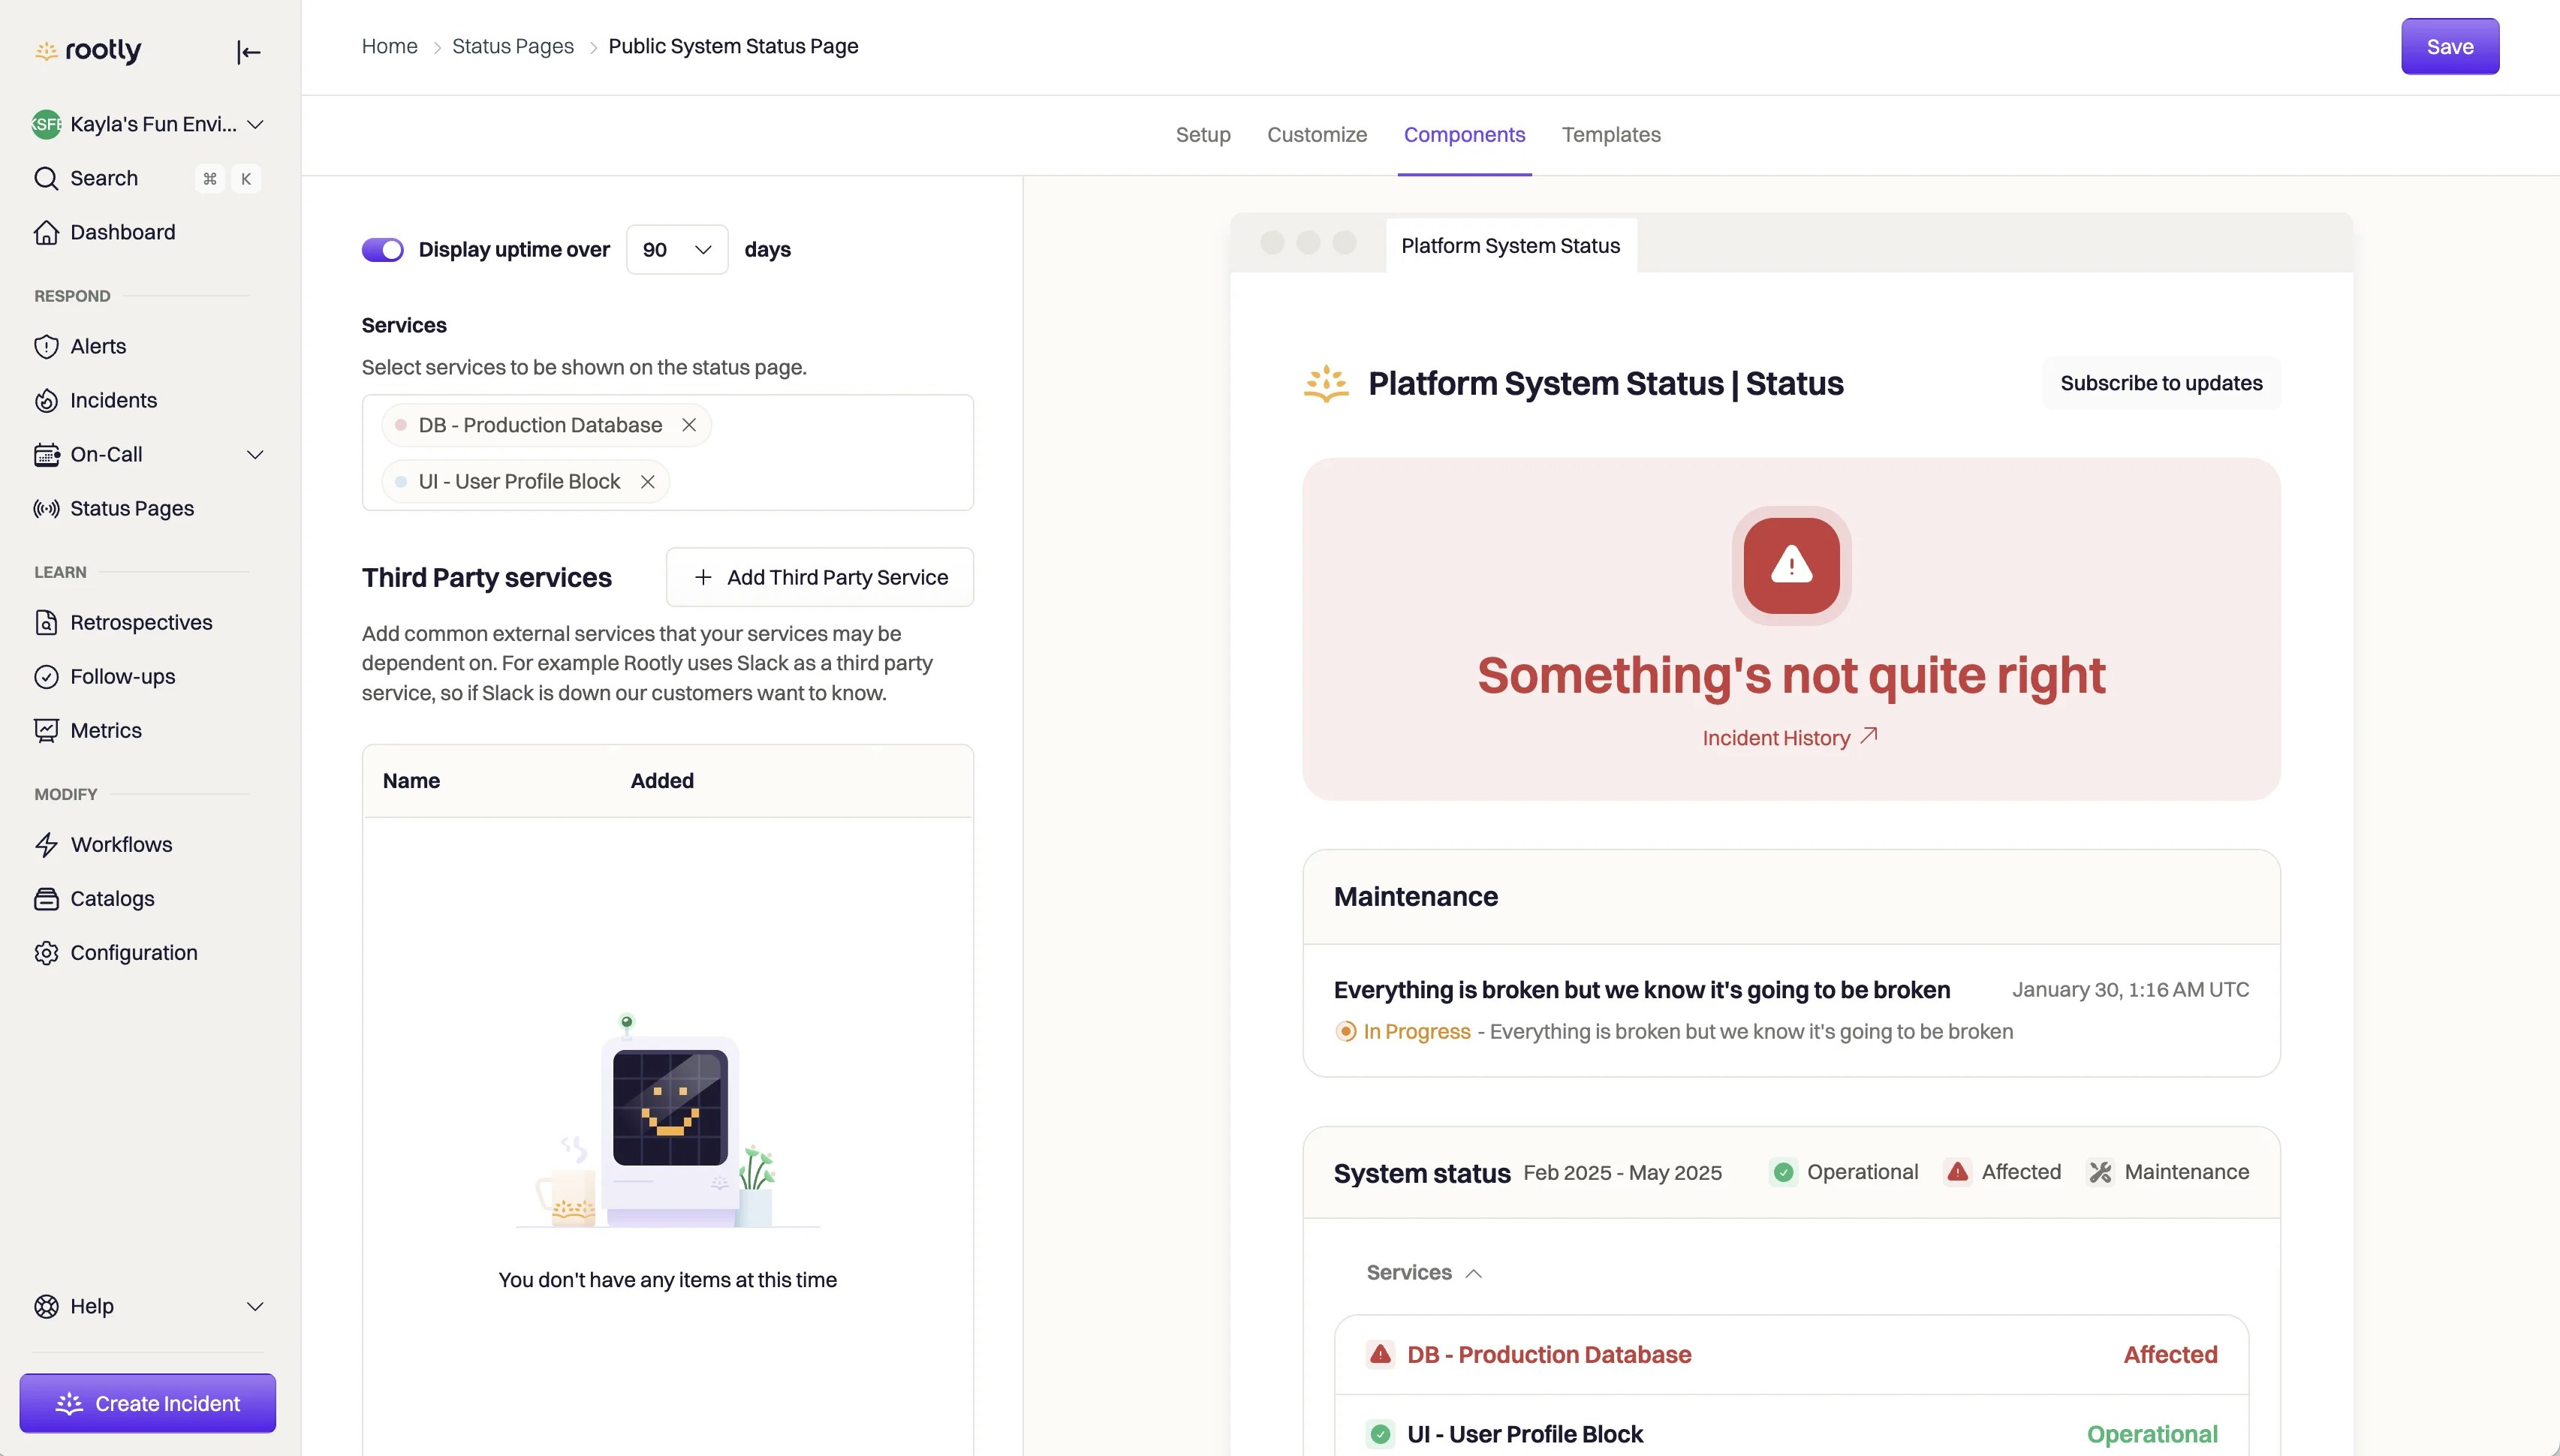
Use the Components section to choose what appears under the 'System Status' section of your page. You can add three kinds of components:

* **Services** — any Rootly [service](/configuration/services).
* **Functionalities** — a [functionality](/configuration/functionalities) represents a higher-level, customer-facing capability (like "Login" or "Checkout") that can be backed by many underlying services. Add a functionality when you want to show a single customer-facing component instead of a long list of internal services.
* **Third party services** — any external service your organization depends on.

Functionalities are useful when you maintain a large number of services but only want to expose a small set of product components publicly. Map your services to a functionality on the [functionality](/configuration/functionalities) itself, then add only that functionality to the page.

A component is shown as impacted under 'System Status' when an incident that is published to this status page is associated with that component. For a functionality, that means the incident is tagged with the functionality (or the component is selected when publishing the status page update). Associating a service with a functionality does not by itself change the functionality's status. The status is always driven by the incident.

<Info>If you don't see Functionalities as a component option, reach out to [support](mailto:support@rootly.com) to have the Functionalities field enabled for your organization.</Info>

<Tip>To tag functionalities automatically, use a [workflow](/workflows/workflows) that runs on incident create or update, conditions it on the severities and services you care about, and adds the matching functionality with the Update Incident action. Be aware that this action replaces the incident's entire functionality list rather than adding to it, so it also clears any functionalities set earlier by another workflow or by hand. That reaches beyond the status page — a functionality dropped from an incident also stops driving its [ownership, escalation policy, and notification settings](/configuration/functionalities) for that incident. It is only safe when a single workflow run can determine the complete set of functionalities for the incident. If several workflows could tag different components on the same incident, select the affected components manually when you publish the update instead.</Tip>

**Note**: You'll be able to add third party services to your status page after you've created the status page.
<img src="https://mintcdn.com/rootly/7ojKISea6oiQMk0o/images/status-pages/status-page-components-tab.webp?fit=max&auto=format&n=7ojKISea6oiQMk0o&q=85&s=85c126f29336f89ba745ef2cf736790f" alt="Status Page Component" width="3410" height="1940" data-path="images/status-pages/status-page-components-tab.webp" />

## **Templates**

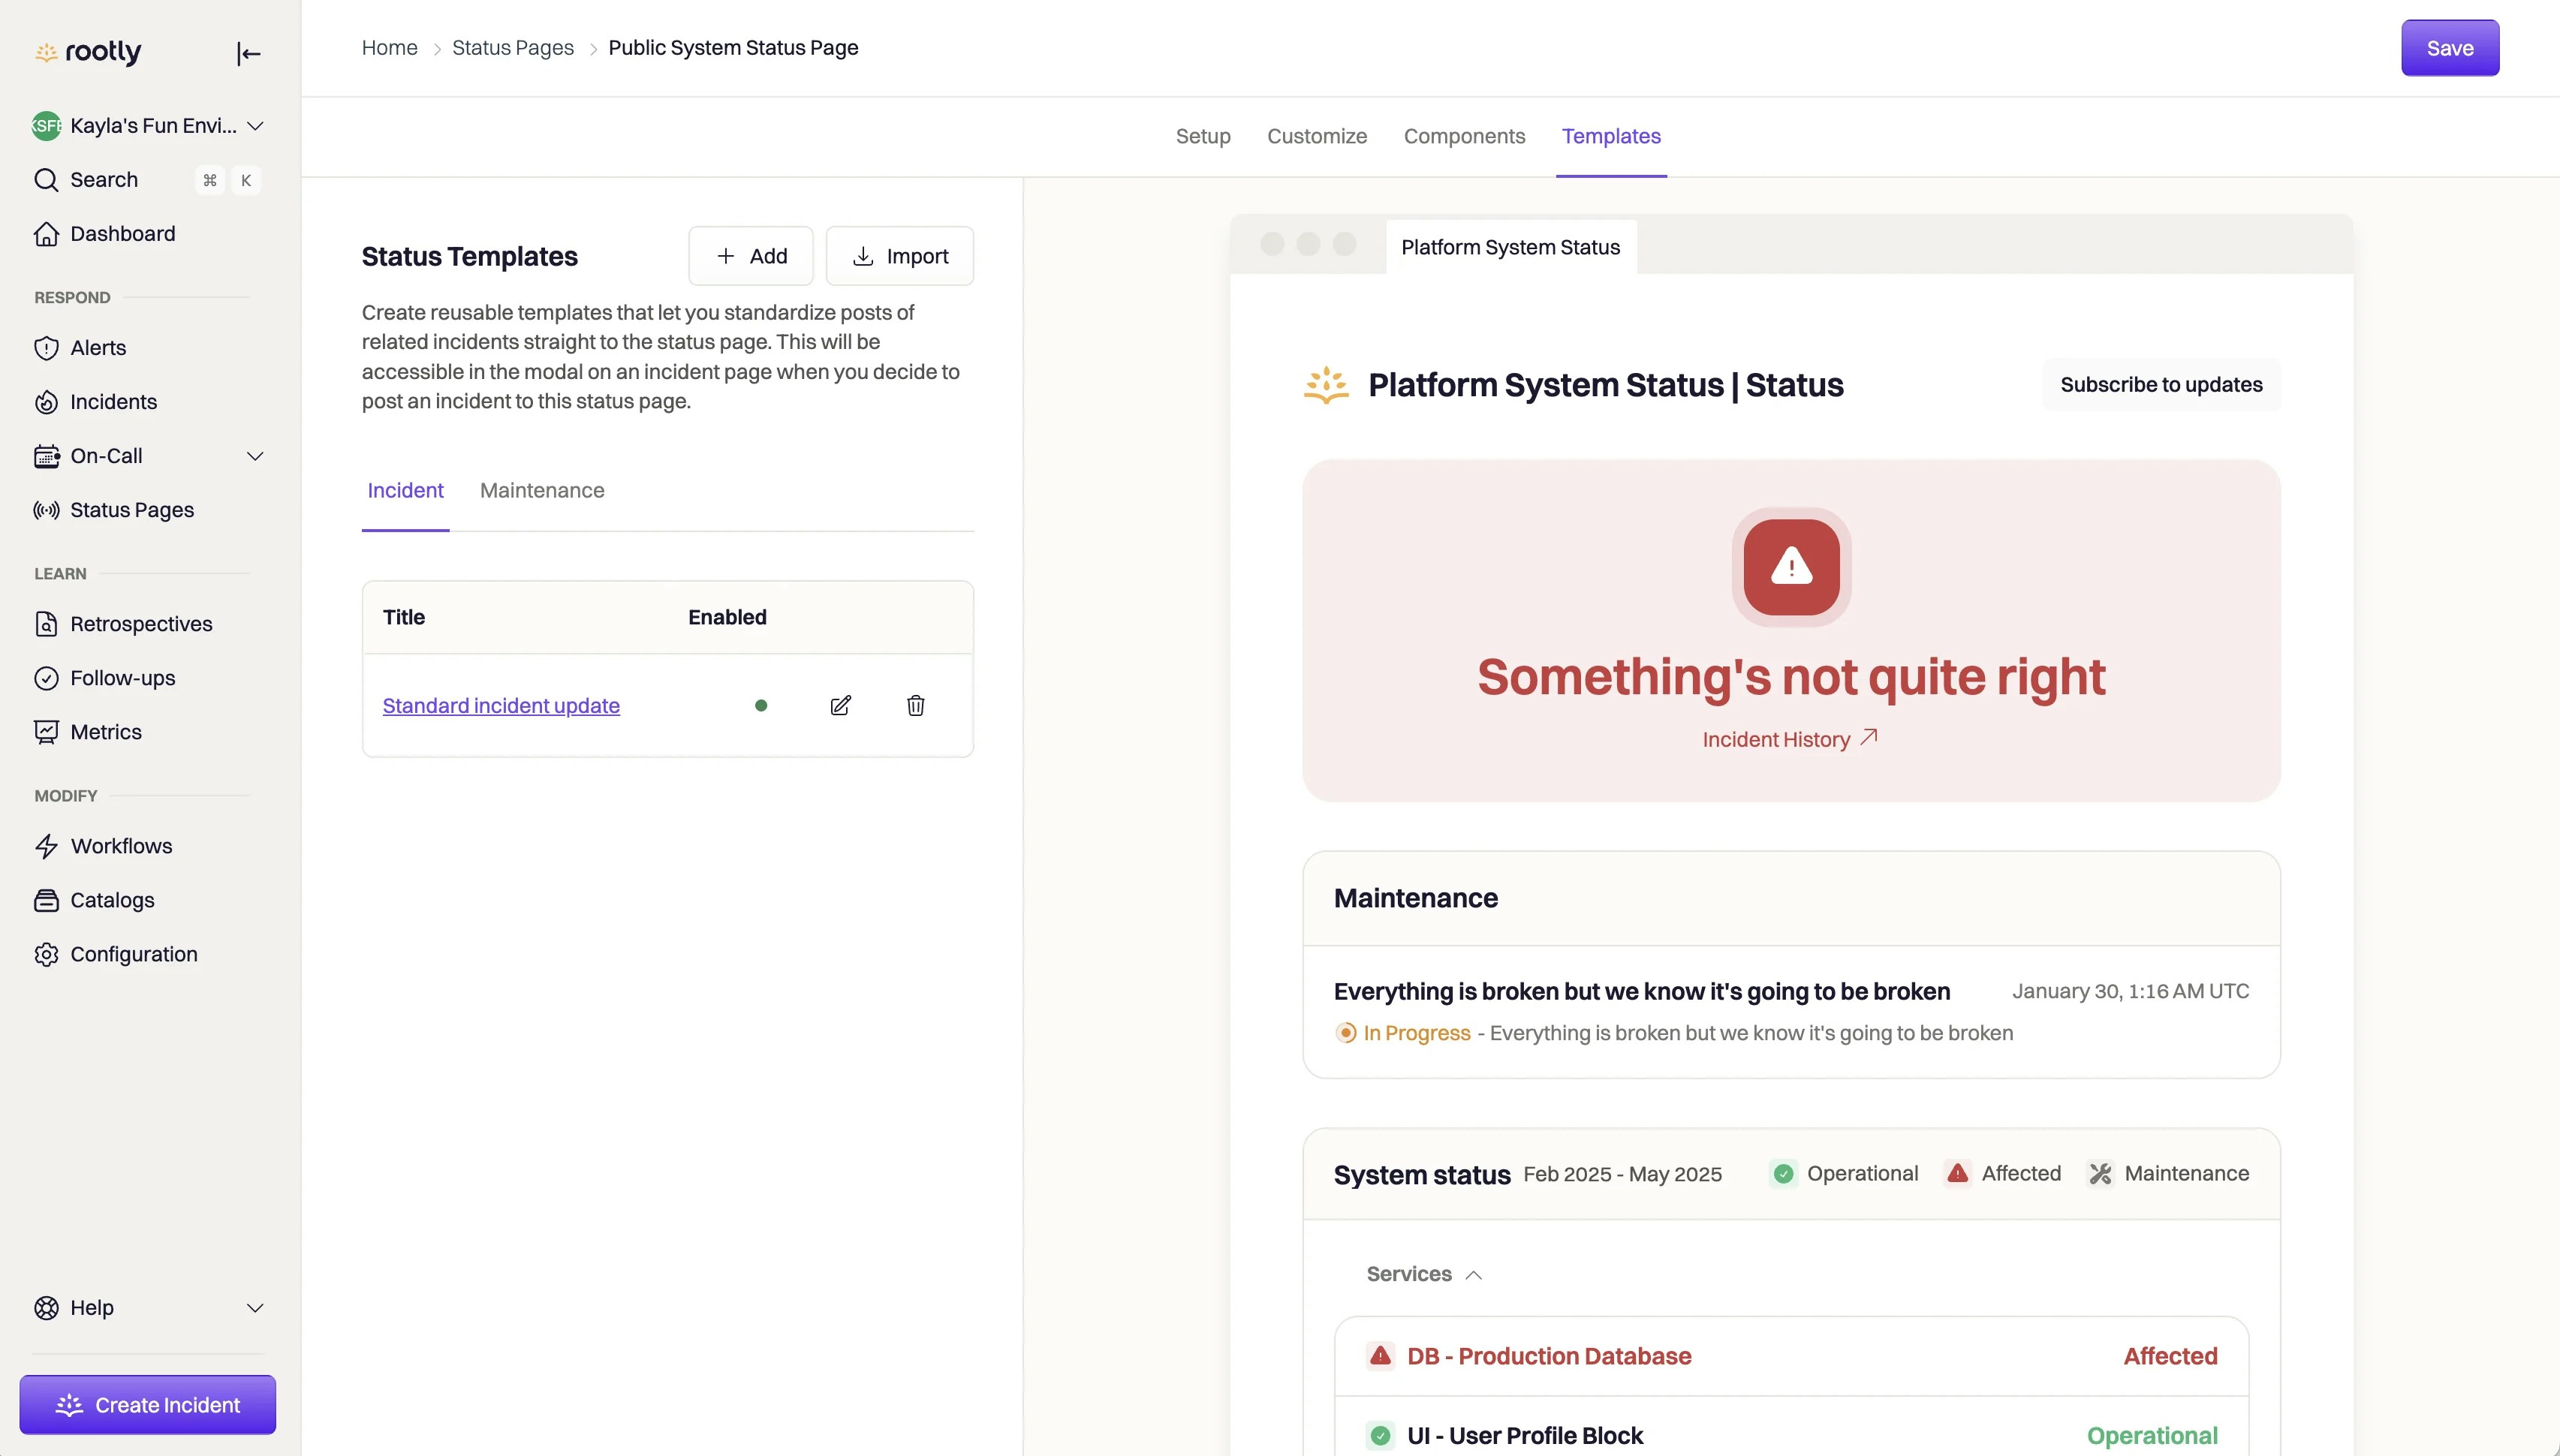
Standardize the incident updates your teams share with Status Templates. When a commander publishes an incident update to a status page, they'll be able to use the templates defined in this section to help write their update.
<img src="https://mintcdn.com/rootly/7ojKISea6oiQMk0o/images/status-pages/status-page-templates-tab.webp?fit=max&auto=format&n=7ojKISea6oiQMk0o&q=85&s=312db4902de1e850c6a392046504b470" alt="Templates Status Page" width="3410" height="1940" data-path="images/status-pages/status-page-templates-tab.webp" />

## Go-Live Checklist

Setup spans several pages. Work through this before you point customers at the page.

<Steps>
  <Step title="Pick the page type" icon="eye">
    Public or private — the choice drives everything below it. See [Overview](/configuration/status-pages).
  </Step>

  <Step title="Add your components" icon="list-check">
    Add the services, functionalities and third party services customers care about, and put them in the order you want them displayed. A page listing every internal service is harder to read than one listing a handful of customer-facing functionalities.
  </Step>

  <Step title="Write your templates" icon="file-lines">
    Templates are what a commander reaches for mid-incident. Writing them under pressure is how inconsistent updates happen.
  </Step>

  <Step title="Decide who can reach it" icon="lock">
    A private page is limited to people logged in to Rootly, and needs nothing further. A public page is reachable by anyone with the URL — if that is too open, add password or SAML [authentication](/configuration/status-page-authentication-methods), which is available on public pages only.
  </Step>

  <Step title="Point your domain at it" icon="globe">
    Public pages usually want a [custom domain](/configuration/custom-domain-names-for-status-pages). Both the CNAME and the CAA record are required, and DNS changes take time to propagate — do this before you need it, not during an incident.
  </Step>

  <Step title="Publish a test incident" icon="circle-check">
    Publish a low-severity incident, confirm it renders the way you expect, then resolve it. See [Publishing Incidents](/configuration/publishing-incidents).

    <Check>
      If the test incident appears with the right components marked as impacted, the page is ready.
    </Check>
  </Step>
</Steps>
