> ## Documentation Index
> Fetch the complete documentation index at: https://docs.rootly.com/llms.txt
> Use this file to discover all available pages before exploring further.
# Installation
> Install and configure the ClickUp integration with Rootly to create tasks from incidents and receive ClickUp events as alerts in your incident response process.
## Introduction
The ClickUp integration connects Rootly with your ClickUp workspace so teams can automatically create and update tasks through Genius workflows. Rootly also receives task events from ClickUp as alerts, enabling bidirectional workflows between the two systems.
With the ClickUp integration, you can:
* Automatically create ClickUp tasks when incidents are declared or reach a certain state
* Create tasks as subtasks of an existing ClickUp task using a parent task ID
* Update task title, description, priority, and custom fields as incidents evolve
* Receive ClickUp task events (created, updated, deleted) as Rootly alerts
## Before You Begin
Before setting up the integration, make sure you have:
* A Rootly account with admin permission to manage integrations
* A ClickUp account with access to the workspace you want to use
* A ClickUp Personal API Token (PAT)
This integration requires a **Personal API Token (PAT)**, not an OAuth app token. You can generate one from your ClickUp account settings under **Apps > API Token > Generate**.
We recommend installing with a dedicated ClickUp service account so the integration does not break if an individual user leaves your organization.
## Installation
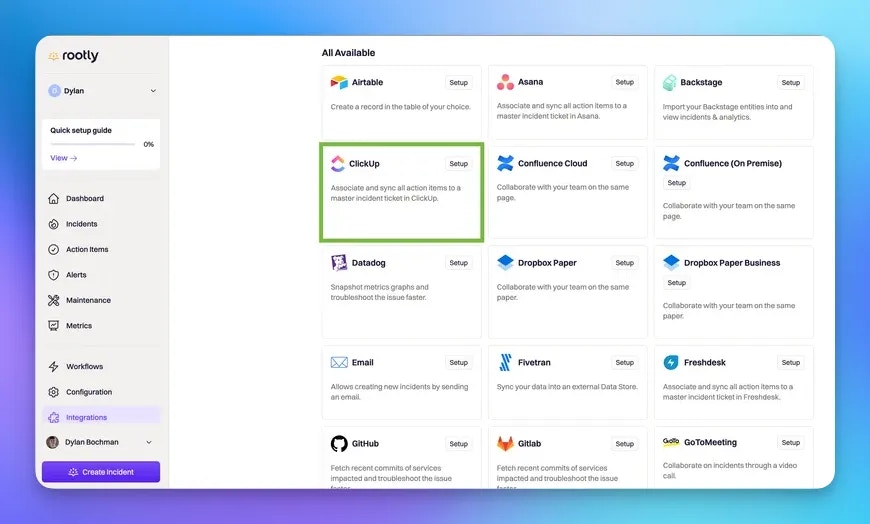
Navigate to the integrations page in Rootly and select **ClickUp**.
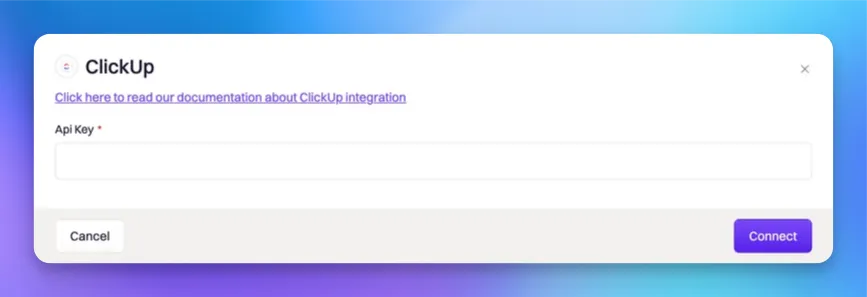
 Paste your ClickUp Personal API Token into the **API Key** field and select **Connect**.
 Rootly validates the token and registers a webhook with ClickUp to receive task events. Once connected, the installation is complete.
After installation, the **Create a ClickUp Task** and **Update a ClickUp Task** workflow actions are available in your Genius workflows. ClickUp task events will also appear as alerts in Rootly.
## Uninstall
To remove the ClickUp integration, open the integrations panel in Rootly and select **Configure > Delete**. Rootly will also remove the registered ClickUp webhook on deletion.
Rootly validates the token and registers a webhook with ClickUp to receive task events. Once connected, the installation is complete.
After installation, the **Create a ClickUp Task** and **Update a ClickUp Task** workflow actions are available in your Genius workflows. ClickUp task events will also appear as alerts in Rootly.
## Uninstall
To remove the ClickUp integration, open the integrations panel in Rootly and select **Configure > Delete**. Rootly will also remove the registered ClickUp webhook on deletion.