> ## Documentation Index
> Fetch the complete documentation index at: https://docs.rootly.com/llms.txt
> Use this file to discover all available pages before exploring further.
# Installation
> Connect your Datadog account to Rootly using API and Application keys to enable monitor alert ingestion, snapshots, and workflow actions.
## Before You Begin
We recommend performing the installation with a **service account** to ensure the integration does not break if the installing user leaves the company. Ensure you are logged in as an **Admin** in Rootly.
You will need three pieces of information from Datadog:
* **Host** — your Datadog account's API hostname
* **API Key** — authenticates Rootly with your Datadog organization
* **Application Key** — grants Rootly permission to read dashboards
## Set Up the Datadog Integration
Navigate to **Configuration → Integrations** in Rootly, search for **Datadog**, and click **Setup**.
 In Datadog, navigate to **Organization Settings → API Keys** and click **+ New Key**.
 Name the key (e.g., `Rootly Integration`) and click **Create Key**. Copy the key immediately.
The API key value is only shown once at creation. Copy it before closing the dialog — not the Key ID.
In Datadog, navigate to **Personal Settings → Security → Application Keys** and click **+ New Key**.
Name the key (e.g., `Rootly Integration`) and click **Create Key**. Copy the key immediately.
The API key value is only shown once at creation. Copy it before closing the dialog — not the Key ID.
In Datadog, navigate to **Personal Settings → Security → Application Keys** and click **+ New Key**.
 Name the key (e.g., `Rootly Integration`), then edit its scope to include **Read** permission for **Dashboards**.
 Copy the application key.
Rootly only requires `dashboard_read` scope. You can add more permissions if needed for other integrations, but this is the minimum required.
Back in the Rootly setup form, enter:
* **Host** — your Datadog API hostname. Common values:
| Region | Host |
| ------------- | ----------------------- |
| US1 (default) | `api.datadoghq.com` |
| US3 | `api.us3.datadoghq.com` |
| US5 | `api.us5.datadoghq.com` |
| EU | `api.eu.datadoghq.com` |
| Gov | `api.ddog-gov.com` |
* **API Key** — paste the API key you created
* **Application Key** — paste the application key you created
Click **Connect**.
Copy the application key.
Rootly only requires `dashboard_read` scope. You can add more permissions if needed for other integrations, but this is the minimum required.
Back in the Rootly setup form, enter:
* **Host** — your Datadog API hostname. Common values:
| Region | Host |
| ------------- | ----------------------- |
| US1 (default) | `api.datadoghq.com` |
| US3 | `api.us3.datadoghq.com` |
| US5 | `api.us5.datadoghq.com` |
| EU | `api.eu.datadoghq.com` |
| Gov | `api.ddog-gov.com` |
* **API Key** — paste the API key you created
* **Application Key** — paste the application key you created
Click **Connect**.
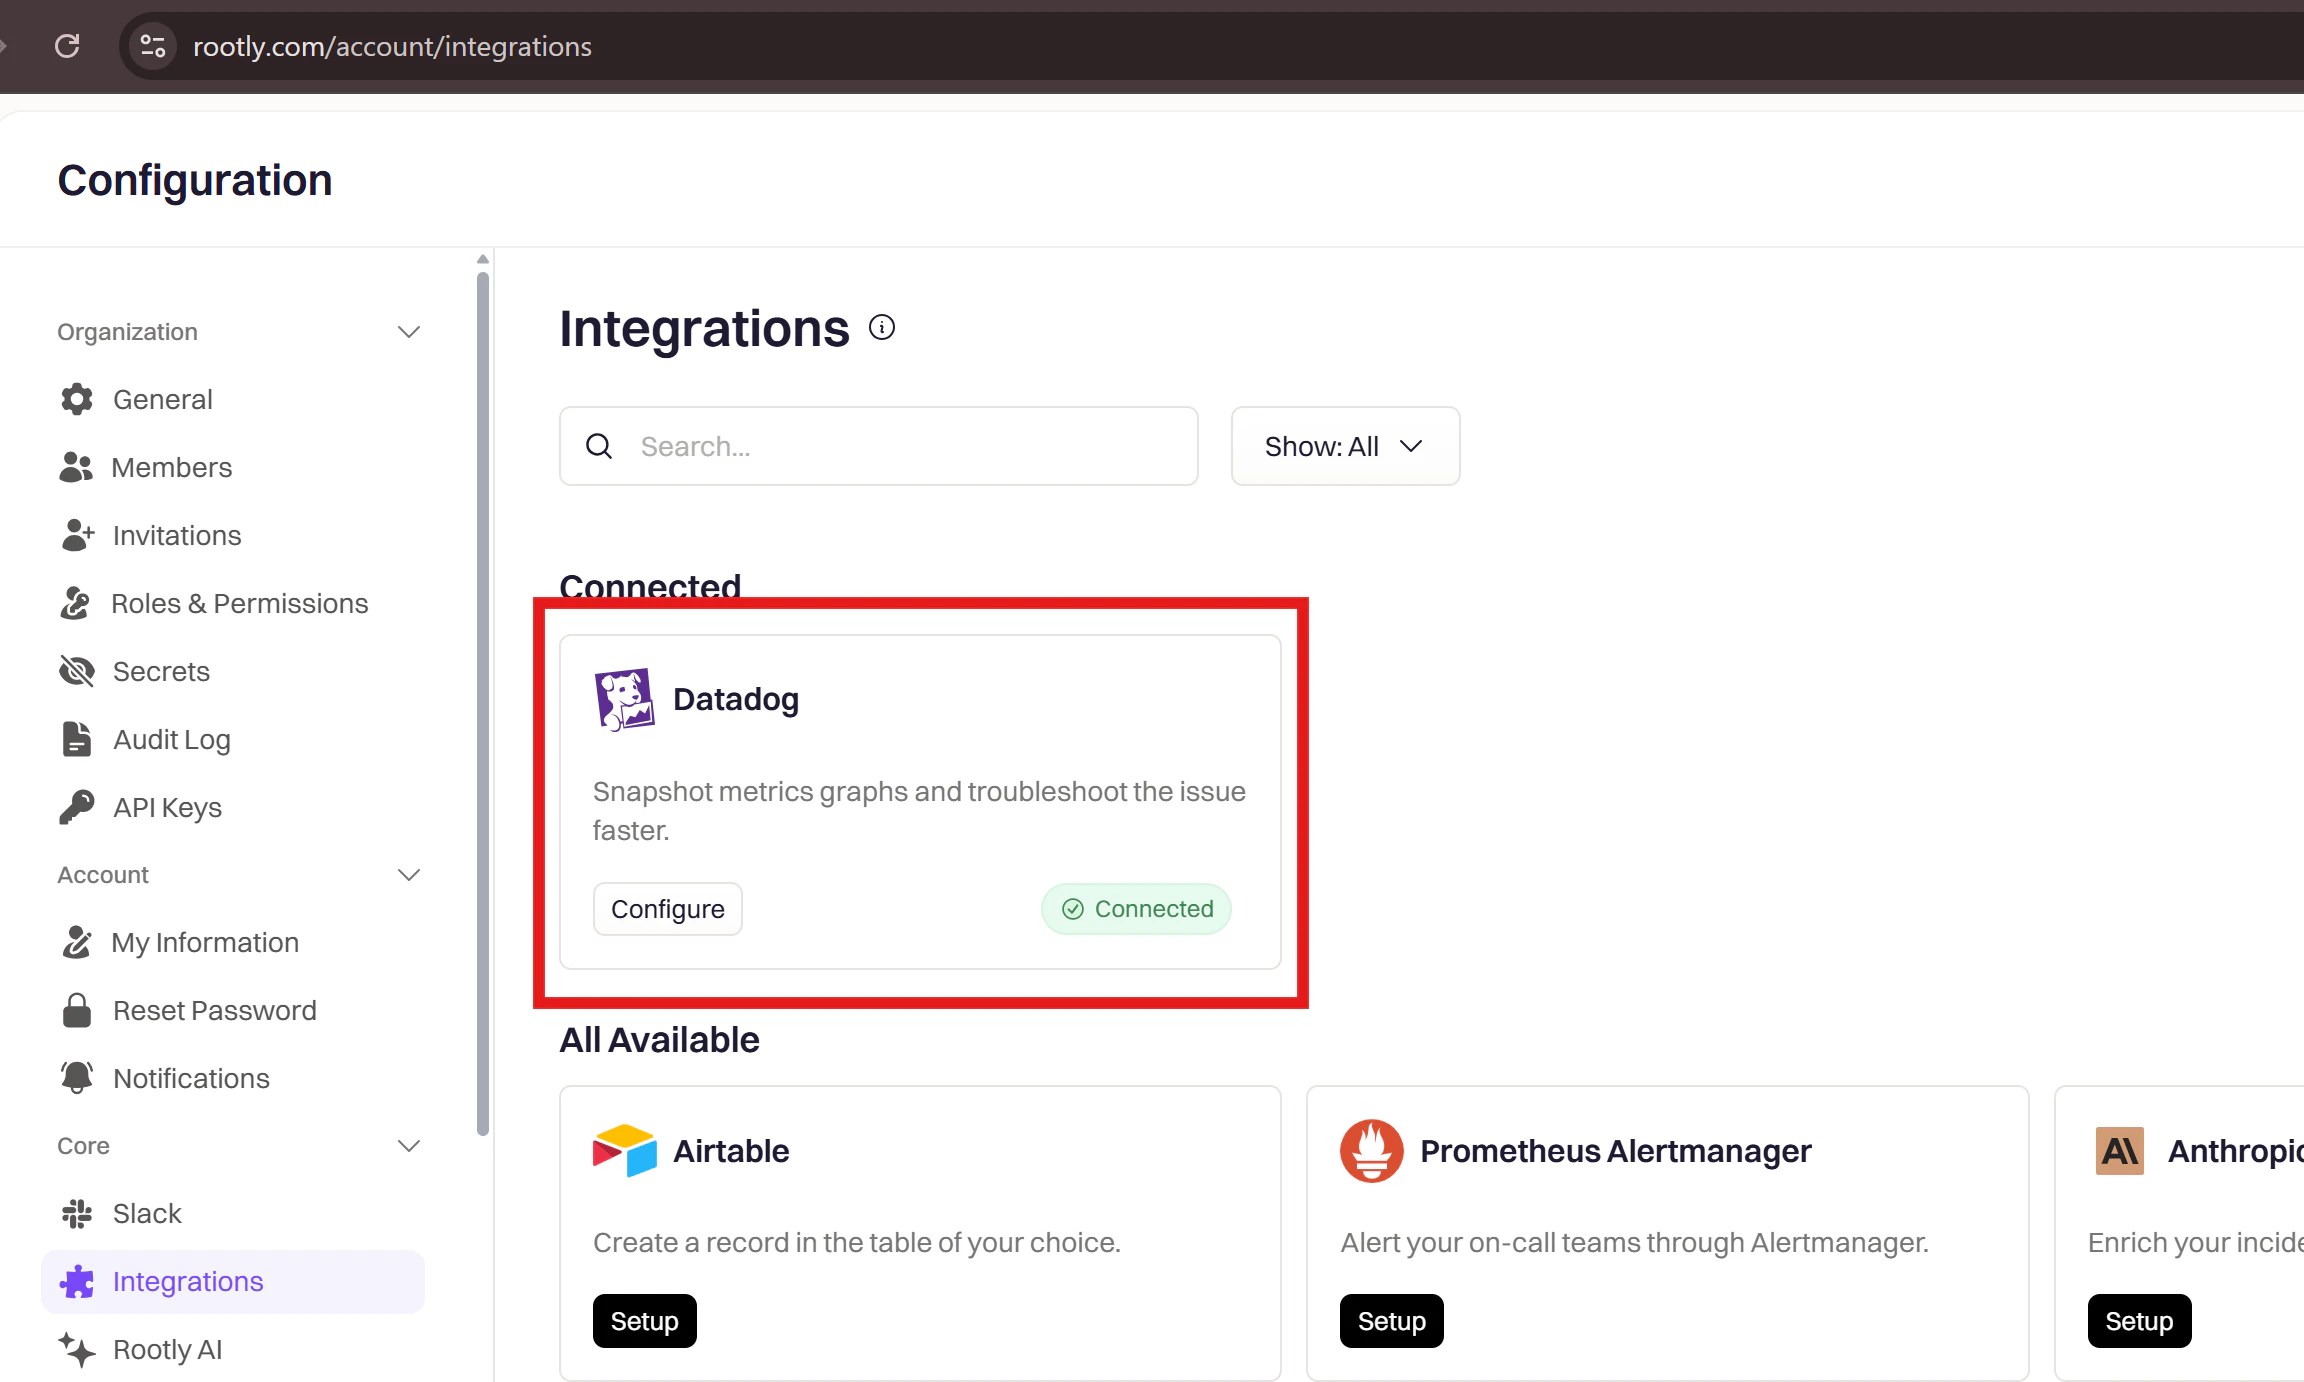
 Datadog will appear as **Connected** in your integrations list.
 ## Uninstall
To remove the Datadog integration:
1. Go to **Configuration → Integrations** and find **Datadog**
2. Click the **Connected** button to reveal the disconnect option
3. Click **Delete**
## Uninstall
To remove the Datadog integration:
1. Go to **Configuration → Integrations** and find **Datadog**
2. Click the **Connected** button to reveal the disconnect option
3. Click **Delete**