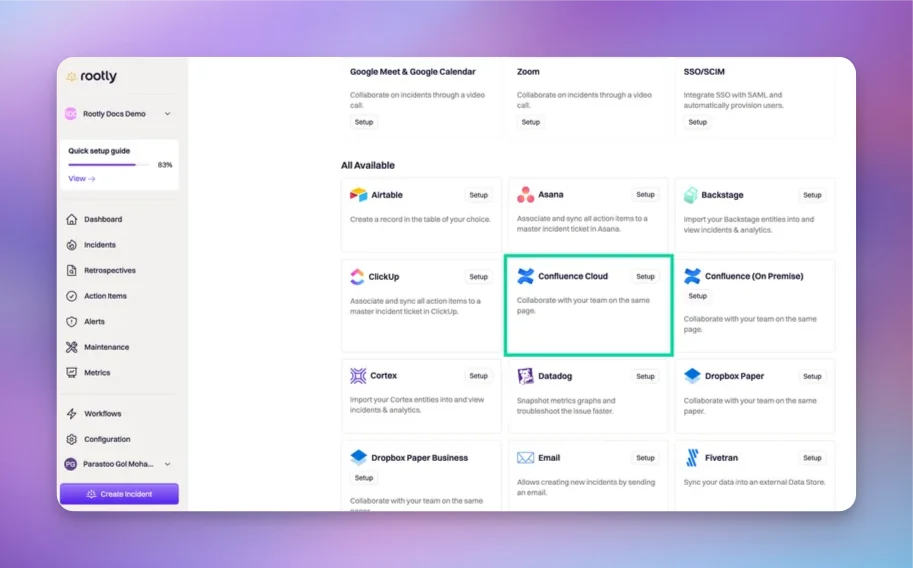
Rootly에 Confluence 설치하기
설치하는 사용자가 회사를 떠나더라도 통합이 중단되지 않도록 service account로 설치를 수행하는 것을 권장합니다.Rootly에서 관리자 사용자로 로그인되어 있는지 확인하세요.
Setup를 선택하세요.

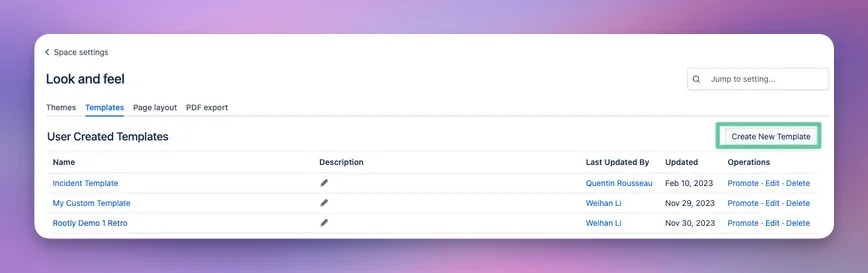
Confluence에서 회고 템플릿 설정하기
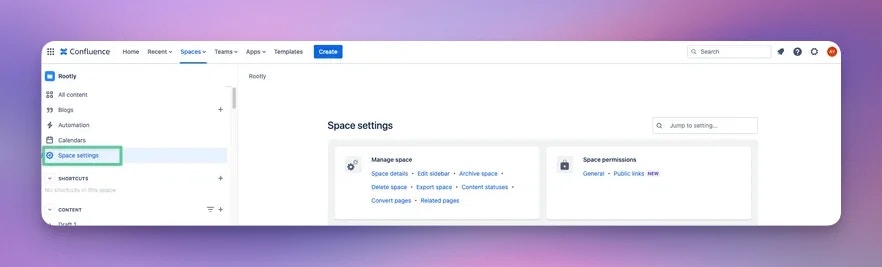
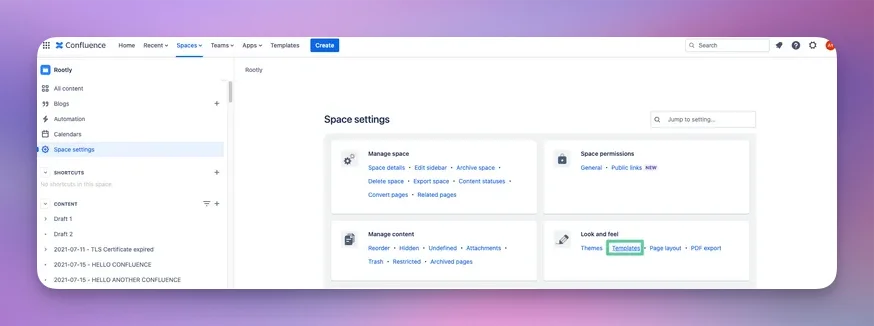
Confluence에 로그인한 후, 회고 템플릿을 생성하려는 Space를 선택하세요.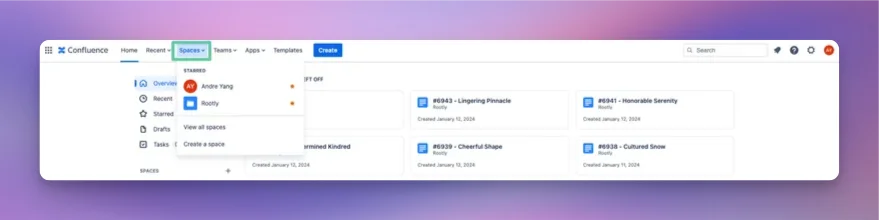
Create New Template를 클릭하세요.
TIP:Incident Variable Explorer를 사용하여 각 liquid 변수가 반환하는 값을 테스트할 수 있습니다.