Publishing Incidents Via Web Ui
Incidents associated with services or functionalities attached to your status pages are not automatically published. Your incident teams need to craft and publish an update of the incident to your status page. This ensures that your teams are reviewing the update and ensuring all relevant information is included in the update.
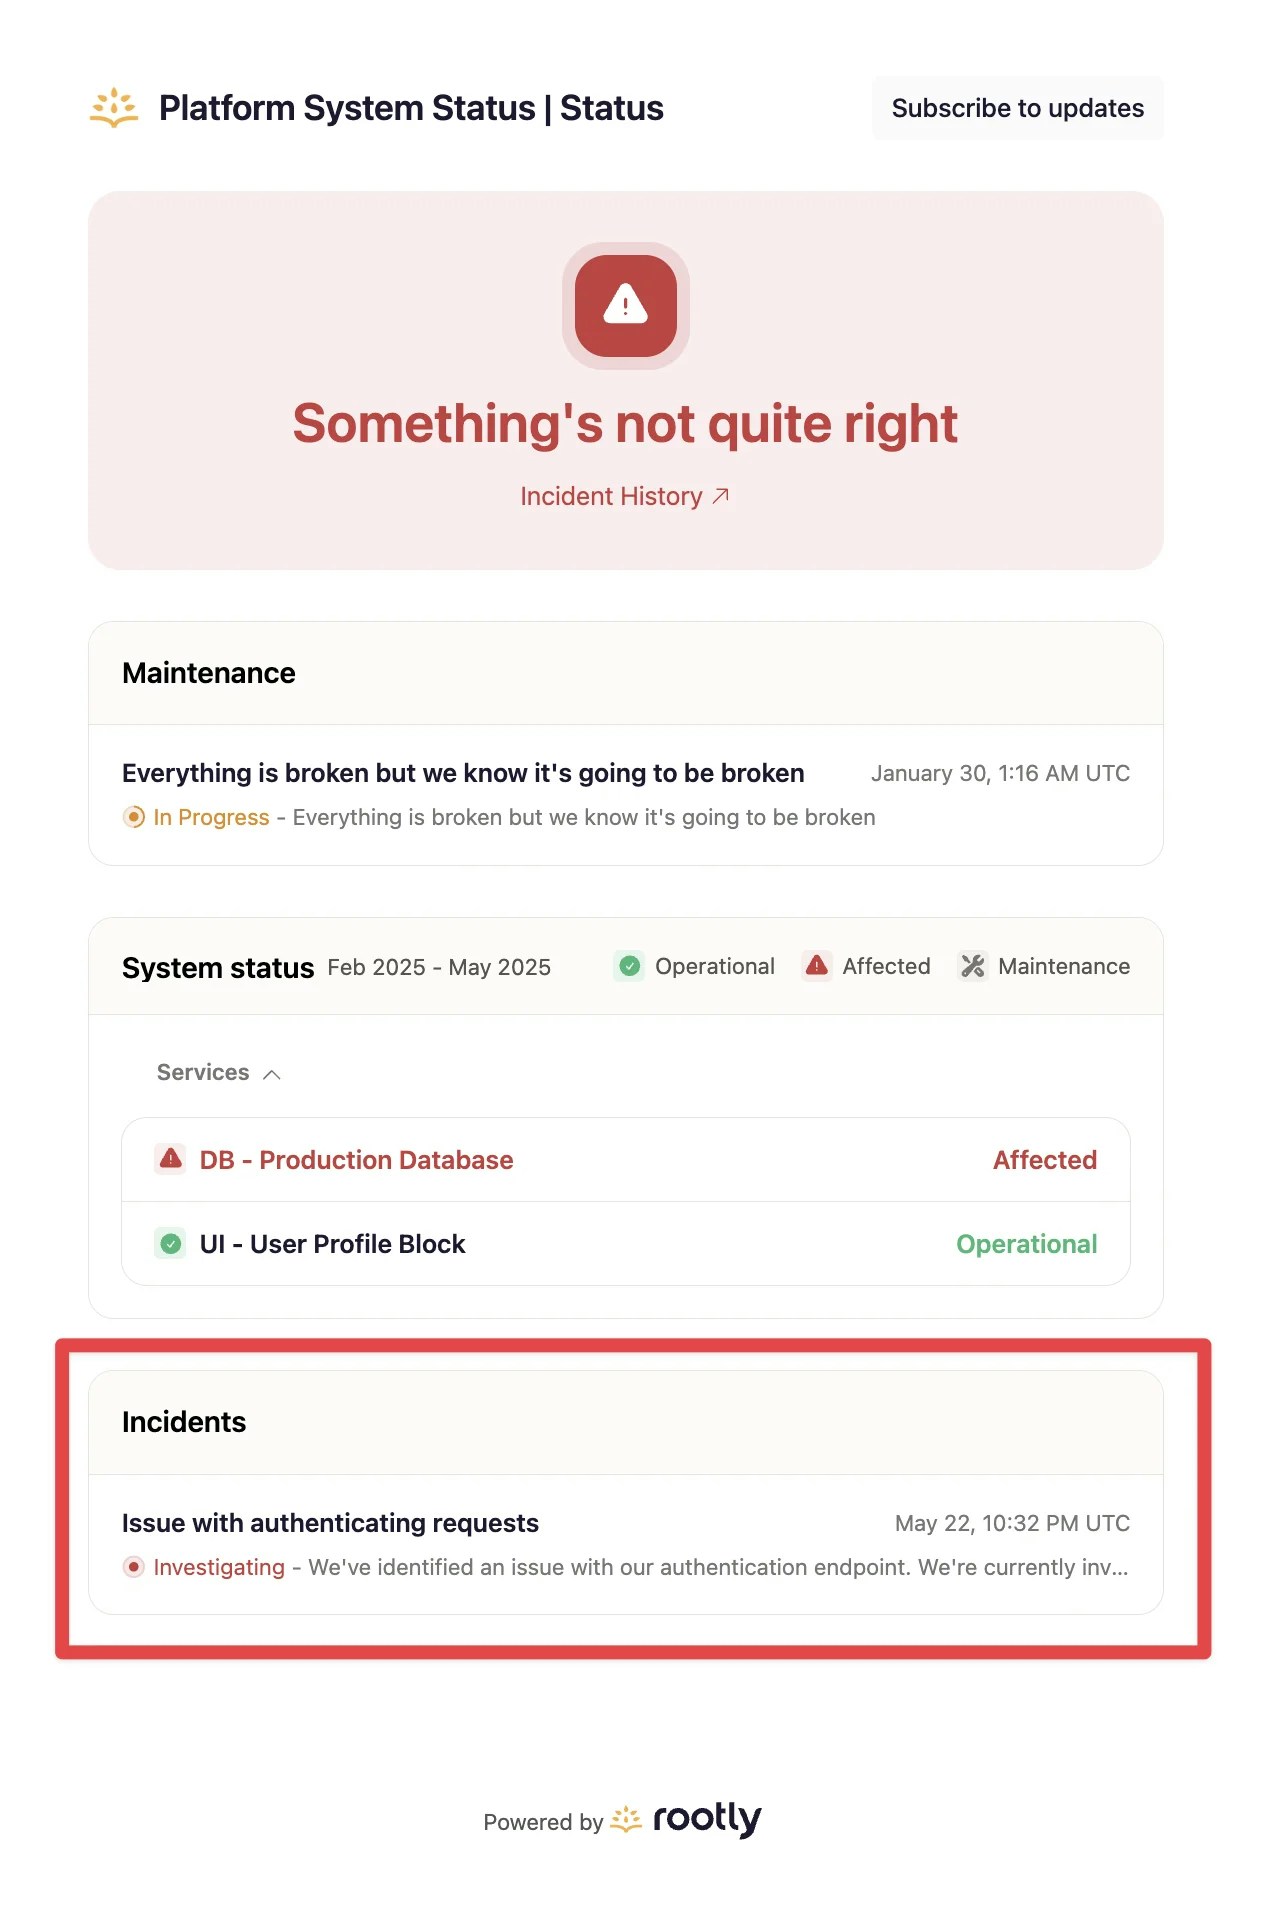
Publishing incidents
To publish an incident on a status page in Rootly’s Web UI:
- On the incident’s details page, navigate to the Status Page tab.
- Click ‘Publish Incident’, and fill out the form to write your incident update.
- Use any templates provided to help craft and standardize your message.
- Once you’ve provided all the details, the incident will be published to the status page.
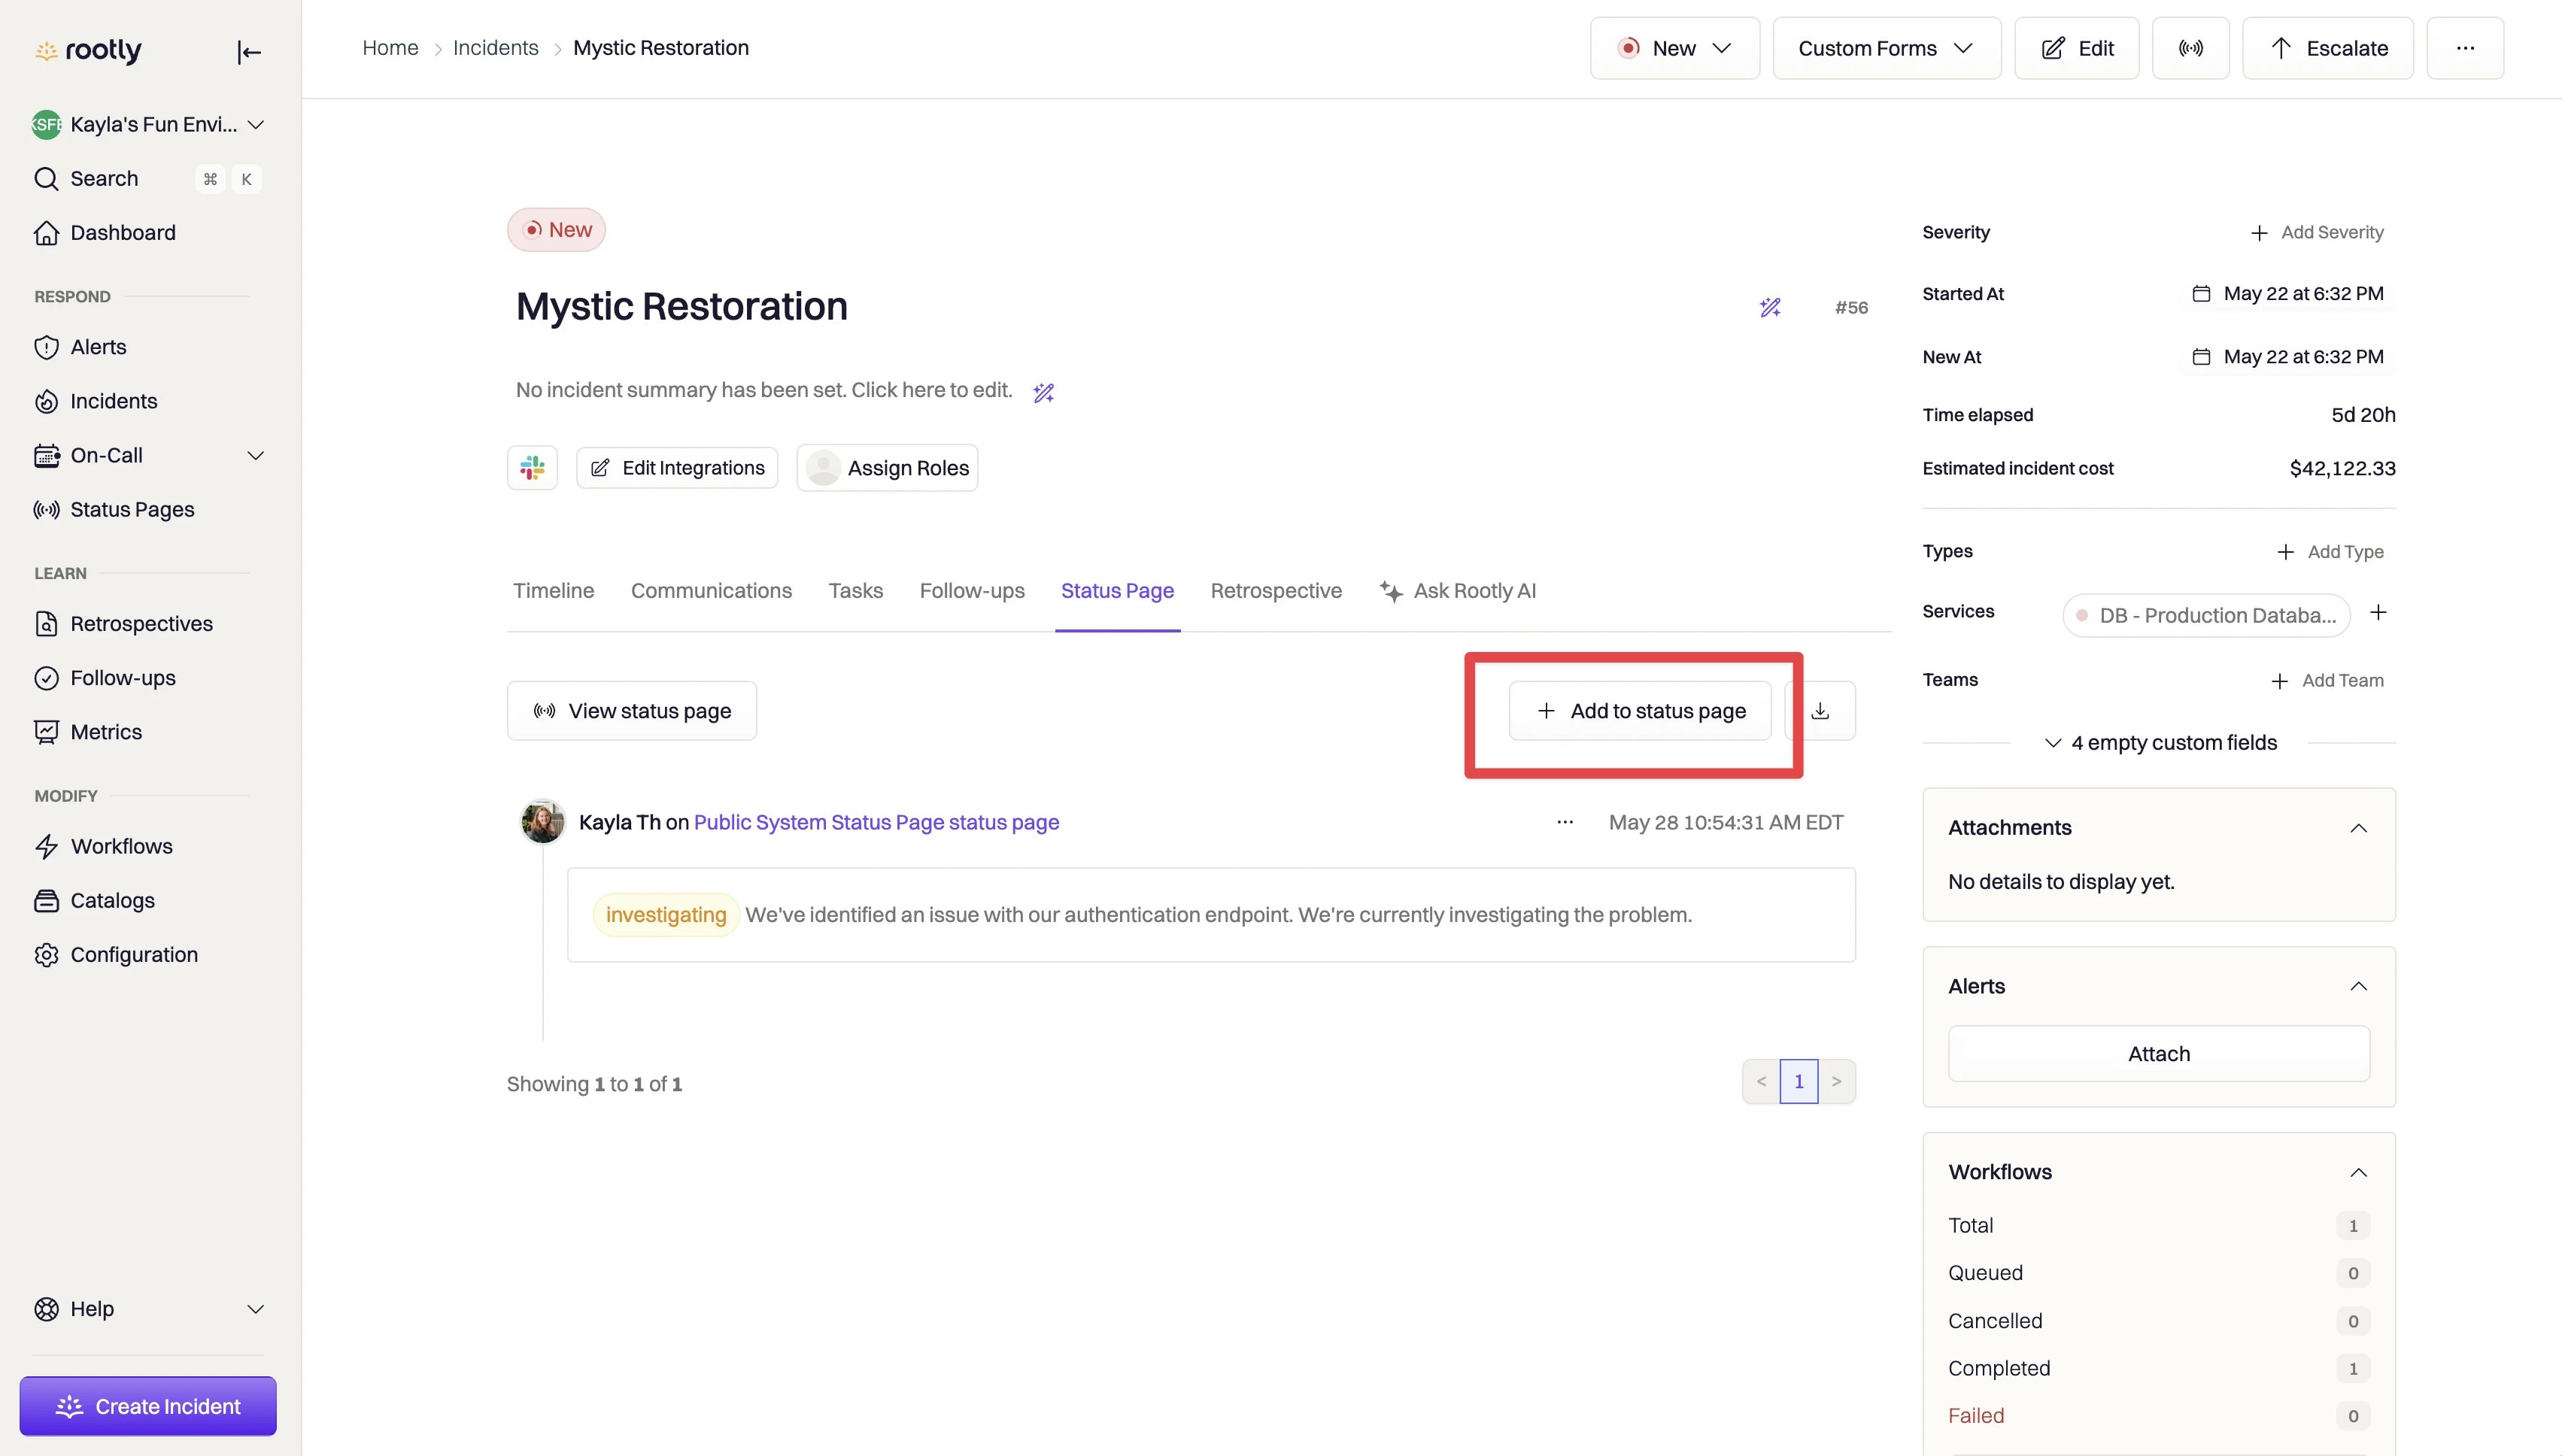
Any Service attached to the incident that is also a component of that status page will be automatically updated to show that it is currently Affected by an incident. Once the status page is updated to indicate that the incident is resolved, the service will be updated to Operational.
Updating incidents
As your incident progresses, you’ll need to continually communicate progress to your customers and stakeholders via the status page. You can do so from the same tab in your incident’s detail page.
- Click ‘Add to status page’ and fill out the necessary information.
- Rootly will pre-fill the title based on the previous update that was published to the status page.
Resolving incidents
Once your incident has been resolved, publish your final update to the status page using the same flow above. Make sure to update the status in this form to ‘Resolved’ so that your stakeholders know the issue has been resolved, and all impacted services will return to operational.