- In the Rootly navigation bar, click on Configuration, then Status Pages.
- Next, click Add New Status Page.
- Give your status page a name and description. These are internal to Rootly, and will not be used on the actual Status Page.
Customize your Status Page
Once you’ve created your status page, you’re able to customize the look and feel of the page to tailor the contents to your end users.Setup
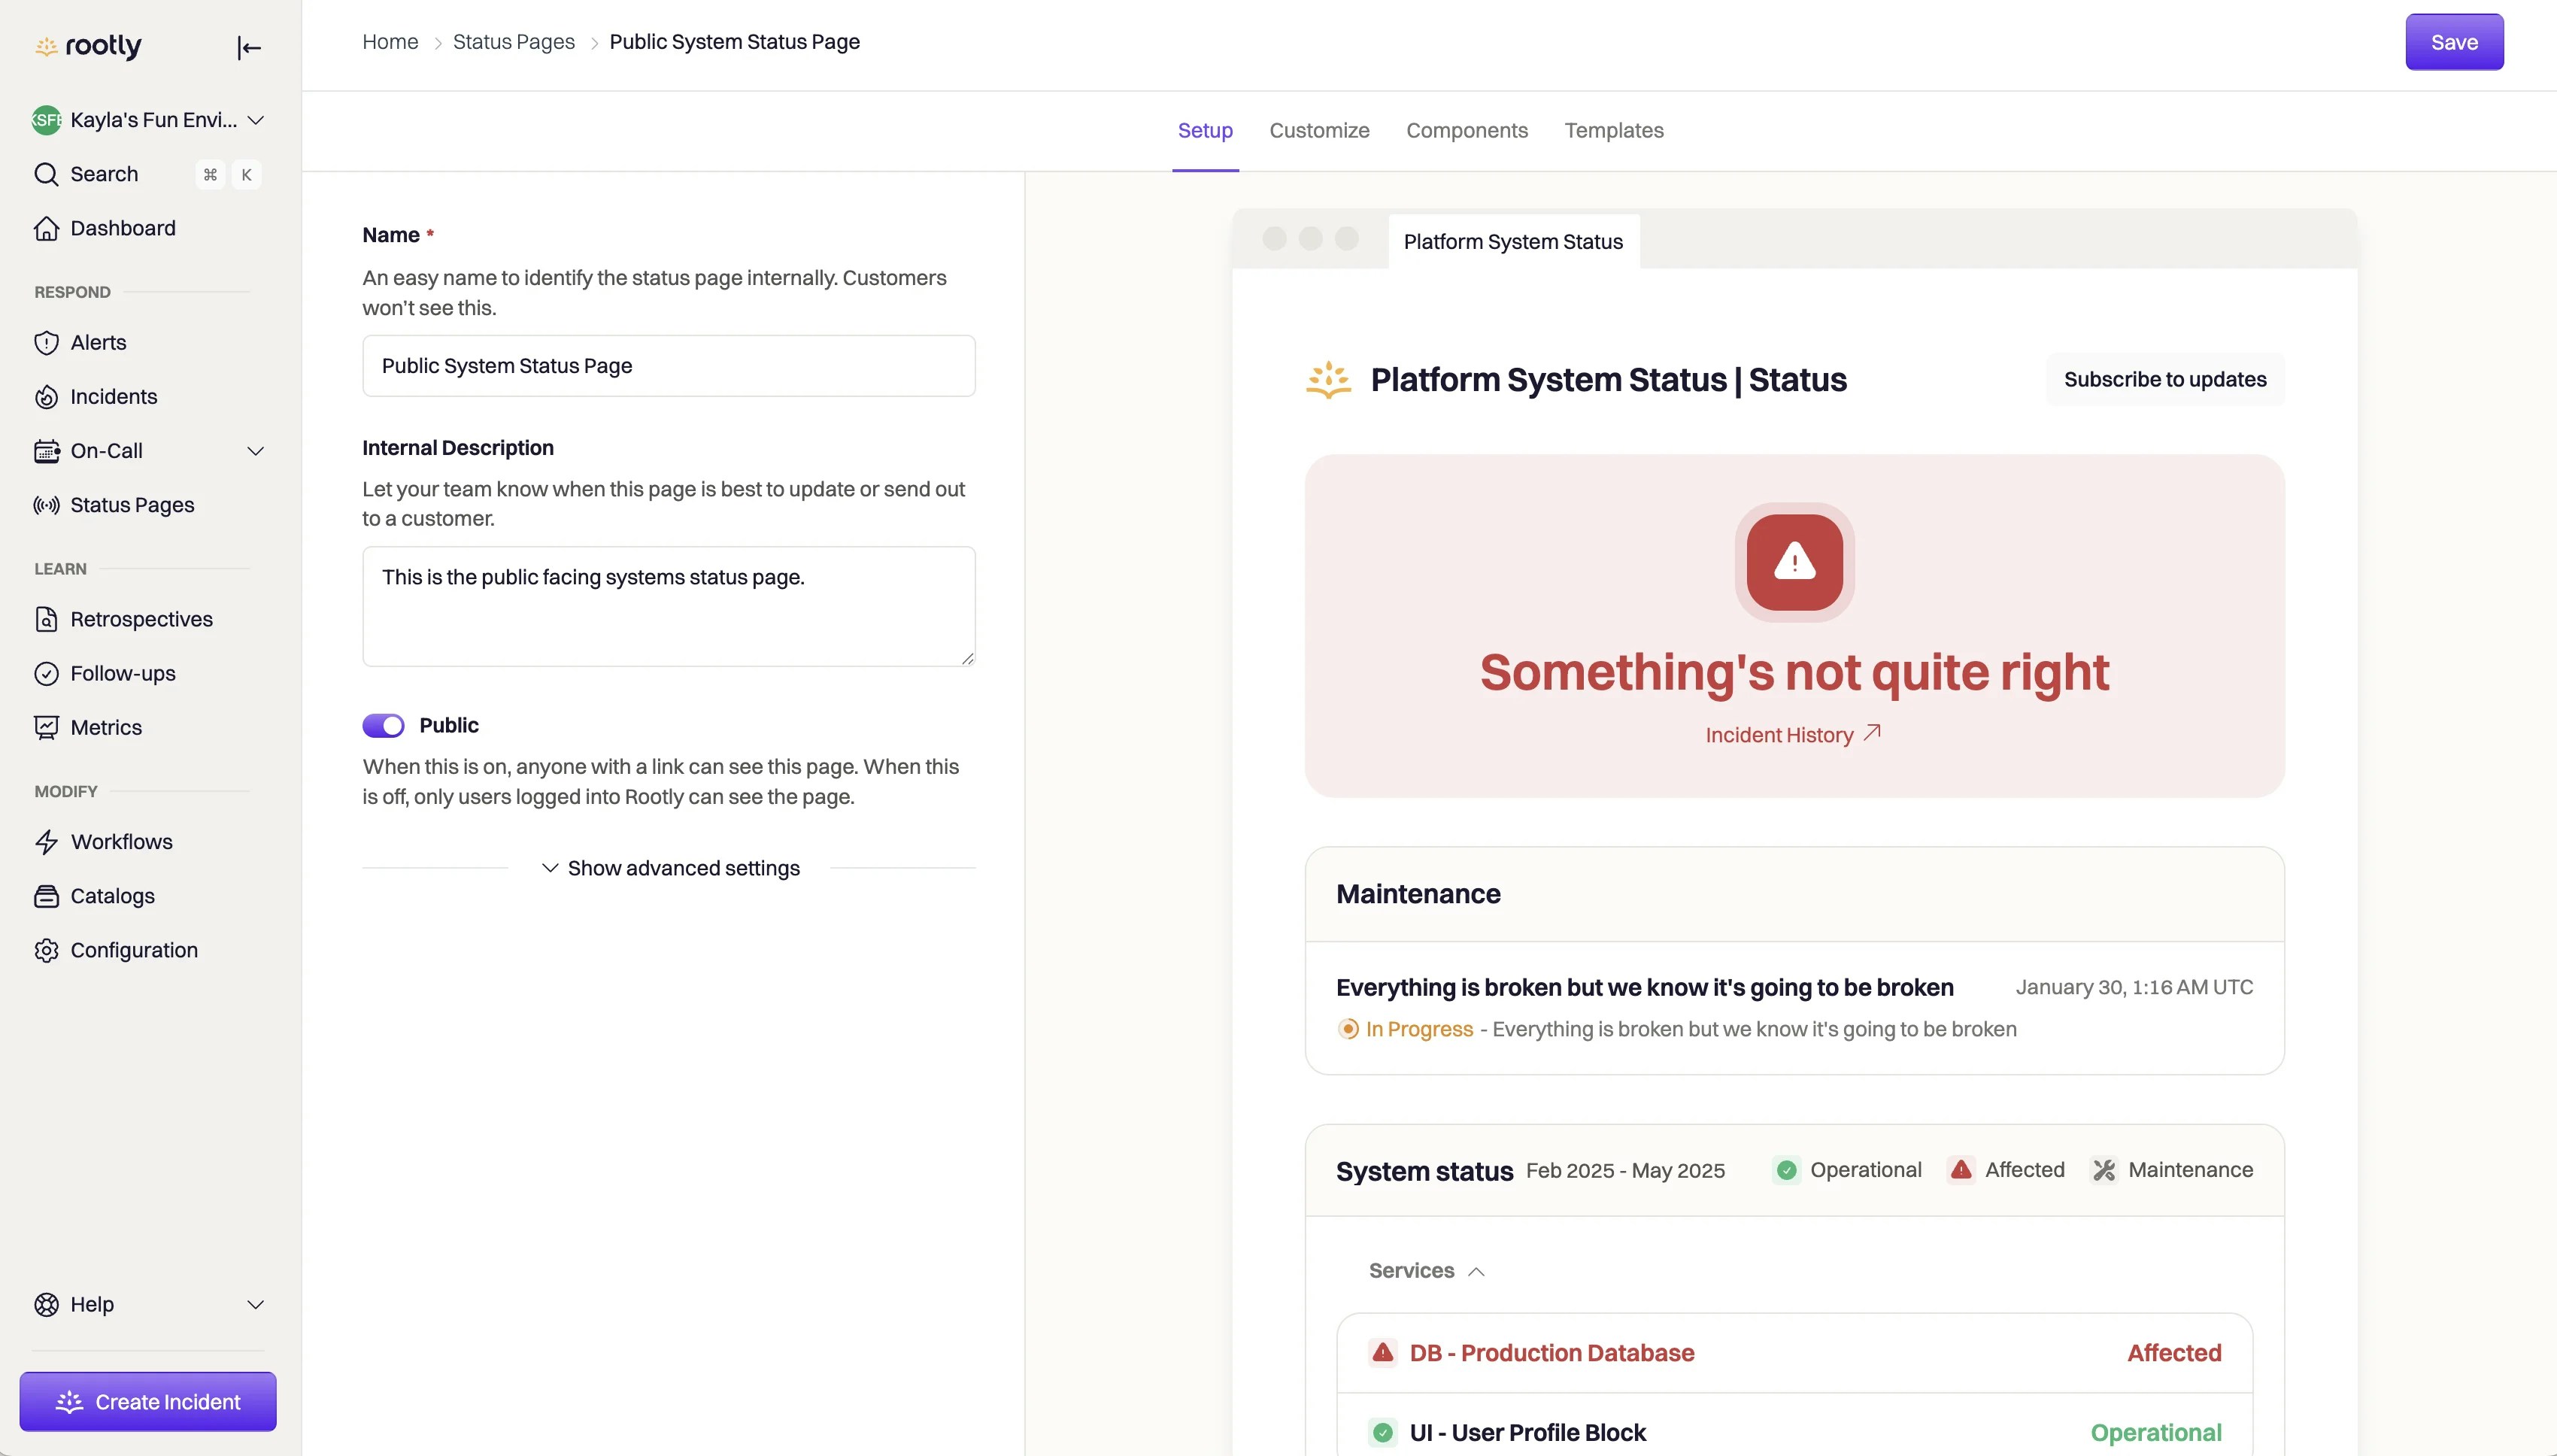
Under setup, you’re able to make changes to the name and description of your status page. Remember: these are internal only so should be descriptive for other Rootly admins to know what the status page is. Here, you can also determine if the page will be private or publicly available. Learn more about public and private status pages here. In the Advanced Settings, you can also customize the domain name of the status page. By default, Rootly will assign each Status Page a URL in the following format:rootly.com/teams/[your-org-name]/status-pages/[status-page-name]/[public/private]
Configure your own custom domain by following: Custom Domain Names for Status Pages. Note: for custom external domain names, you may need to talk with the team at your organization to have them help you configure a custom domain name and associated DNS.
Customize
Customize the default content and look-and-feel of your status page in the Customize tab. As you make changes to the settings in this tab, the right-hand preview of your status page will reflect your latest updates.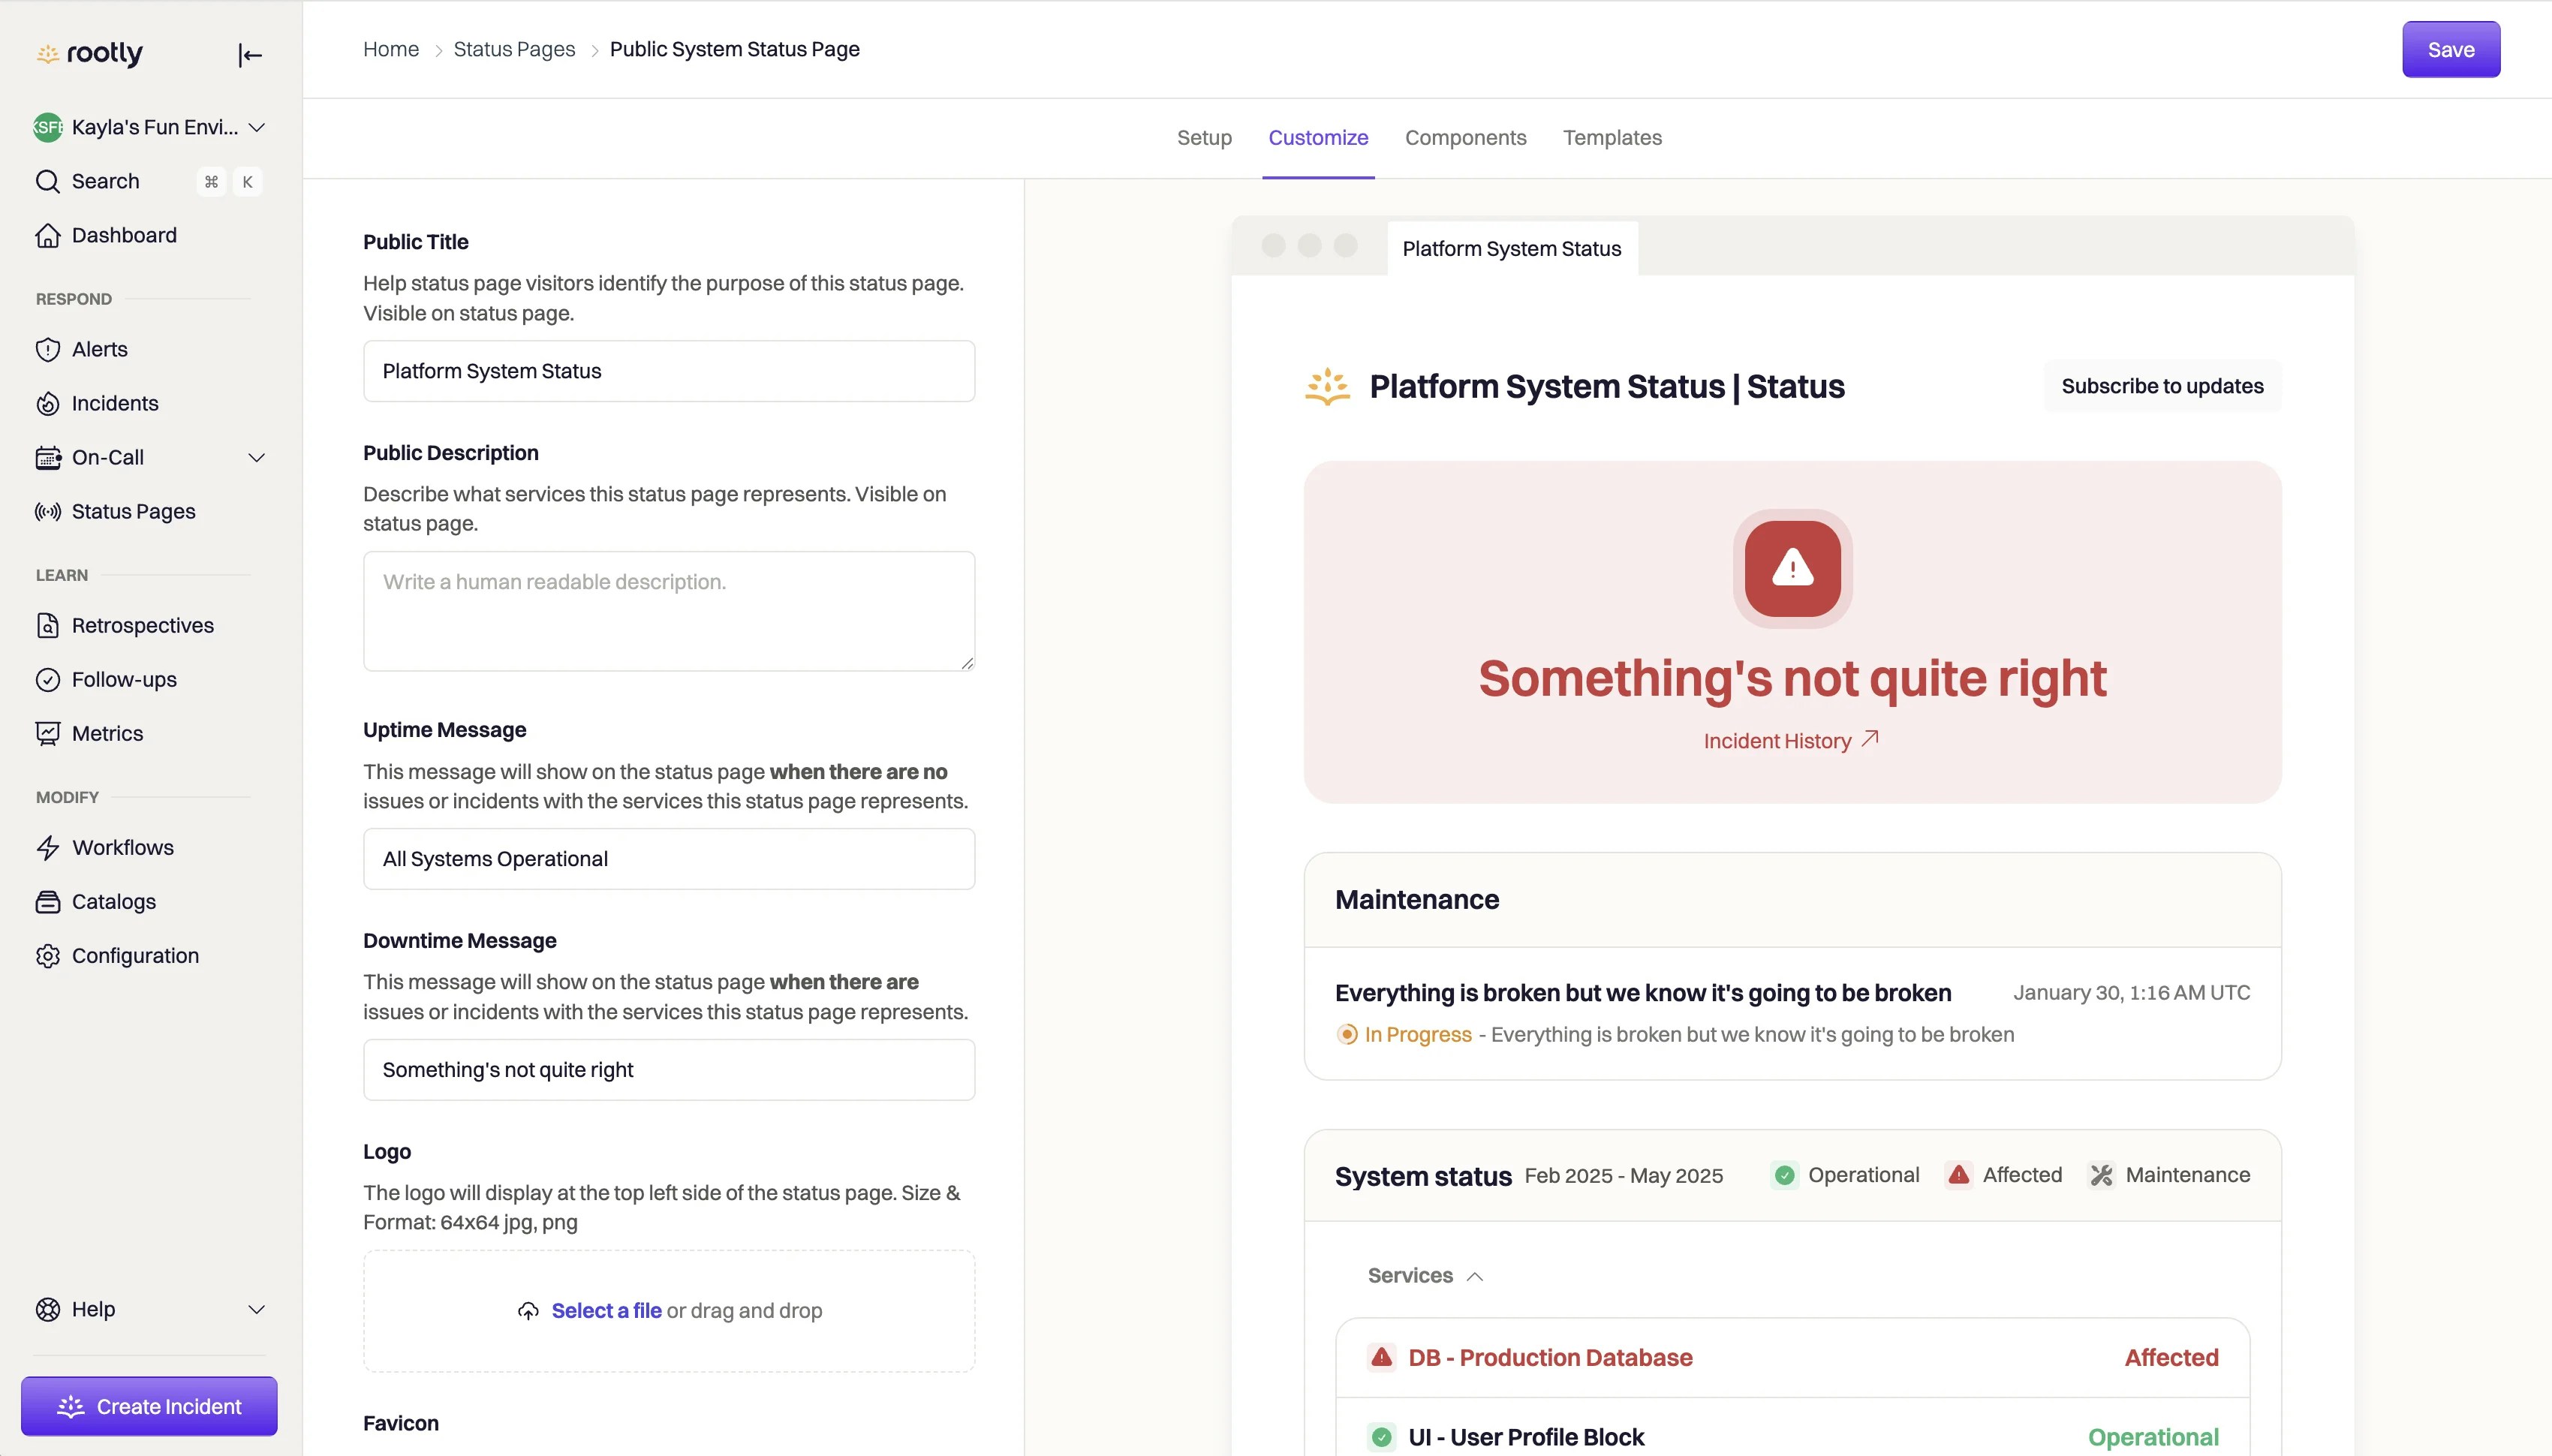
Components
Use the Components section to add Services to your status page. You’re able to add any Rootly Service, as well as any third party service your organization uses. Anytime a selected Service is involved in an incident, it will be reflected on the status page under the ‘System Status’ section. Note: You’ll be able to add third party services to your status page after you’ve created the status page.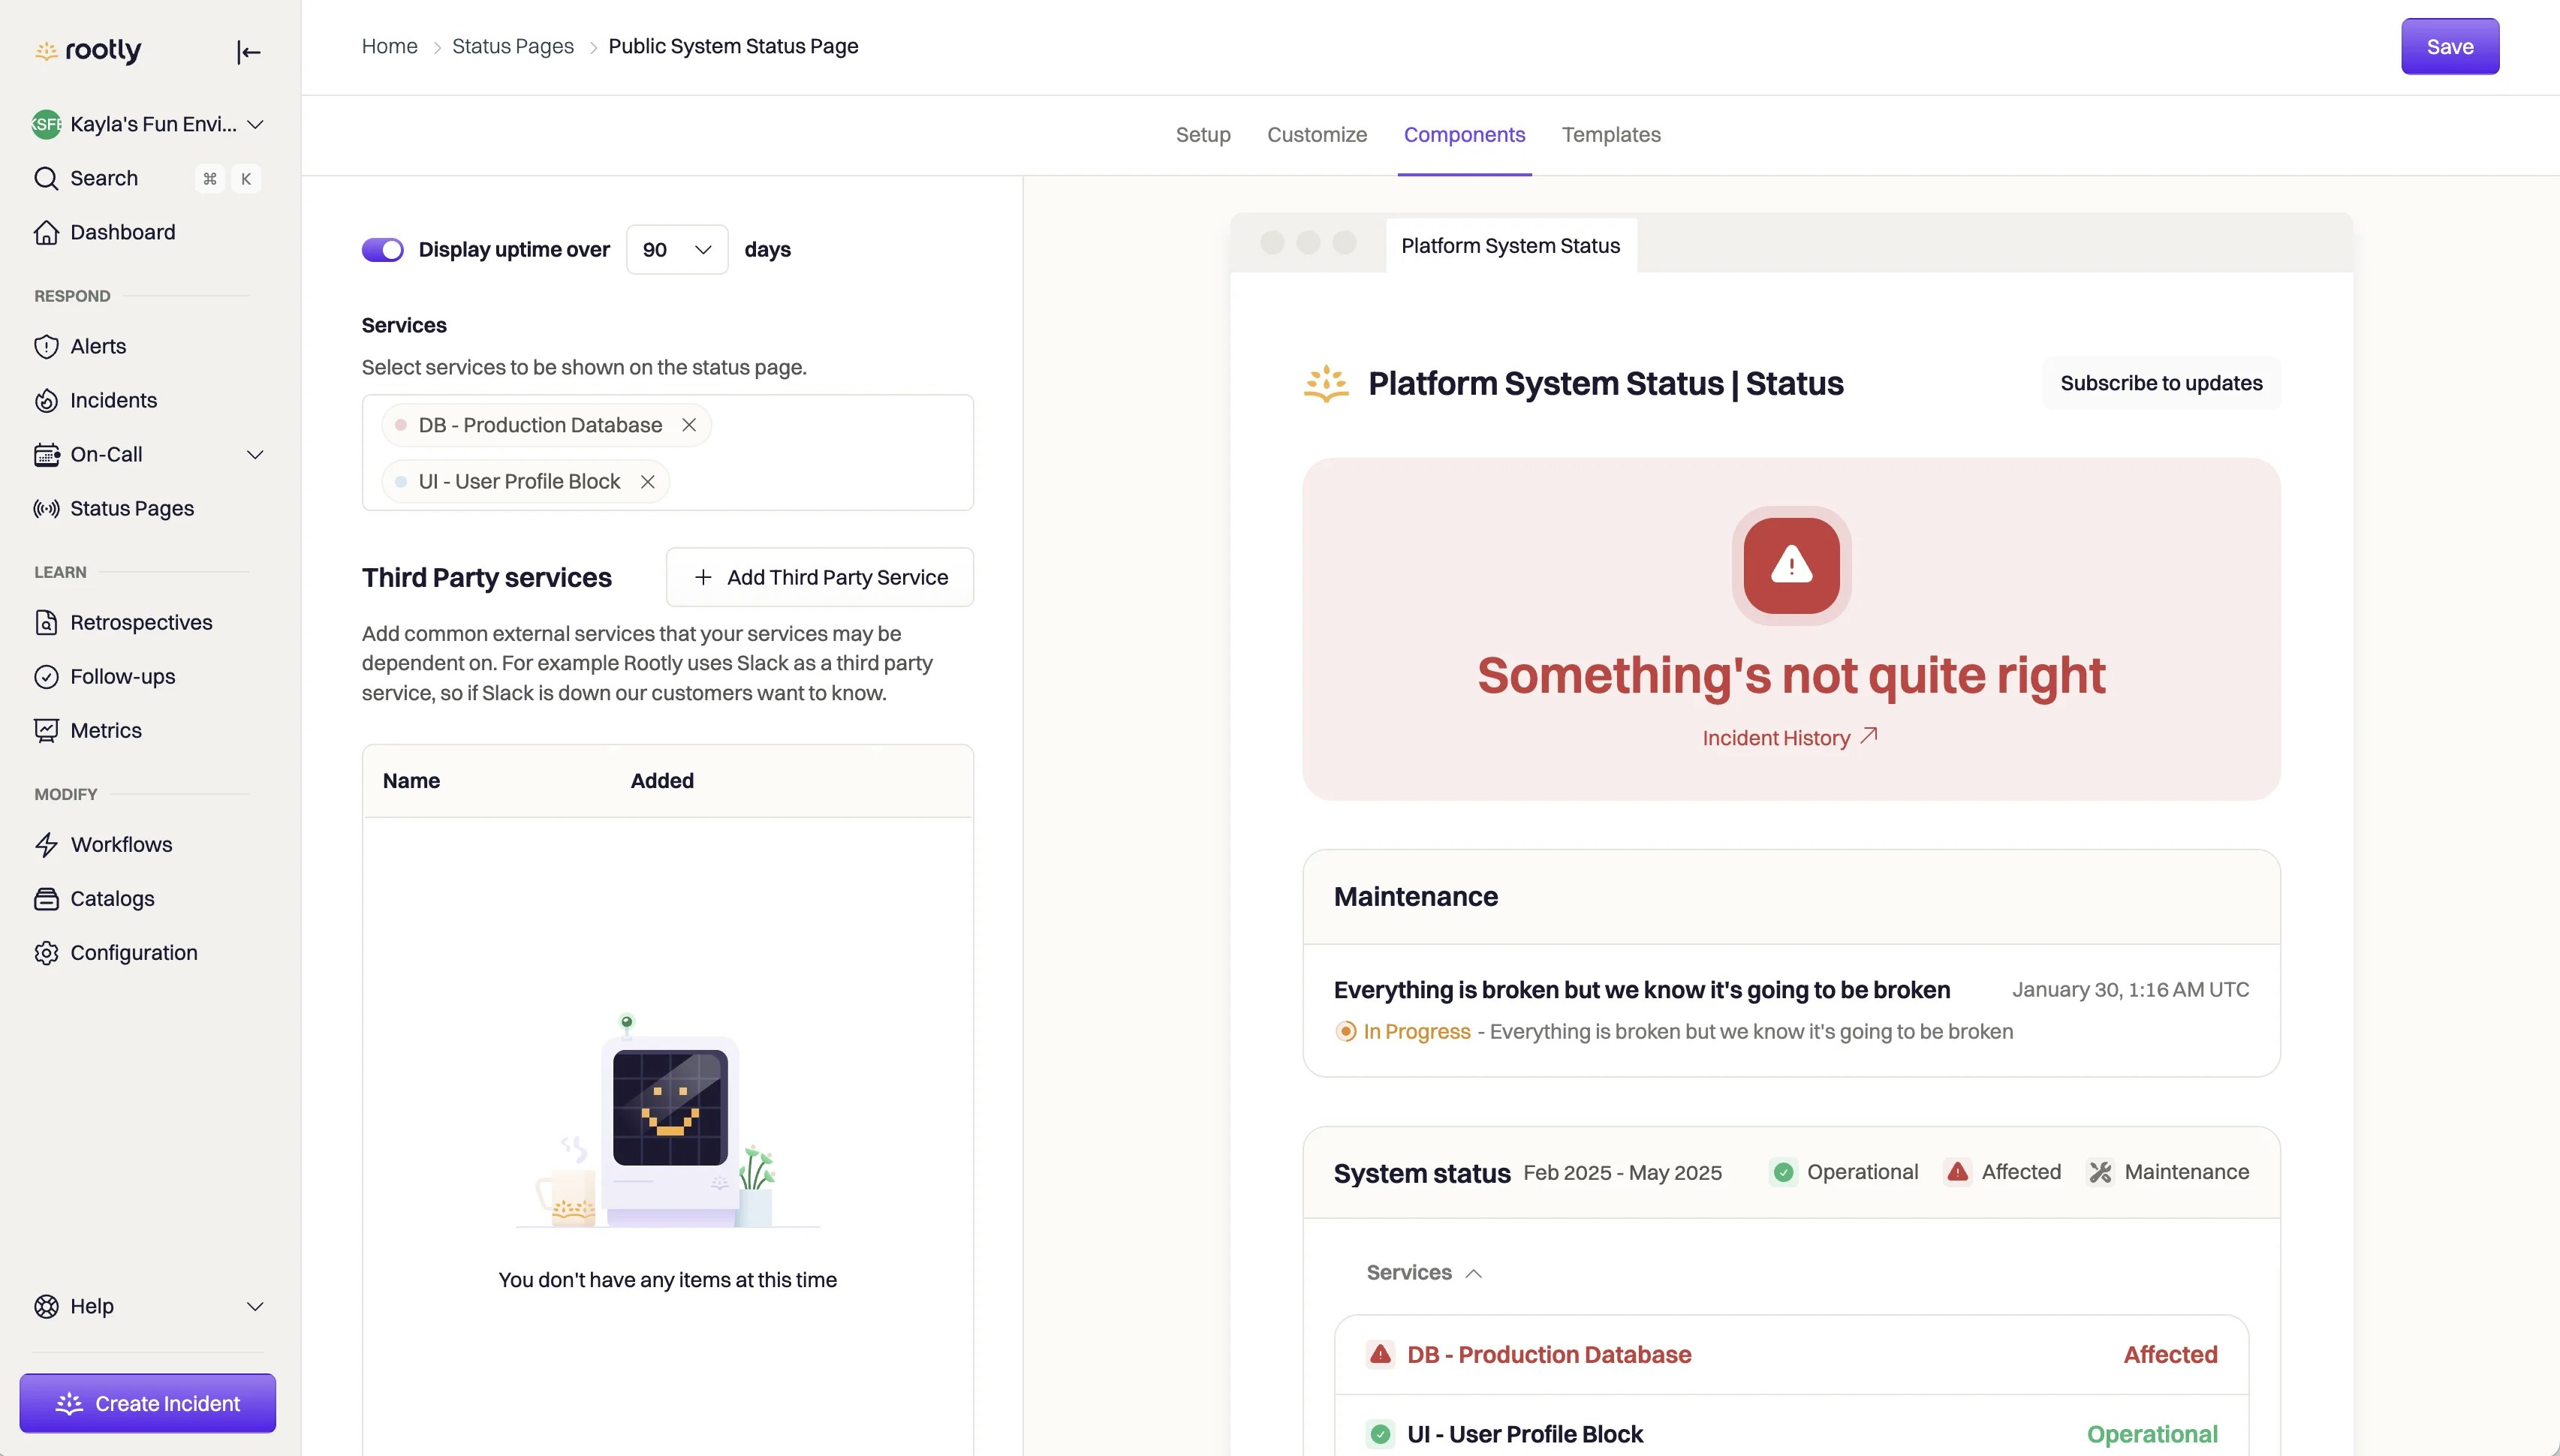
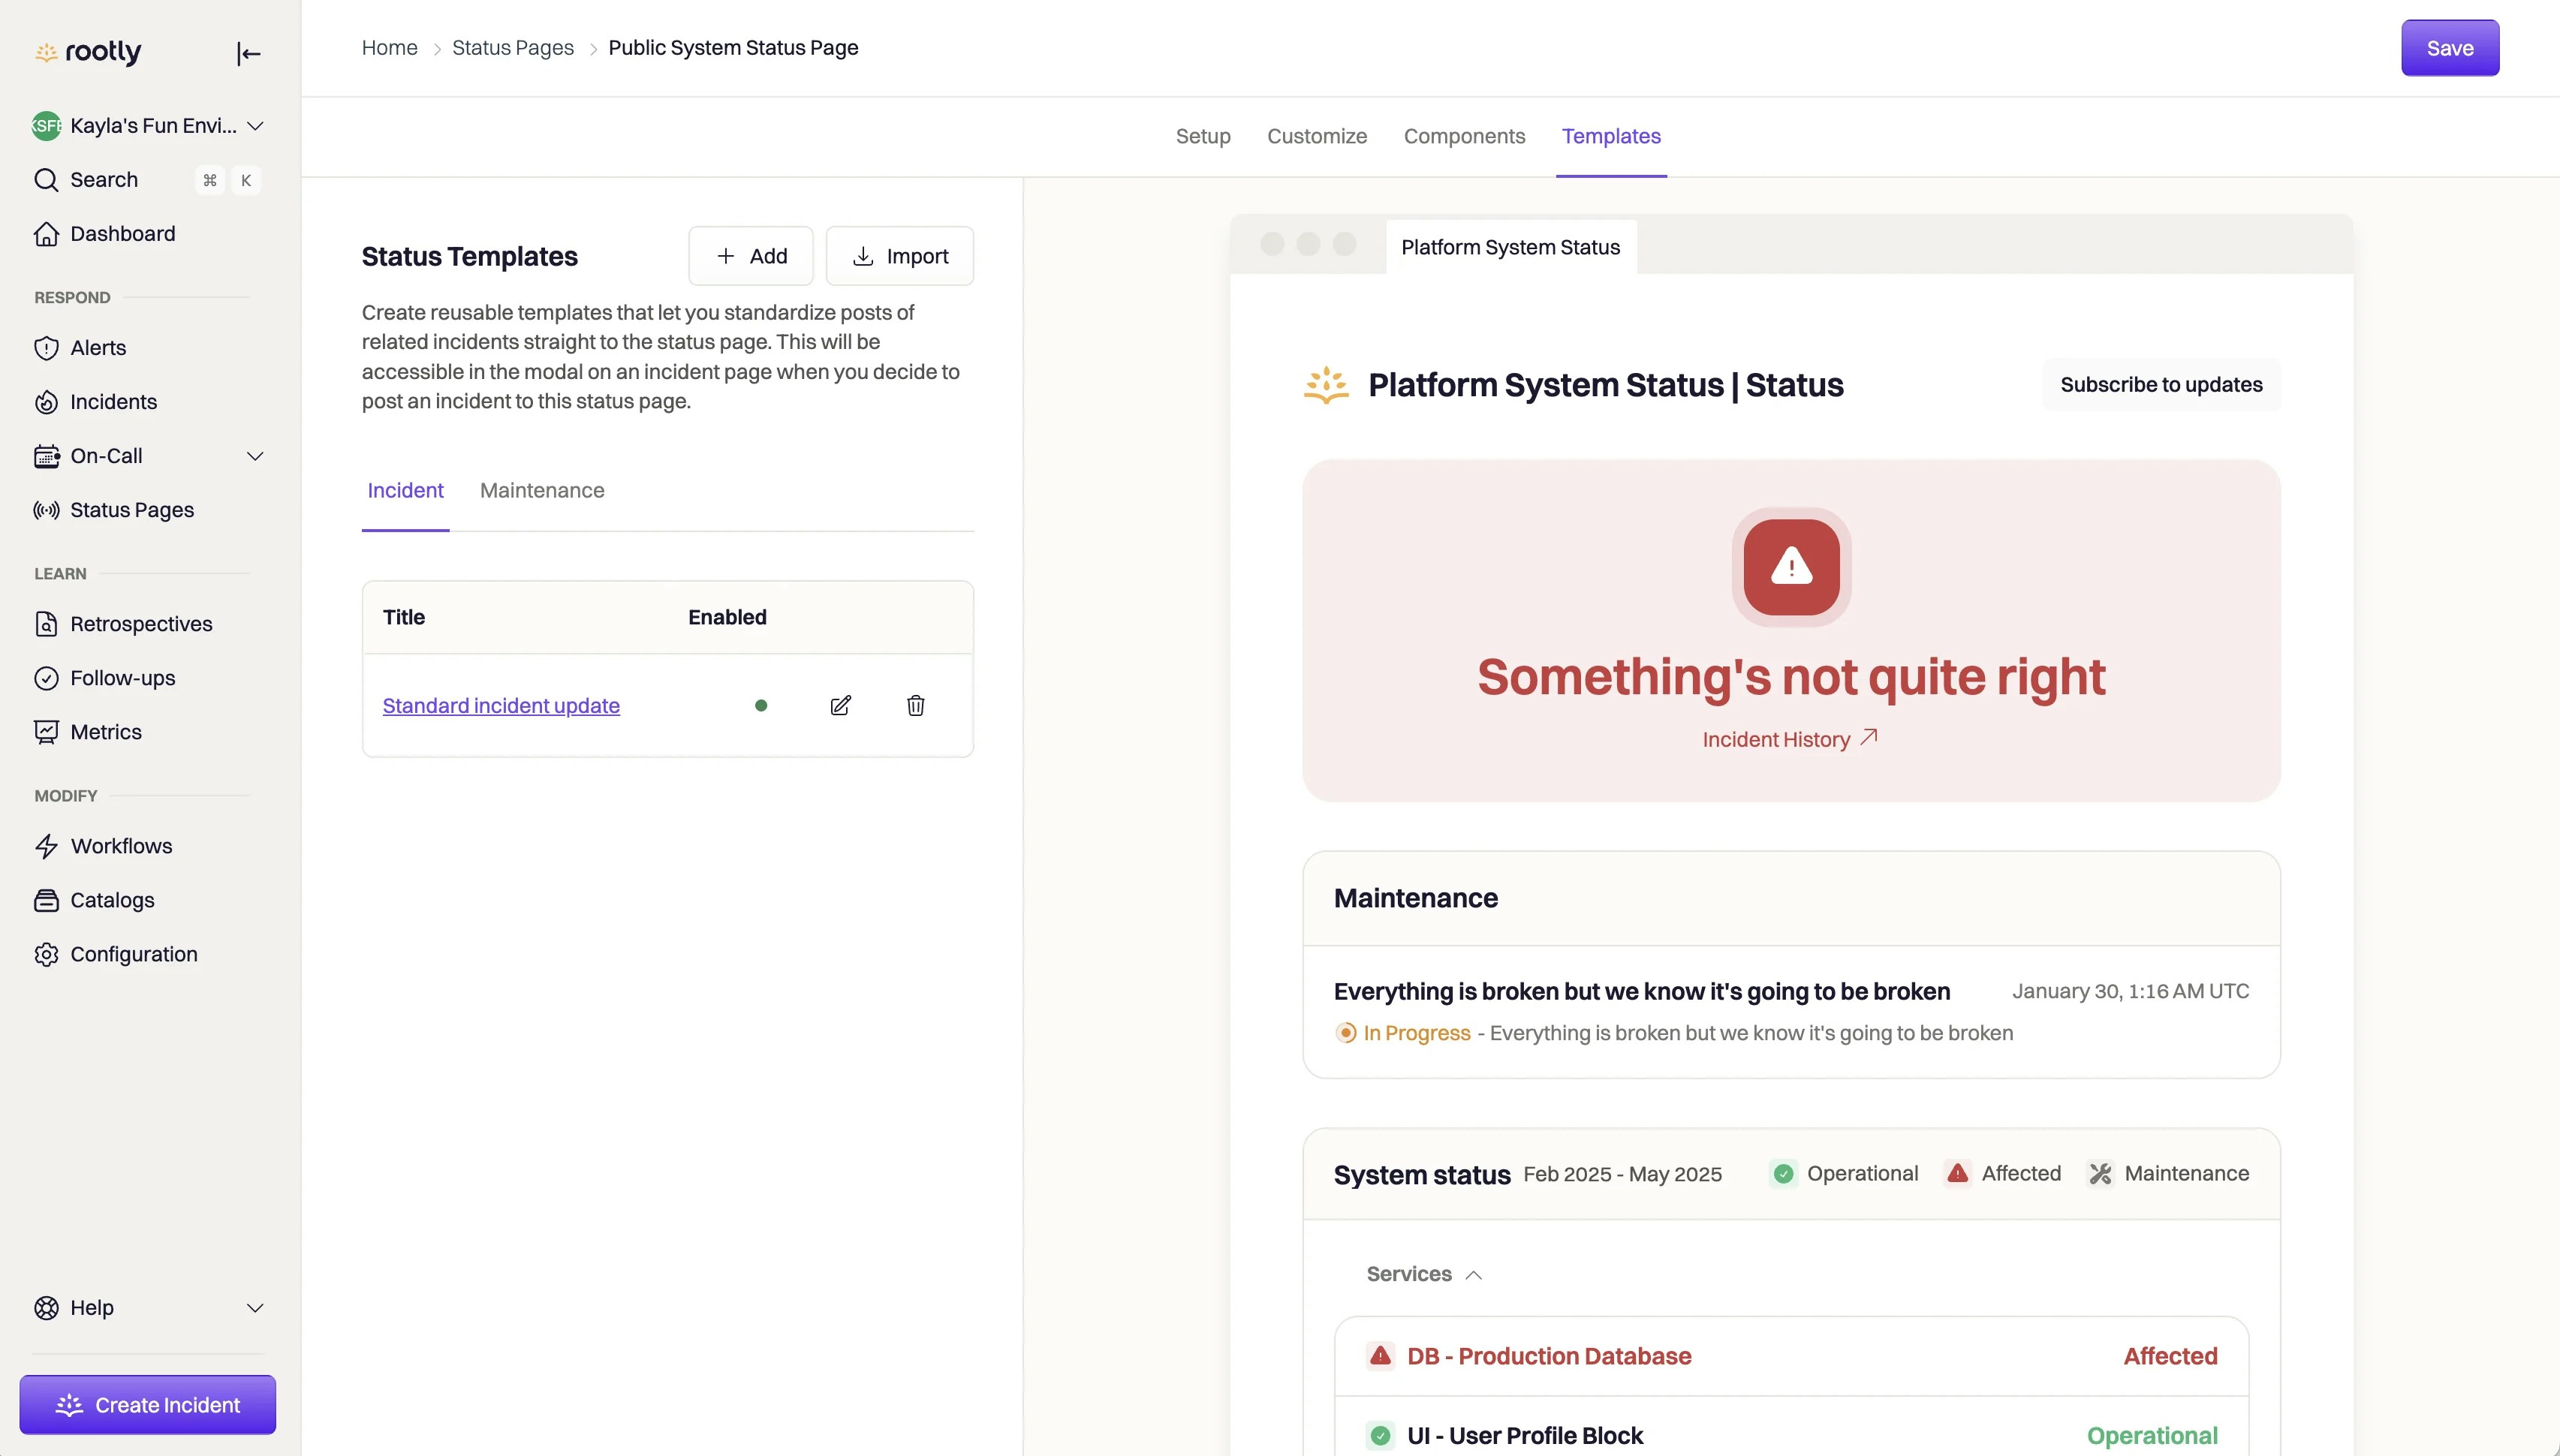
Templates
Standardize the incident updates your teams share with Status Templates. When a commander publishes an incident update to a status page, they’ll be able to use the templates defined in this section to help write their update.