

The Setup Wizard is for initial onboarding and configuration. For day-to-day incident and alert management from the terminal, see the CLI and Terminal UI.
Requirements
- Node.js 18 or newer
- A Rootly account (the wizard can hand you off to sign up if you don’t have one)
- Sign-in via browser (OAuth) or a Rootly API token
Quick Start
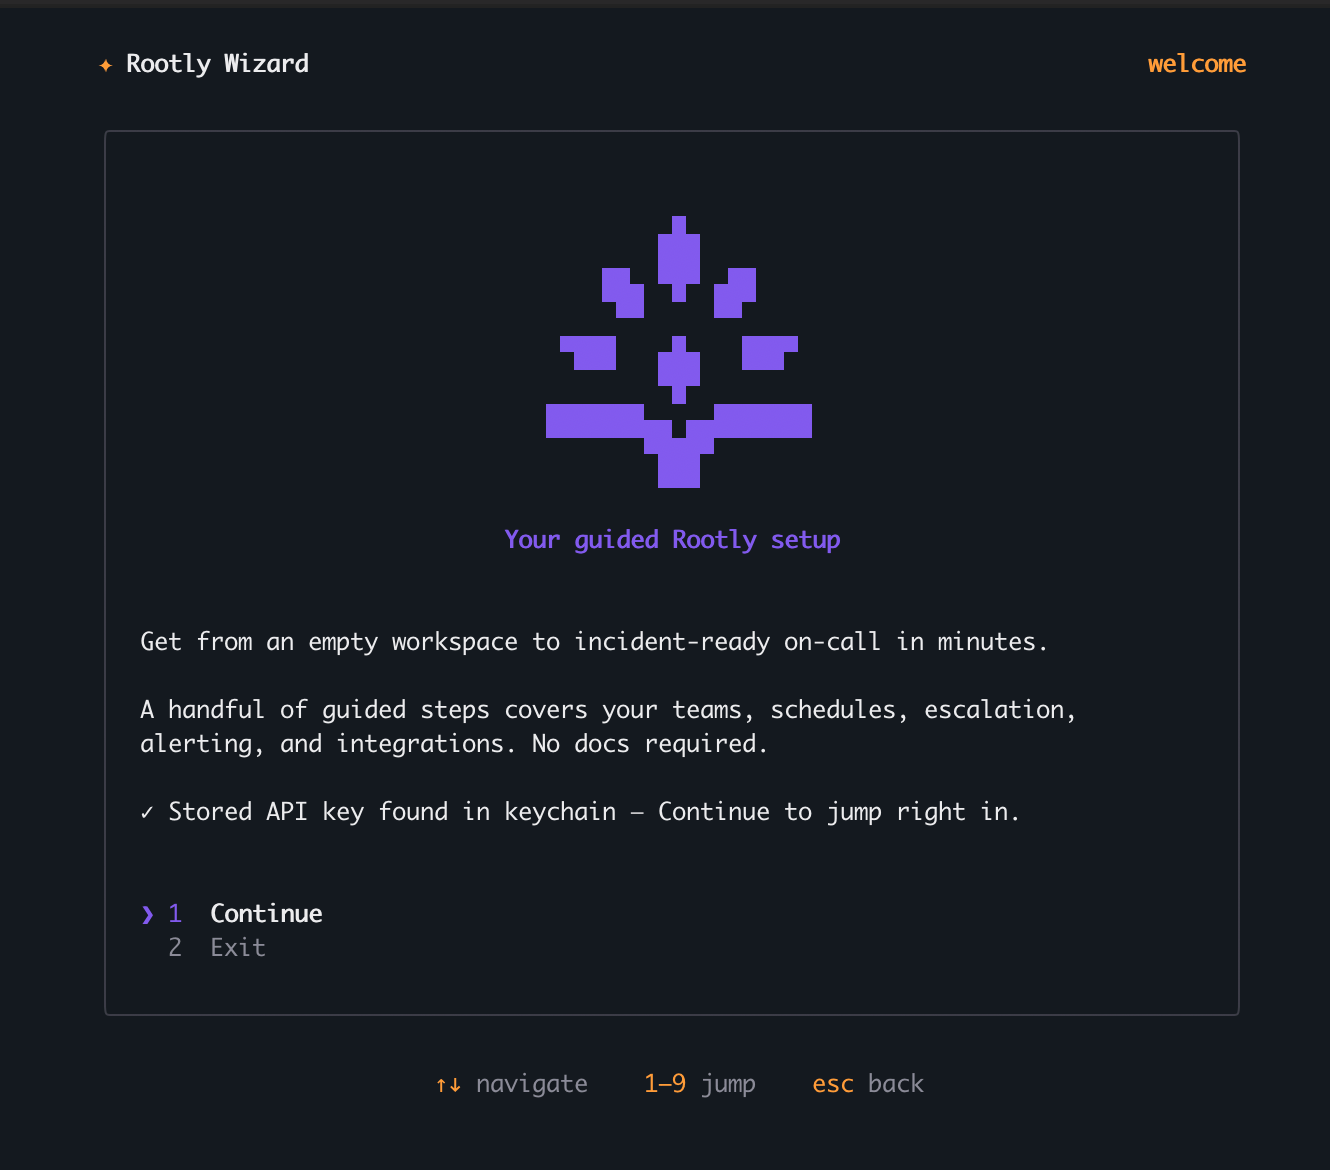
Run the wizard withnpx (no install required):
1
Sign in
Authorize with your browser (OAuth) or paste a Rootly API token. Your session is stored securely in your operating system’s keychain, so the next run takes you straight to the menu.
2
Choose a setup path
Pick Recommended setup to configure everything at once and see a live test alert and incident, or General setup to jump to any individual task.
3
Follow the guided steps
The wizard reuses anything that already exists, so it’s safe to re-run.
Signing in
From the sign-in screen you can:- Browser sign-in: authorize in your browser via OAuth.
- API token: paste a Rootly API token. Recommended for the full experience (an admin, organization-wide key can complete every step).
- Create a Rootly account: opens sign-up in your browser (account creation is web-only), then you return and sign in.
- Log in to Rootly.
- Go to Organization Settings → API Keys.
- Click Generate New API Key, name it, and copy the token.
ROOTLY_TOKEN environment variable:
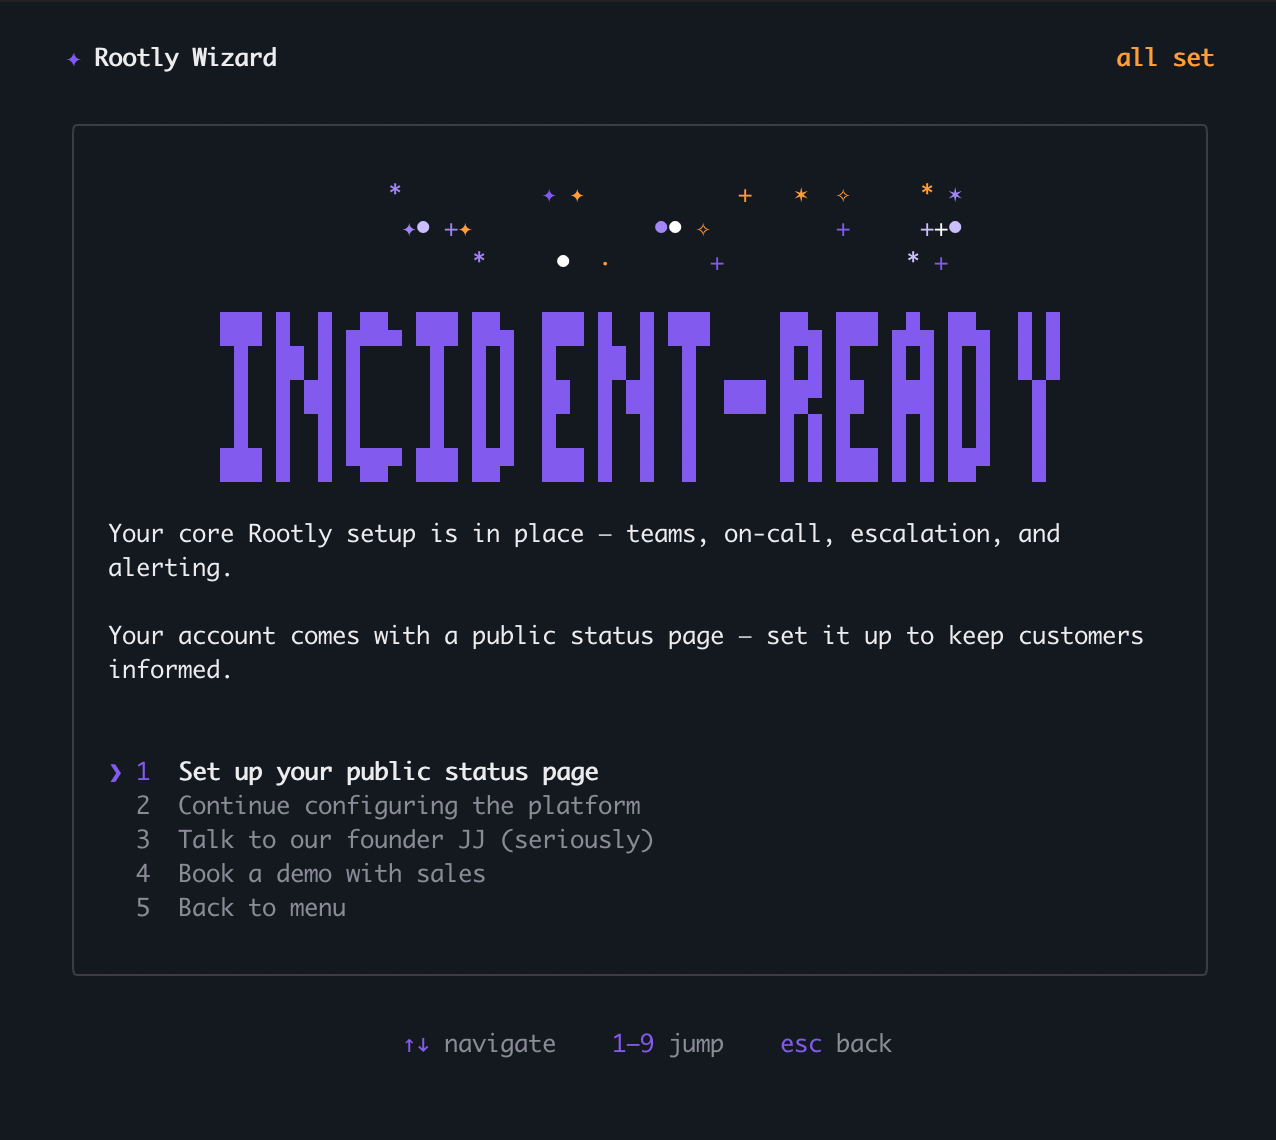
Recommended setup (all-in-one)
The fastest path. In one flow it will:- Create a team (or reuse one you’re already on)
- Let you pick who joins the team and the on-call rotation
- Create an on-call schedule
- Create an escalation policy that pages the on-call schedule
- Add an alert source
- Create a public status page (and choose which components appear on it)
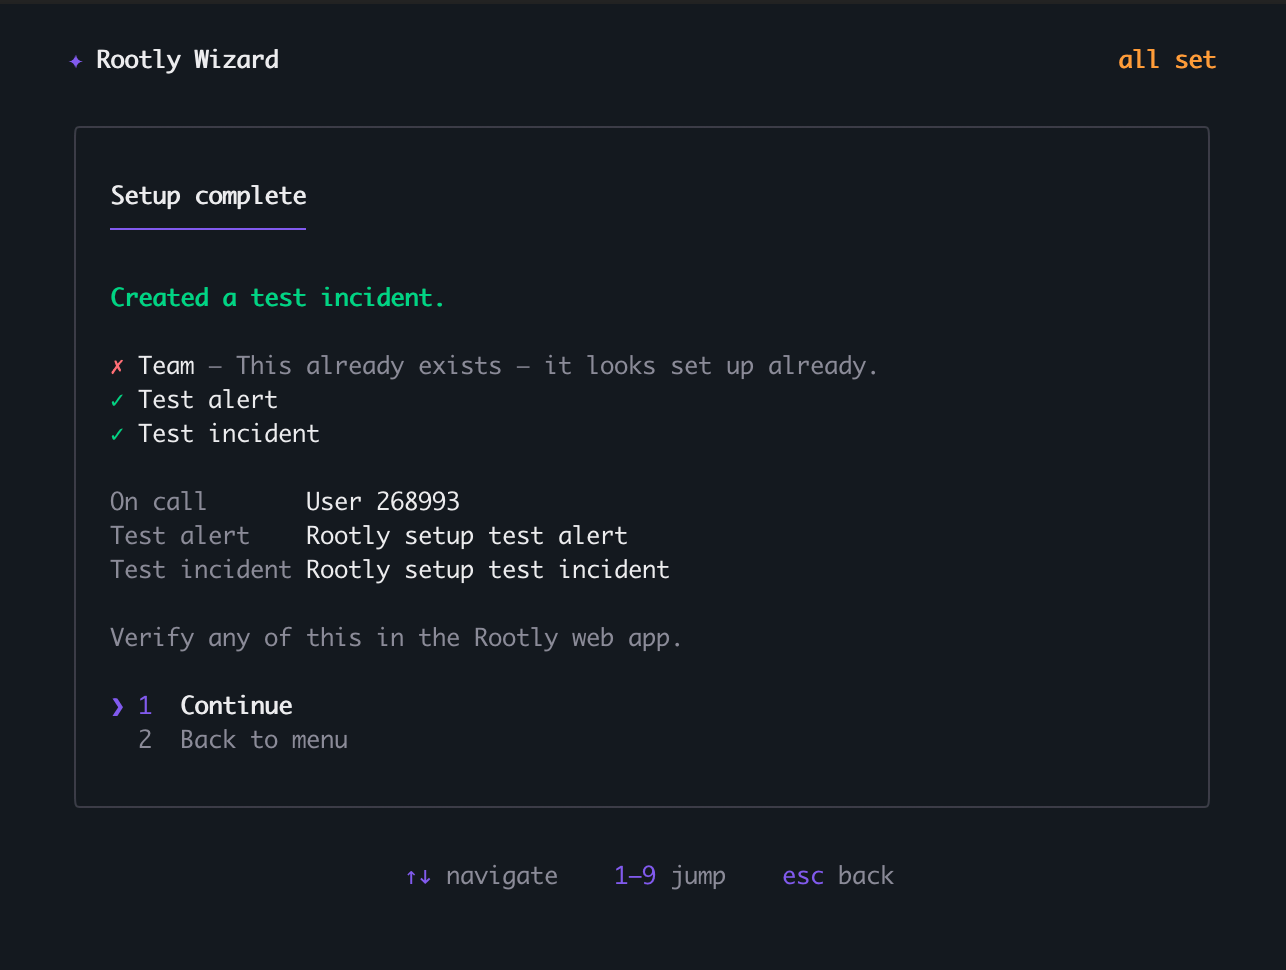
- Fire a test alert that pages the on-call person (a real call or text)
- Open a test incident (with a link to its Slack channel, if Slack is connected)
General setup
Jump to any individual task:Teams & members
Create teams and add members from your directory.
On-call
Create on-call schedules and escalation policies.
Status page
Create a public status page and pick which components (services) appear on it.
Integrations
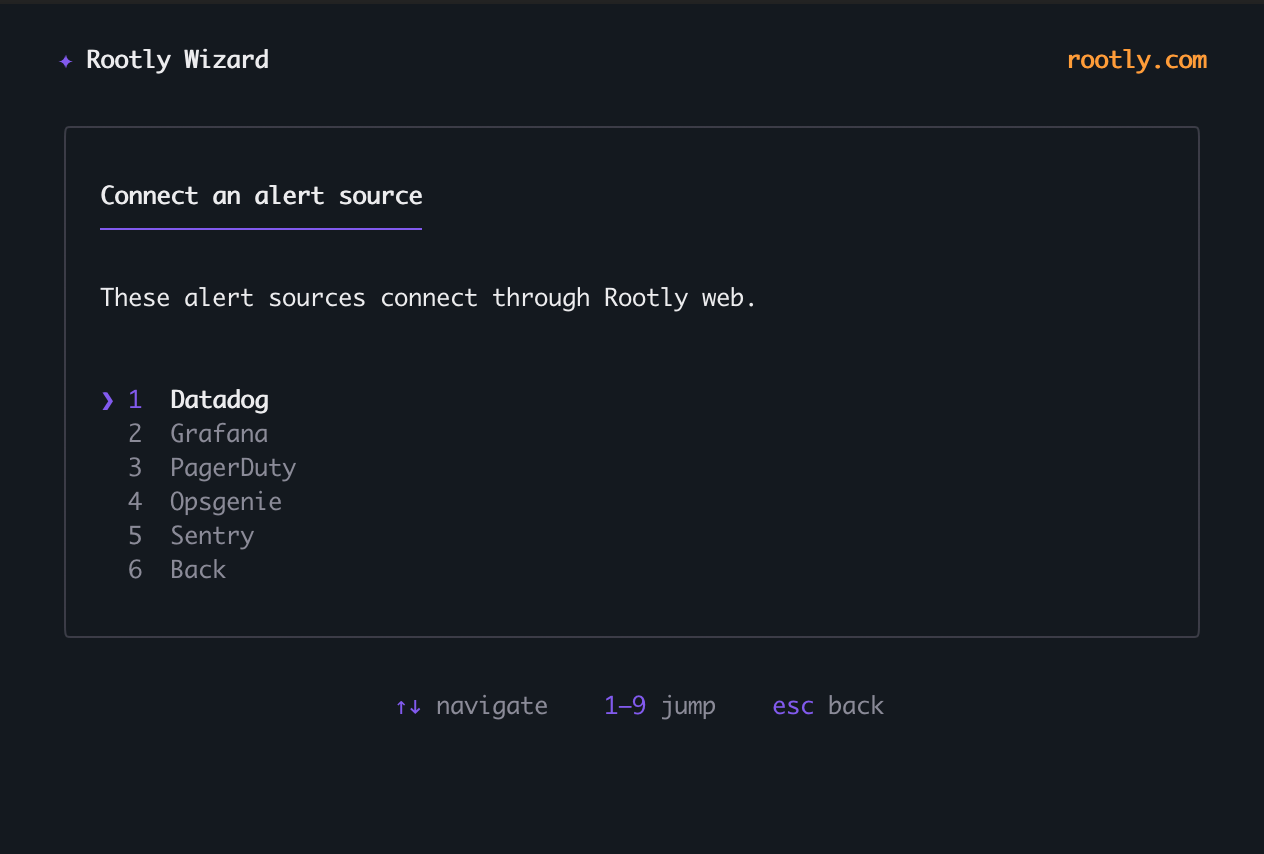
Connect Slack and alert sources (Datadog, Grafana, Sentry, PagerDuty, Opsgenie).
Verify
Send a test alert (pages on-call) or create a test incident.
Inspect
Review your current teams, schedules, and coverage.
MCP / IDE
Configure the Rootly MCP server for your editor or AI agent.
Chat with us
Talk to the Rootly team or book a demo.
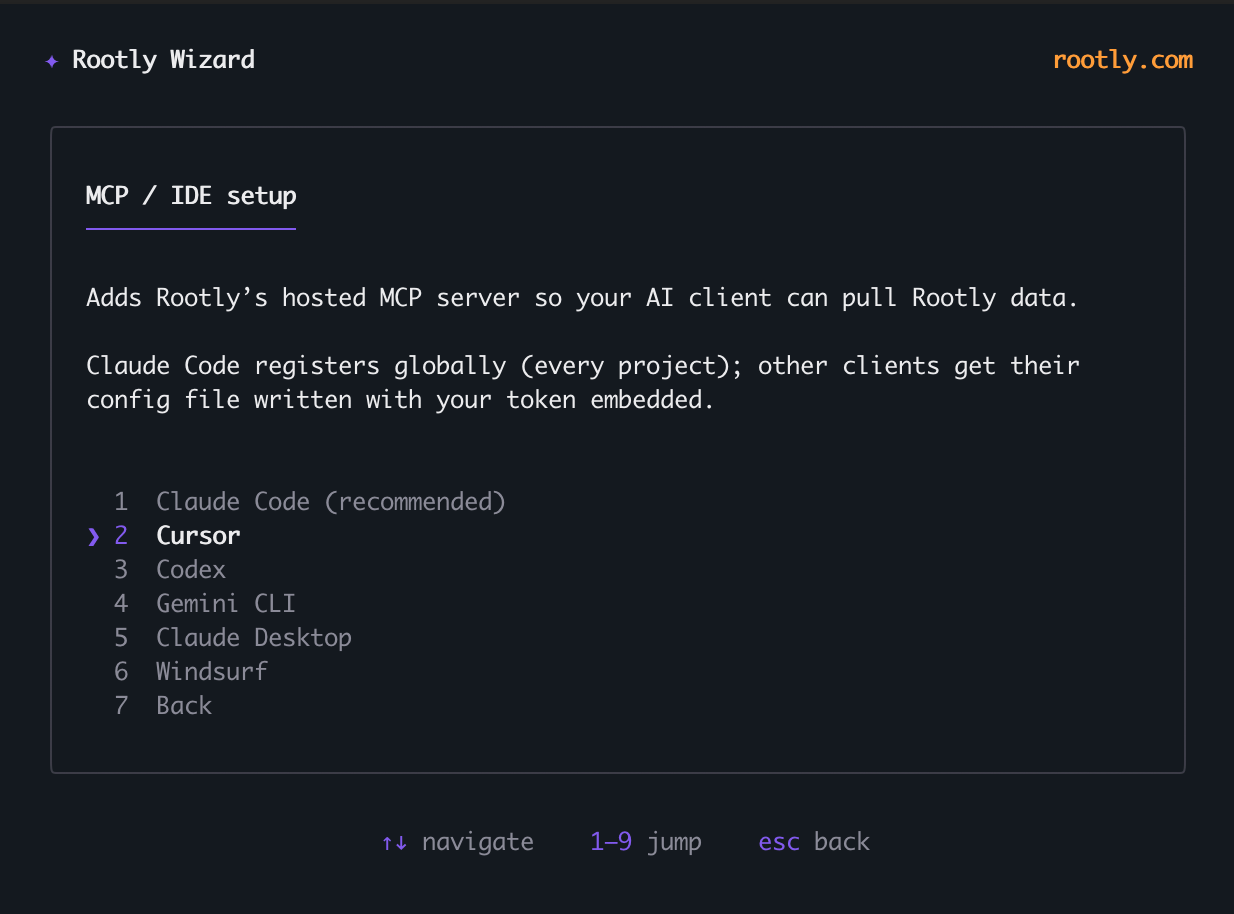
MCP / IDE setup
The wizard can write Rootly MCP server configuration for your editor or AI agent: preview the config or apply it directly. It points the client at the hosted Rootly MCP server (https://mcp.rootly.com/mcp) and reads your token from the ROOTLY_TOKEN environment variable rather than embedding it inline.
Scripting (advanced)
Every setup step is also available non-interactively as a JSON-in / JSON-out action, handy for automation or AI agents. The interactive wizard requires a TTY; scripts and agents should use theaction subcommand instead.
ROOTLY_TOKEN to an organization admin API key for actions that read or write your workspace. Add "dryRun": true to any mutating action to validate and echo the call without executing it:
Feedback & Support
- Issues: GitHub Issues
- Source Code: GitHub Repository