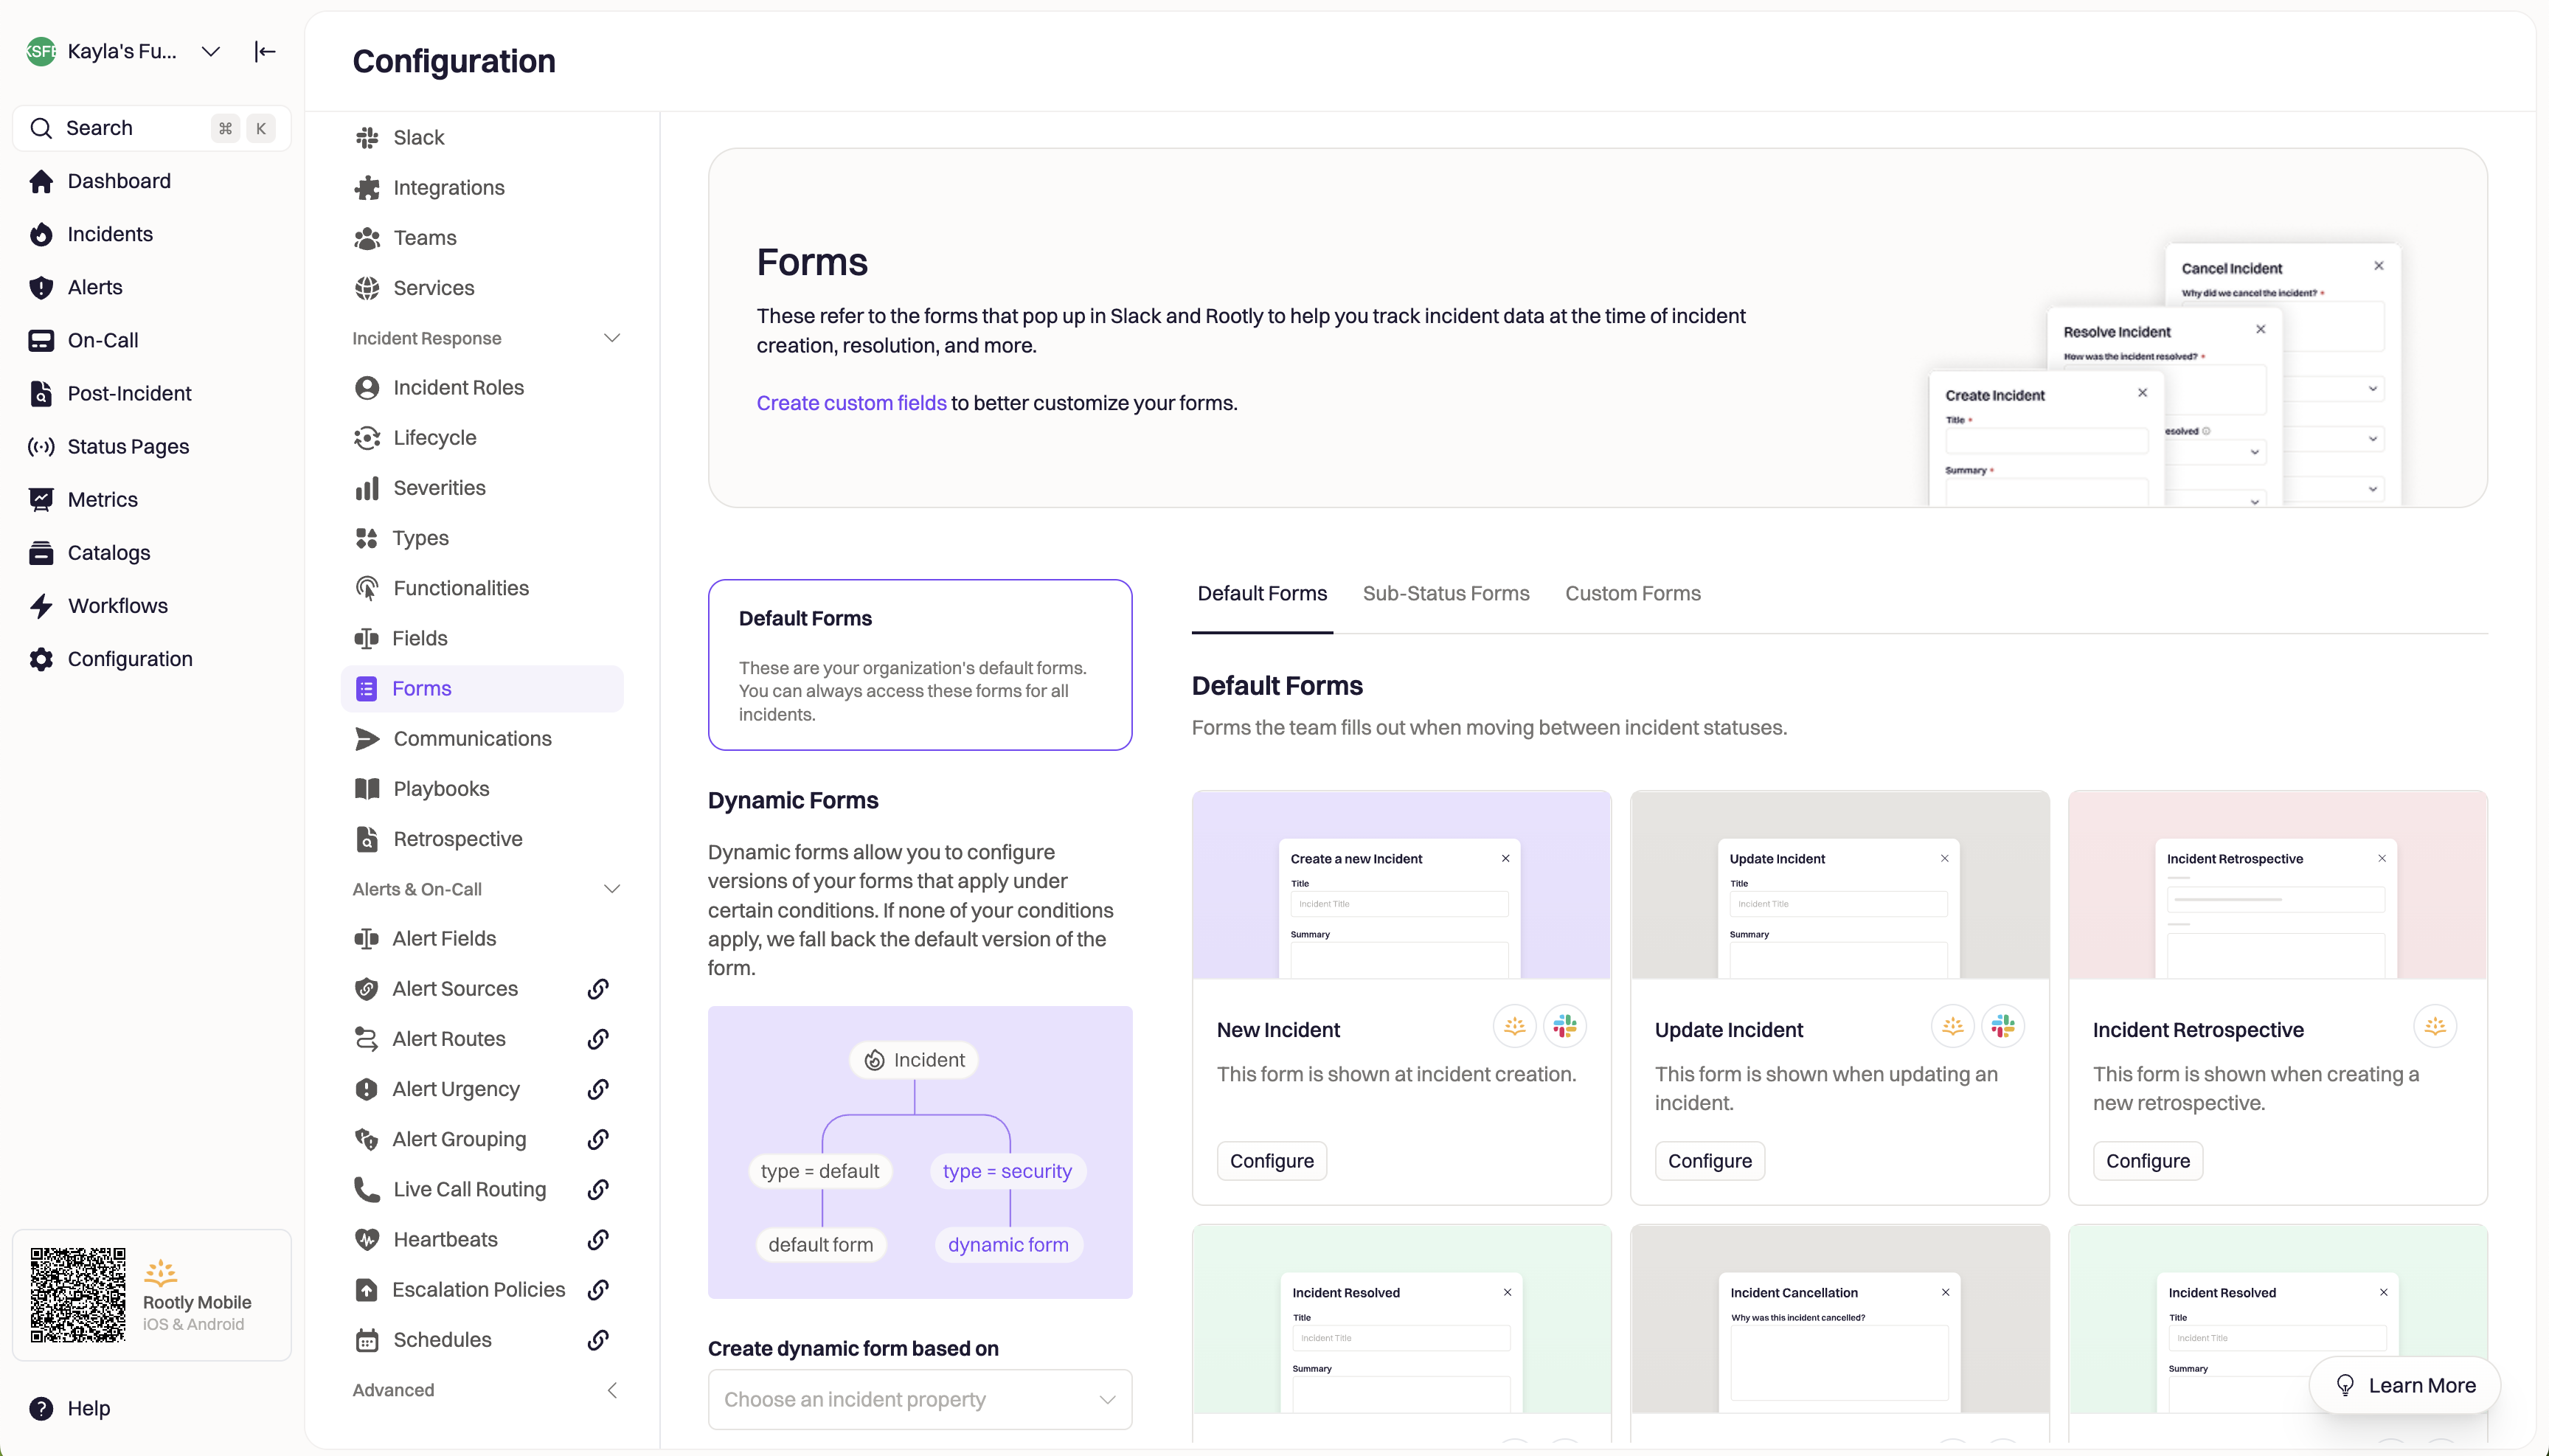
Use Forms in Rootly to capture incident data throughout your incident’s lifecycle. Forms can be filled out at key moments during your incident lifecycle across Slack and web. The form can be completely customized depending on the stage and type of incident using fields. Start configuring your forms by logging into the Rootly web app and navigating to Configuration > Forms. Clean Shot2025 08 20at12 53 53@2x Pn

Default Forms

Rootly comes with a series of built-in forms that cannot be deleted. These forms are used to capture information about your incident at standard moments in your incident lifecycle, such as when the incident is created, updated, or cancelled. The information captured on these forms can be completely customized by updating the form and adding or removing additional fields. Learn about customizing these default forms on the Built-In Forms page.

Custom Forms

Create a custom form to capture information outside of when your incident progresses or the lifecycle status changes. Custom forms can be opened and filled out through a Slack command or using a Slack block button. To learn about how to create and manage custom forms, please see the Custom Forms page.

Sub-Status Forms

For our advanced customers that have access to Custom Lifecycles, Rootly creates a separate form for each custom substatus that you configure in the Lifecycle section of the application. These can be edited in the same way that default and custom forms can be under the substatus forms tab.

Built-In Fields

Rootly comes with a series of built-in incident properties that are typically collected during incident responses. To learn about what can be customized and how to customize built-in fields, please see the Built-In Fields page.

Custom Fields

If the built-in properties are not enough to address your requirements, Rootly offers the ability to create custom incident properties in various data types. To learn about how to create custom fields, please see the Custom Fields page.