Google Cloud Monitoring
Google Cloud Monitoring can be configured as an alert source to send events into Rootly as alerts. The alerts received on Rootly can then be routed to a Slack channel, used to initiate incidents, or used to page Rootly On-Call targets.
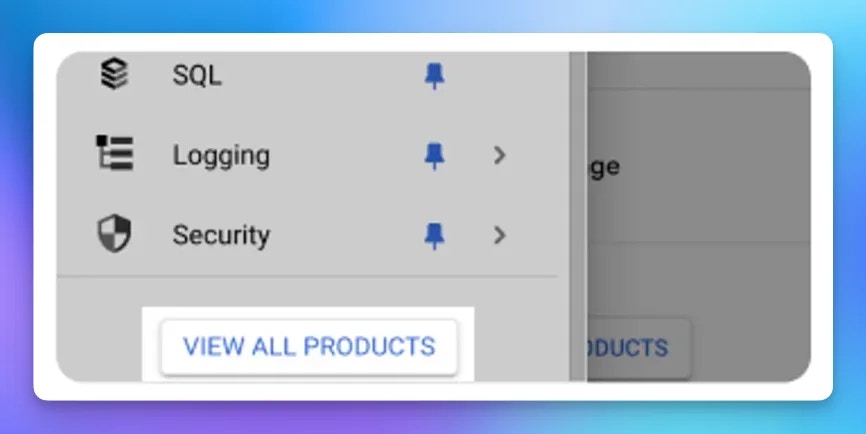
Navigate to Google Cloud Console and click on the VIEW ALL PRODUCTS button in the left pane to access the complete list of products.
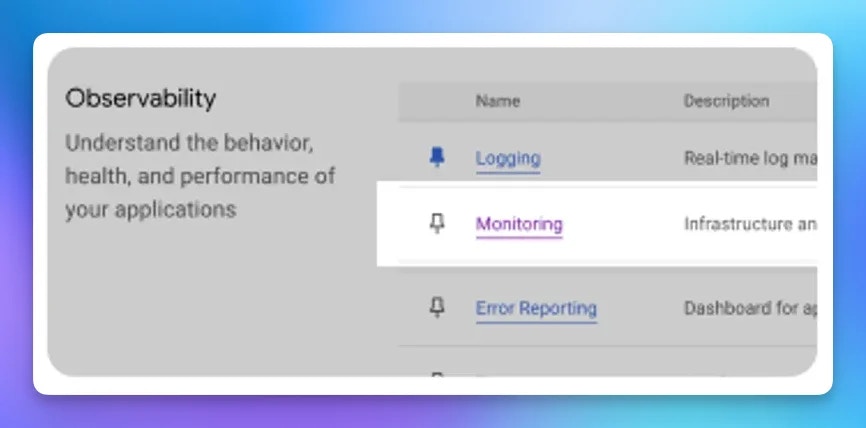
In the left pane, find and select the Observability category, then choose Monitoring.
In the Monitoring section, select Alerting from the left pane and click on the EDIT NOTIFICATION CHANNELS button at the top.
Find the Webhooks channel and click on the ADD NEW button next to it.
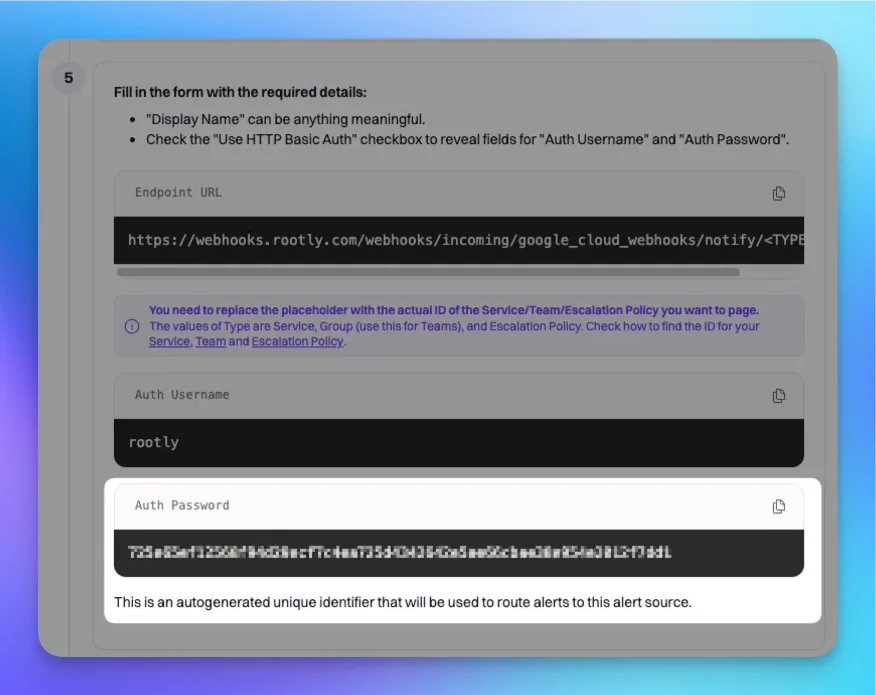
Fill in the form with the required details:
Display Name - give your webhook a description name
Check the Use HTTP Basic Auth checkbox.
Enter the following URL into the Endpoint URL field.
Rootly is able to receive two types of alerts: paging and non-paging.
- Paging alerts will page the notification target specified in the Endpoint URL field.
The inclusion of a notification target determines whether the alert is a paging or non-paging alert.
Enter the following URL into the Endpoint URL for a paging alert.
You need to replace the <TYPE> and <ID> placeholders with the following values:
- TYPE - this defines the Rootly resource type that will be used for paging.
- The following are the available values:User | Group (Team) | EscalationPolicy | Service
-
- ID - this specifies the exact resource that will be targeted for the page.
- The id of the resource can be found when editing each resource.
Enter the following URL into the Endpoint URL for a non-paging alert.
Enter the following value into the Auth Username field.
You can pick up your organization-specific Auth Password from the Alert Sources page. Click on the Google Cloud Platform (GCP) option and enter a descriptive name for your GCP alert source.
Copy your organization-specific Auth Password from the 5th step.
Click on the TEST CONNECTION button to verify the webhook configuration. A successful test will enable the SAVE button.
Once the connection test is successful, click the SAVE button to finalize the webhook setup.
If you need help or more information about this integration, please contact [email protected] or start a chat by navigating to Help > Chat with Us.