
Introduction
SCIM (System for Cross-domain Identity Management) lets your identity provider automatically manage Rootly users and groups. When users are assigned or unassigned in your IdP, they are provisioned or deprovisioned in Rootly without any manual steps.Before You Begin
Before connecting your IdP:- Complete SSO setup for your organization
- Navigate to Integrations > SSO in Rootly and copy your SCIM Token — this is the Bearer token your IdP uses to authenticate SCIM requests
- Note your SCIM tenant URL:
https://rootly.com/scim
Identity Provider Setup
Expand the section for your identity provider:Okta
Okta
Enable SCIM provisioning
In Okta, navigate to Applications > Rootly > Provisioning tab. Under Settings > Integrations, click Configure API Integration, enter your SCIM Token, and save.
Enable Create and Deactivate users
Go to Provisioning > To App, click Edit, and enable:
- Create Users — provisions users when assigned to the Rootly app
- Deactivate Users — removes users from Rootly when unassigned
Push groups (optional)
To sync Okta Groups to Rootly:
- In Okta, navigate to Directory > Groups and create or select a group
- Go to Applications > Rootly > Push Groups tab
- Click +Push Groups, select the group, switch from Create Group to Link Group, and click Save
- In Rootly, go to Integrations > SSO > Role Assignment and map the Okta Group to a Rootly Role
Microsoft Entra
Microsoft Entra
Follow the official Microsoft tutorial for configuring SCIM provisioning with Rootly:Microsoft Entra SCIM provisioning tutorial →
Google Workspace
Google Workspace
Google Workspace has limited native SCIM support. The following workaround uses Google’s Adobe app as a proxy for SCIM provisioning.
Add a new Web and Mobile app
In Google Admin Console, navigate to Apps > Web and mobile apps and click Add app.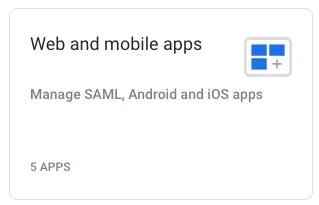
Select the Adobe app
Search for and select the Adobe app from the catalog.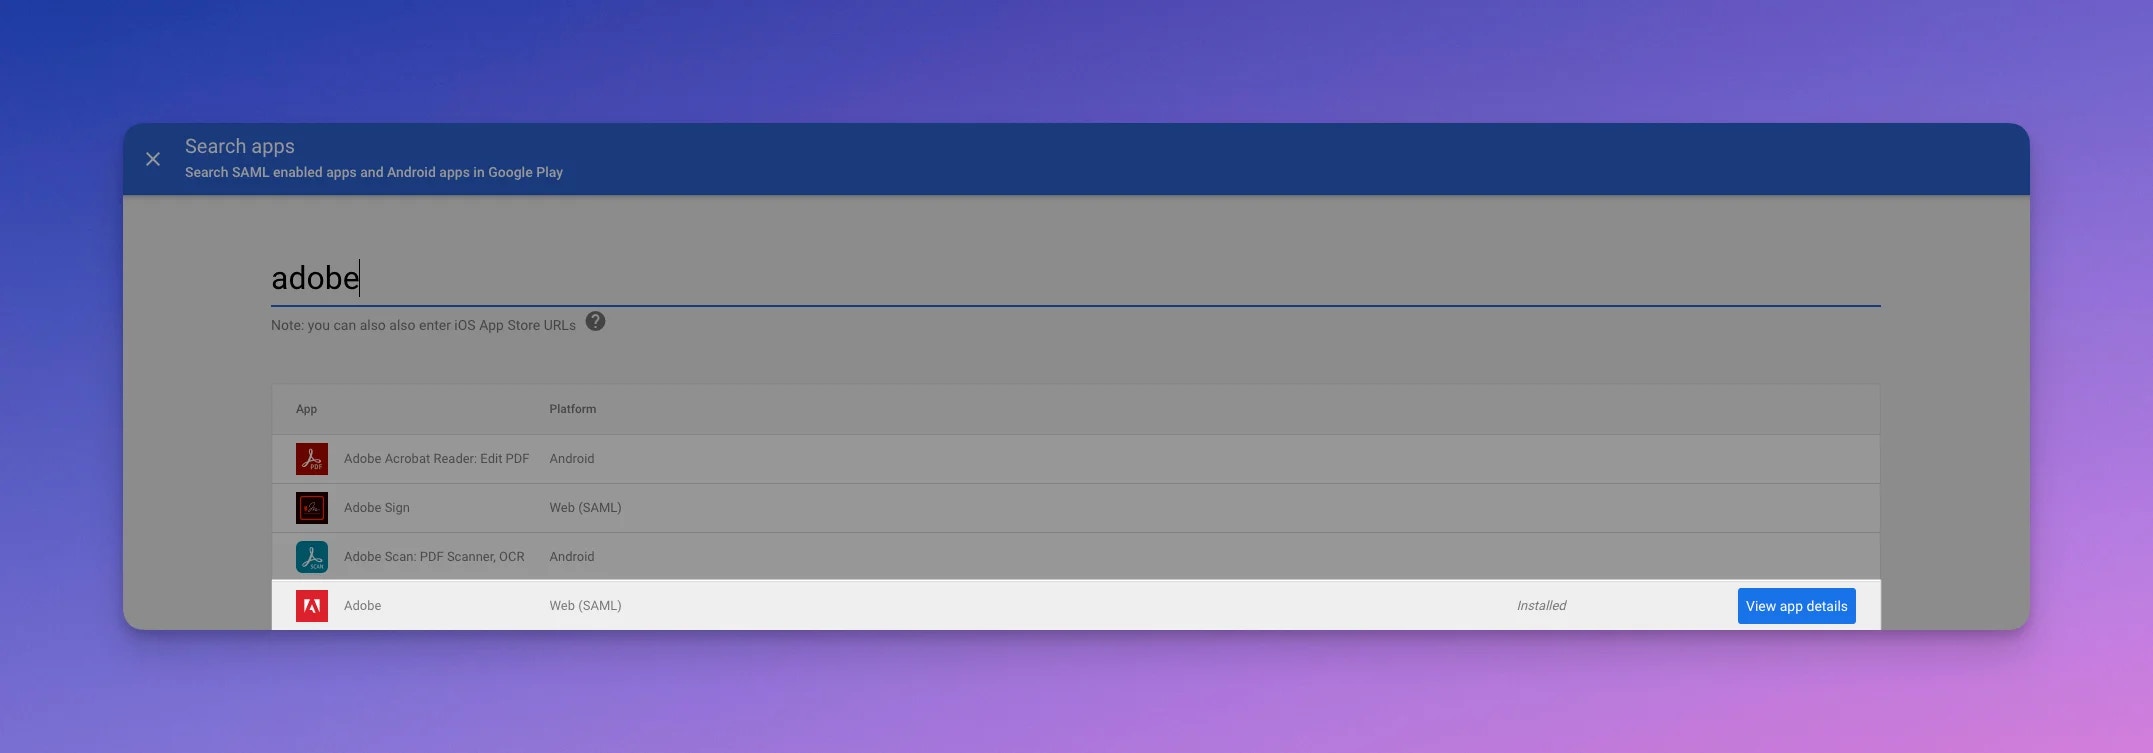
Configure auto-provisioning
When prompted for SAML fields, enter
https://dummy.com/saml for all values. When you reach the auto-provisioning step:- SCIM Token: your token from Rootly > Integrations > SSO
- Endpoint URL:
https://rootly.com/scim - Select a group of users to import, or leave empty to import all
Keycloak
Keycloak
Install the SCIM extension
Download the
keycloak-scim JAR from the releases page, place it in /opt/keycloak/providers/, and restart Keycloak.Add SCIM as an event listener
Go to Realm Settings > Events > Event Listeners and add
scim to the list. Save.Create a SCIM federation provider
Navigate to User Federation > Add provider > SCIM and configure:
Set the environment variable
SCIM_EMAIL_AS_USERNAME=true — this ensures usernames are sent in email format, required for user matching in Rootly.Enable propagation
In the federation provider settings, enable:
- Enable user propagation: On
- Enable group propagation: On (optional)
- Log SCIM requests and responses: On (recommended for debugging)
- Import action:
CREATE_LOCAL
Rippling
Rippling
Rippling supports SSO and SCIM provisioning for Rootly in a single step. Connect from the Rippling app store.
Supported Attributes
Users
Groups
Role Assignment via Groups
When Assign roles to SCIM groups is enabled, Rootly automatically assigns roles based on group membership. If a user belongs to multiple SCIM groups with different role configurations, the highest-weighted role is applied.Troubleshooting
The SCIM endpoint is not resolving
The SCIM endpoint is not resolving
The SCIM endpoint only becomes active after SSO is fully configured. Complete SSO setup in Integrations > SSO and save before connecting your IdP’s SCIM provisioning. Confirm you are using
https://rootly.com/scim with no trailing slash.Authentication errors from the IdP
Authentication errors from the IdP
The IdP authenticates with your SCIM Token as a Bearer token. Retrieve the current token from Integrations > SSO in Rootly and confirm it matches what your IdP has configured. Also confirm that SCIM is enabled in your SSO settings.
Users are not being provisioned
Users are not being provisioned
Confirm that the user is assigned to the Rootly application in your IdP, the
userName attribute is a valid email address, Create Users is enabled in your IdP’s provisioning settings, and the default username format is set to email. Most IdPs record outbound SCIM requests with the full request body and Rootly’s response — Okta’s System Log, Microsoft Entra’s Provisioning logs, and Google Workspace’s Admin reports are the canonical first place to check. If the IdP shows successful sends but the user still isn’t appearing in Rootly, contact support@rootly.com.Deactivated users still appear in Rootly
Deactivated users still appear in Rootly
When a user is deactivated (
active: false), Rootly removes their team membership but preserves the user record. If the user still appears active in Rootly, check your IdP’s outbound SCIM provisioning logs for the deactivation request — confirm it was sent with active: false and that Rootly returned a 2xx response. If the IdP shows a successful send but the user is still active in Rootly, contact support@rootly.com.Phone numbers are not syncing
Phone numbers are not syncing
Confirm the source value in your IdP includes a country code prefix for non-US numbers. Rootly normalizes phone numbers using US as the default country code, so unprefixed international numbers fail to normalize and are not persisted.
Related Pages
SSO
Configure SAML 2.0 single sign-on — required before enabling SCIM.
Google Directory Sync
Poll-based alternative to SCIM for Google Workspace organizations.
On-Call Schedules
Manage on-call schedules once users are provisioned via SCIM.