

- Automatically create Asana tasks when incidents are declared or reach a certain state
- Create subtasks under an existing Asana task to track action items
- Update task title, completion status, assignee, and custom fields as incidents evolve
- Set task dependencies to model blocking relationships between tasks
Before You Begin
Before setting up the integration, make sure you have:- A Rootly account with admin permission to manage integrations
- An Asana account with access to the workspace you want to use
Rootly recommends installing with a dedicated Asana service account so the integration does not break if an individual user leaves your organization.
Installation
Open the Asana integration in Rootly
Navigate to the integrations page in Rootly and select Asana.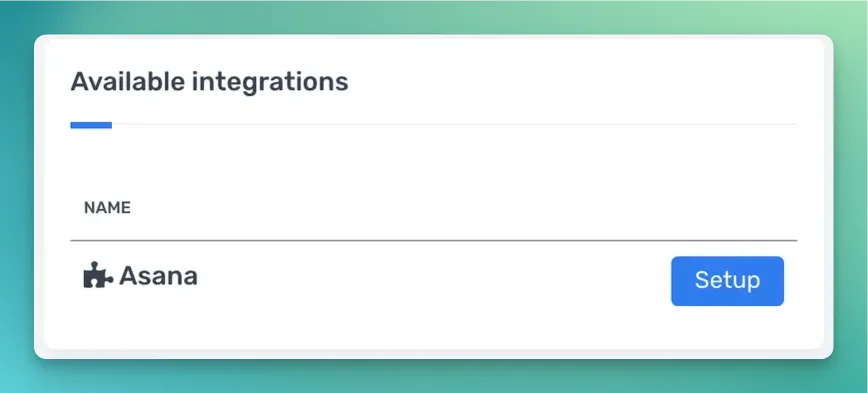
Authorize Rootly with Asana
You will be redirected to Asana to sign in and grant Rootly permission to access your workspace. Once authorized, the installation is complete.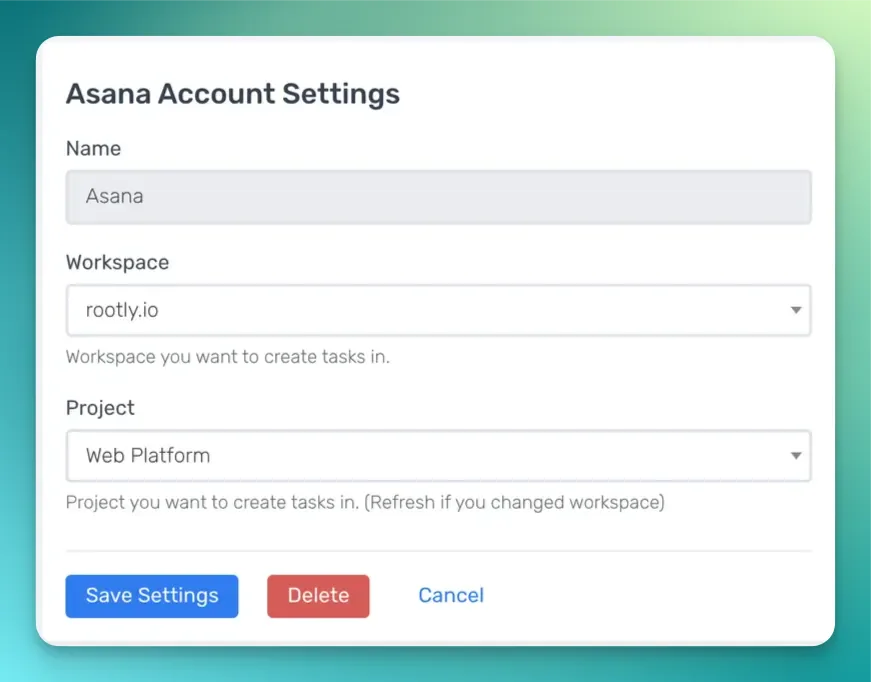
After authorization, the Create an Asana Task, Create an Asana Subtask, and Update an Asana Task workflow actions are available in your Genius workflows.
Workflow Actions
The Asana integration provides three workflow actions for managing tasks directly from Rootly incidents. If you are unfamiliar with how Genius workflows work, visit the Workflows documentation first.Create an Asana Task
This action creates a new task in a specified Asana project.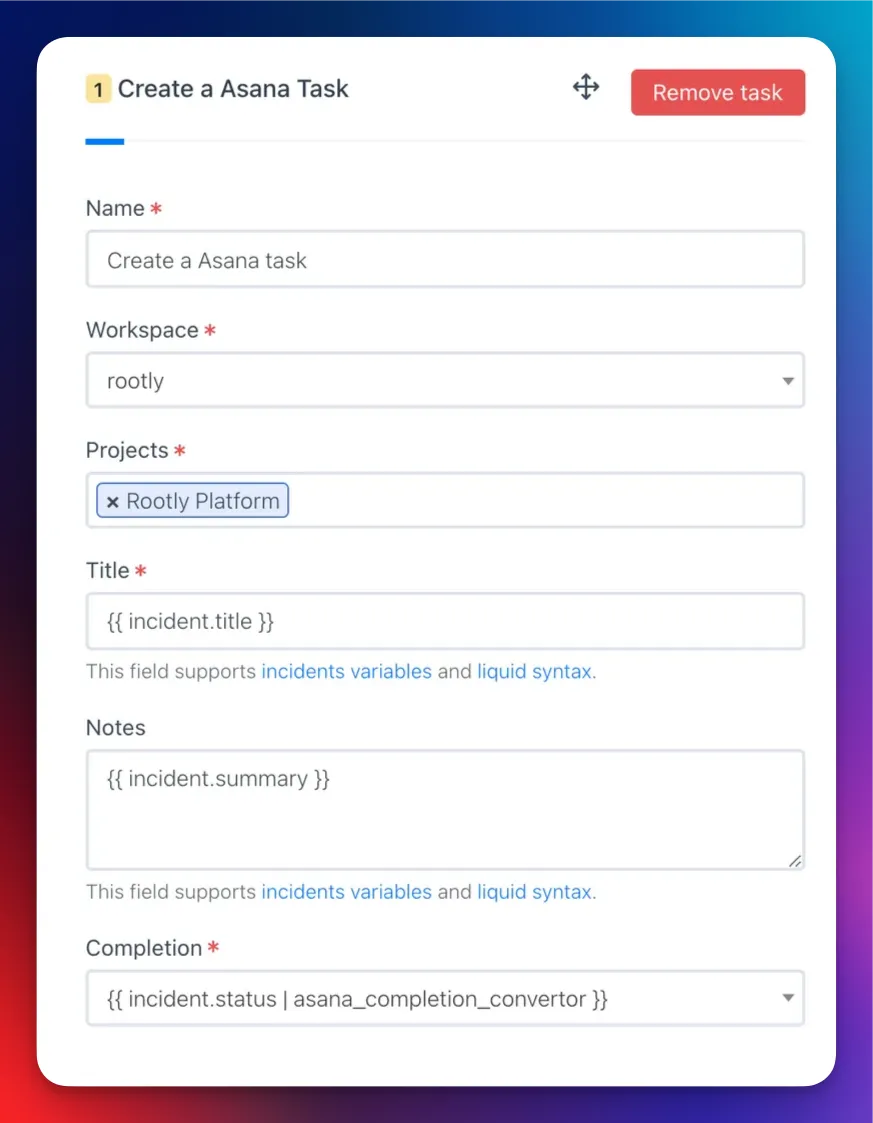
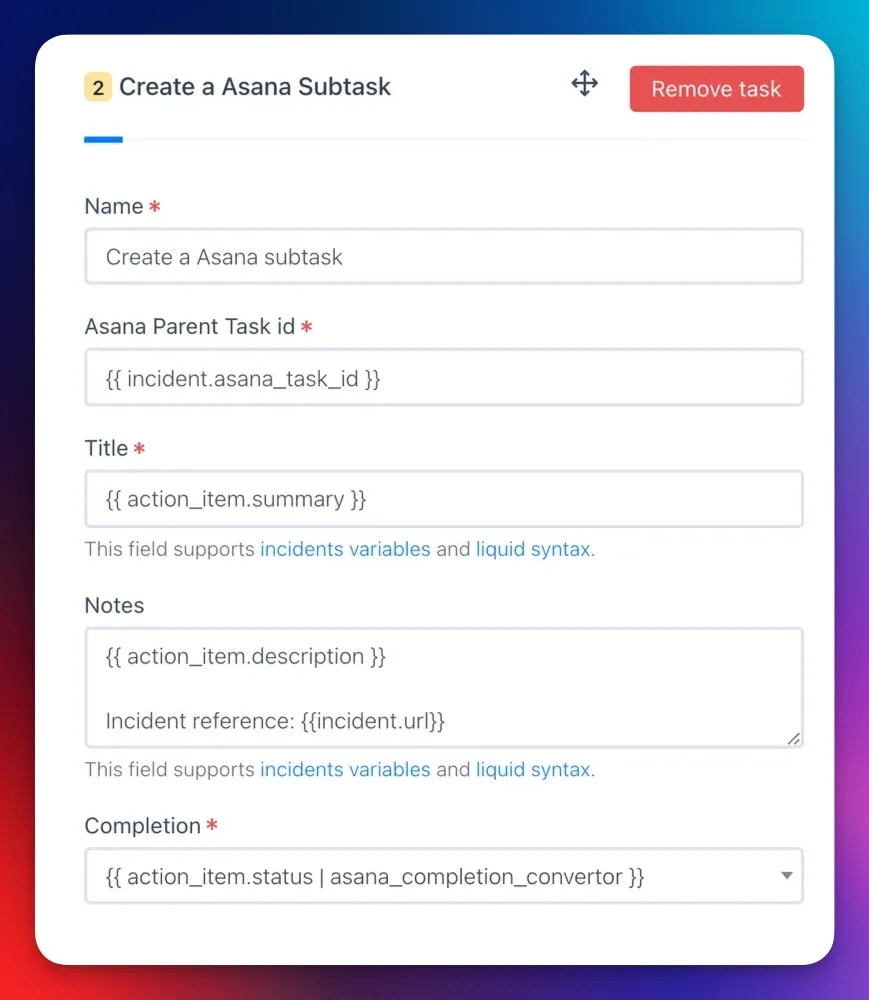
Create an Asana Subtask
This action creates a subtask under an existing Asana task.When a Create an Asana Task action runs, Rootly stores the resulting task ID on the incident record. Reference it in subsequent subtask actions using Liquid variables.
Update an Asana Task
This action updates an existing Asana task with new values.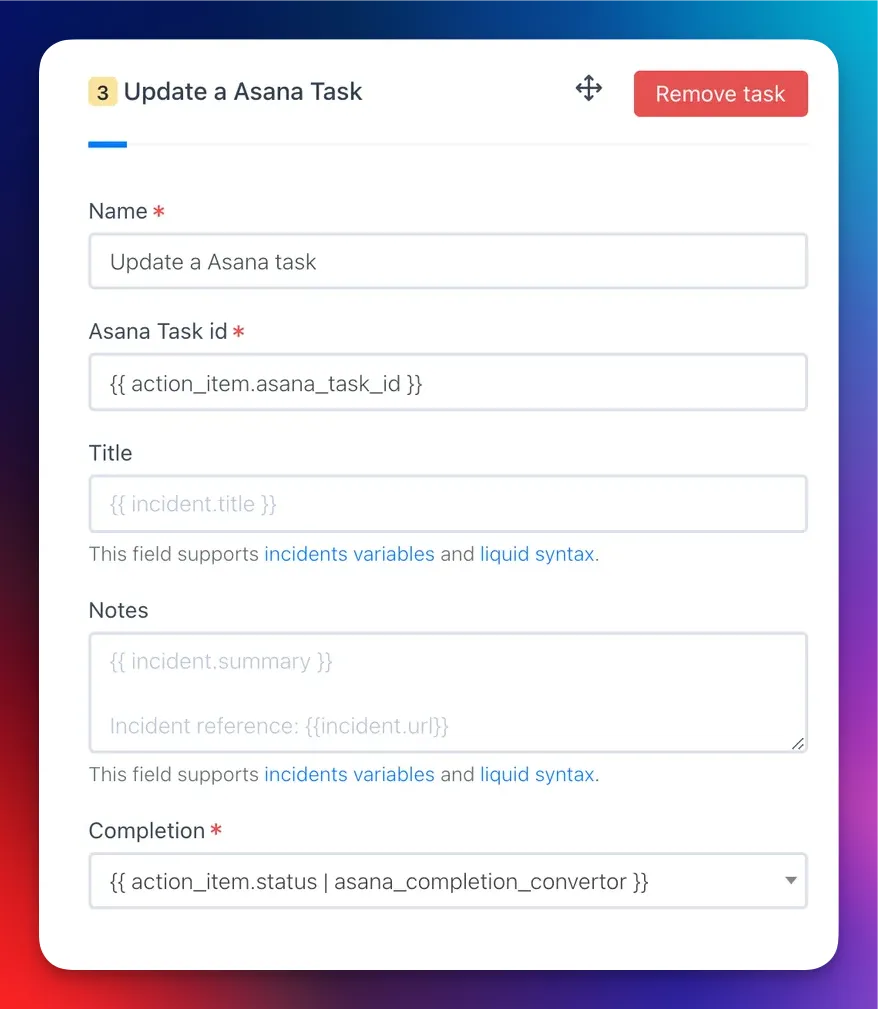
Custom Fields
Use the Custom Fields Mapping field to set Asana custom field values using a JSON object. The key is the Asana custom field ID and the value depends on the field type. Text fieldsTo find custom field IDs and enum option IDs, use the Asana API or inspect the URL when editing a custom field in Asana.