

Overview
Rootly’s Datadog integration connects your monitoring stack to your incident response process. When a Datadog monitor fires, Rootly can receive the alert, route it to the right team, and automatically kick off an incident — all without manual intervention. During incidents, Rootly workflows can also pull Datadog notebooks, graph snapshots, and dashboards directly into the incident record.Features
Alert Ingestion
On-Call Paging
Notebook Automation
Snapshot & Dashboard Retrieval
Before You Begin
You will need three pieces of information from Datadog:- Host — your Datadog account’s API hostname
- API Key — authenticates Rootly with your Datadog organization
- Application Key — grants Rootly permission to read dashboards
Plan Requirements
- Datadog account with Admin access
- Rootly account with Owner or Admin role
Installation
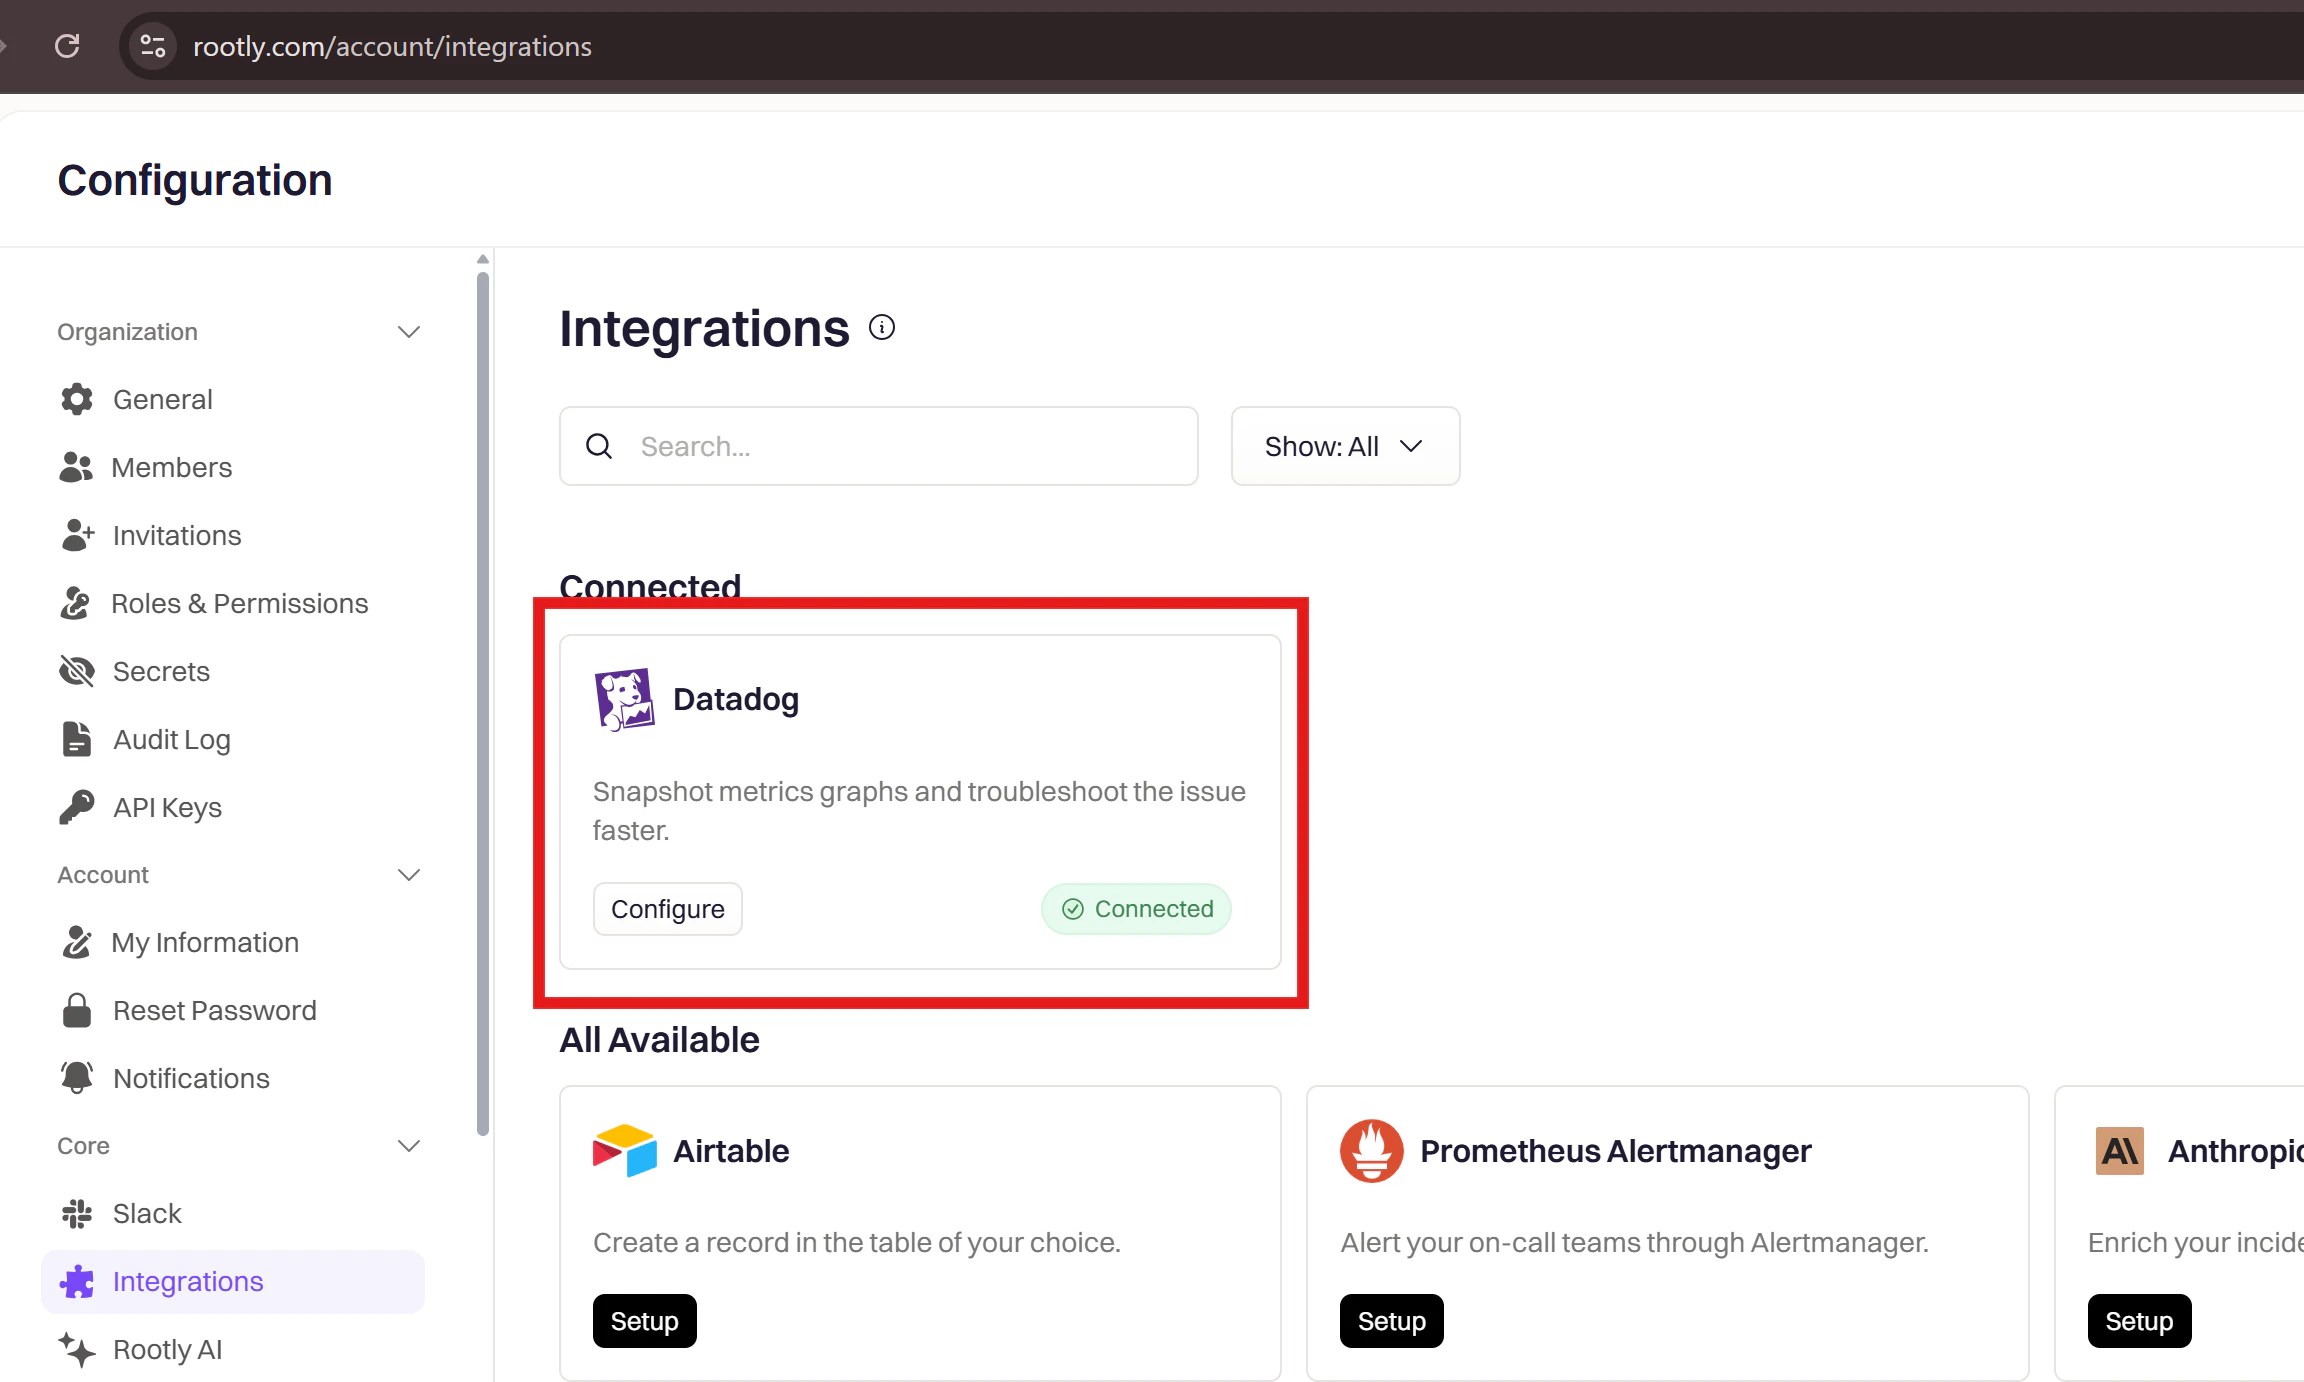
Open Rootly Integrations

Create an API Key in Datadog

Rootly Integration) and click Create Key. Copy the key immediately.Create an Application Key in Datadog

Rootly Integration), then edit its scope to include Read permission for Dashboards.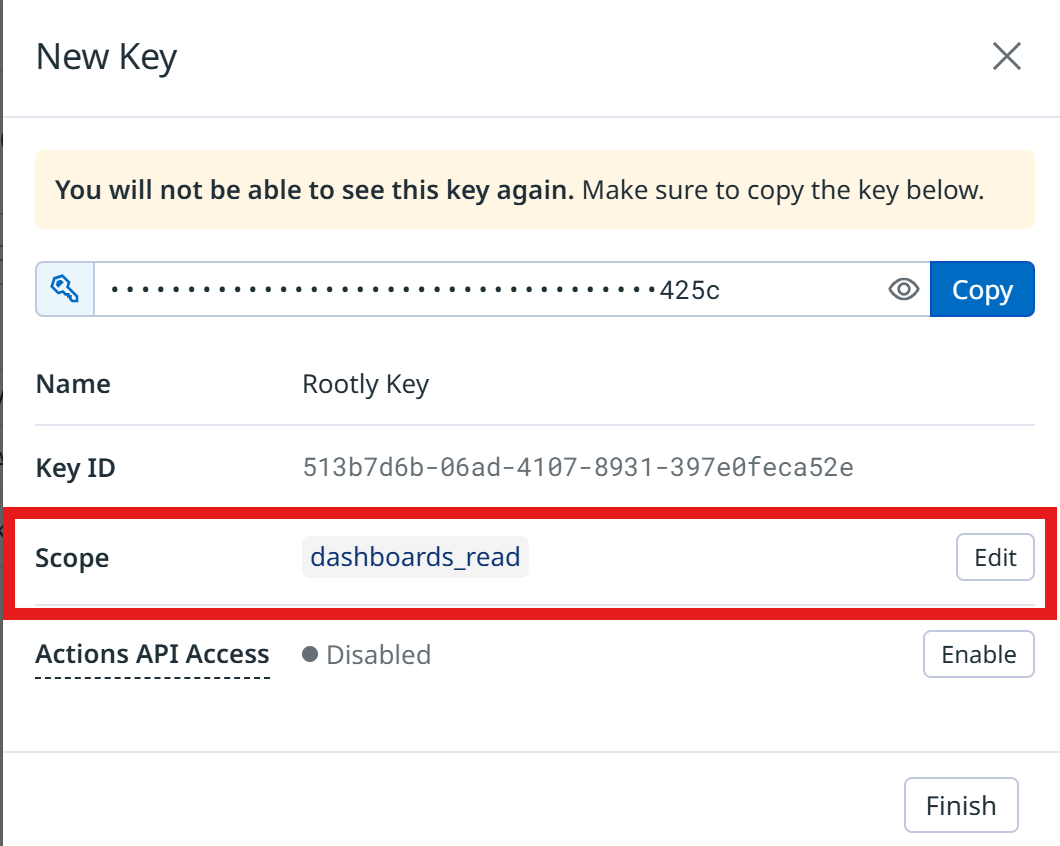
dashboard_read scope. You can add more permissions if needed for other integrations, but this is the minimum required.Enter credentials in Rootly
-
Host — your Datadog API hostname. Common values:
- API Key — paste the API key you created
- Application Key — paste the application key you created

Confirm connection
Ingest Datadog Alerts
Once Datadog is connected, forward monitor alerts to Rootly via a webhook. Alerts received in Rootly can be routed to a Slack channel, used to page on-call responders, or trigger incident workflows automatically.Step 1: Set Up the Webhook in Datadog
Install the Webhooks integration
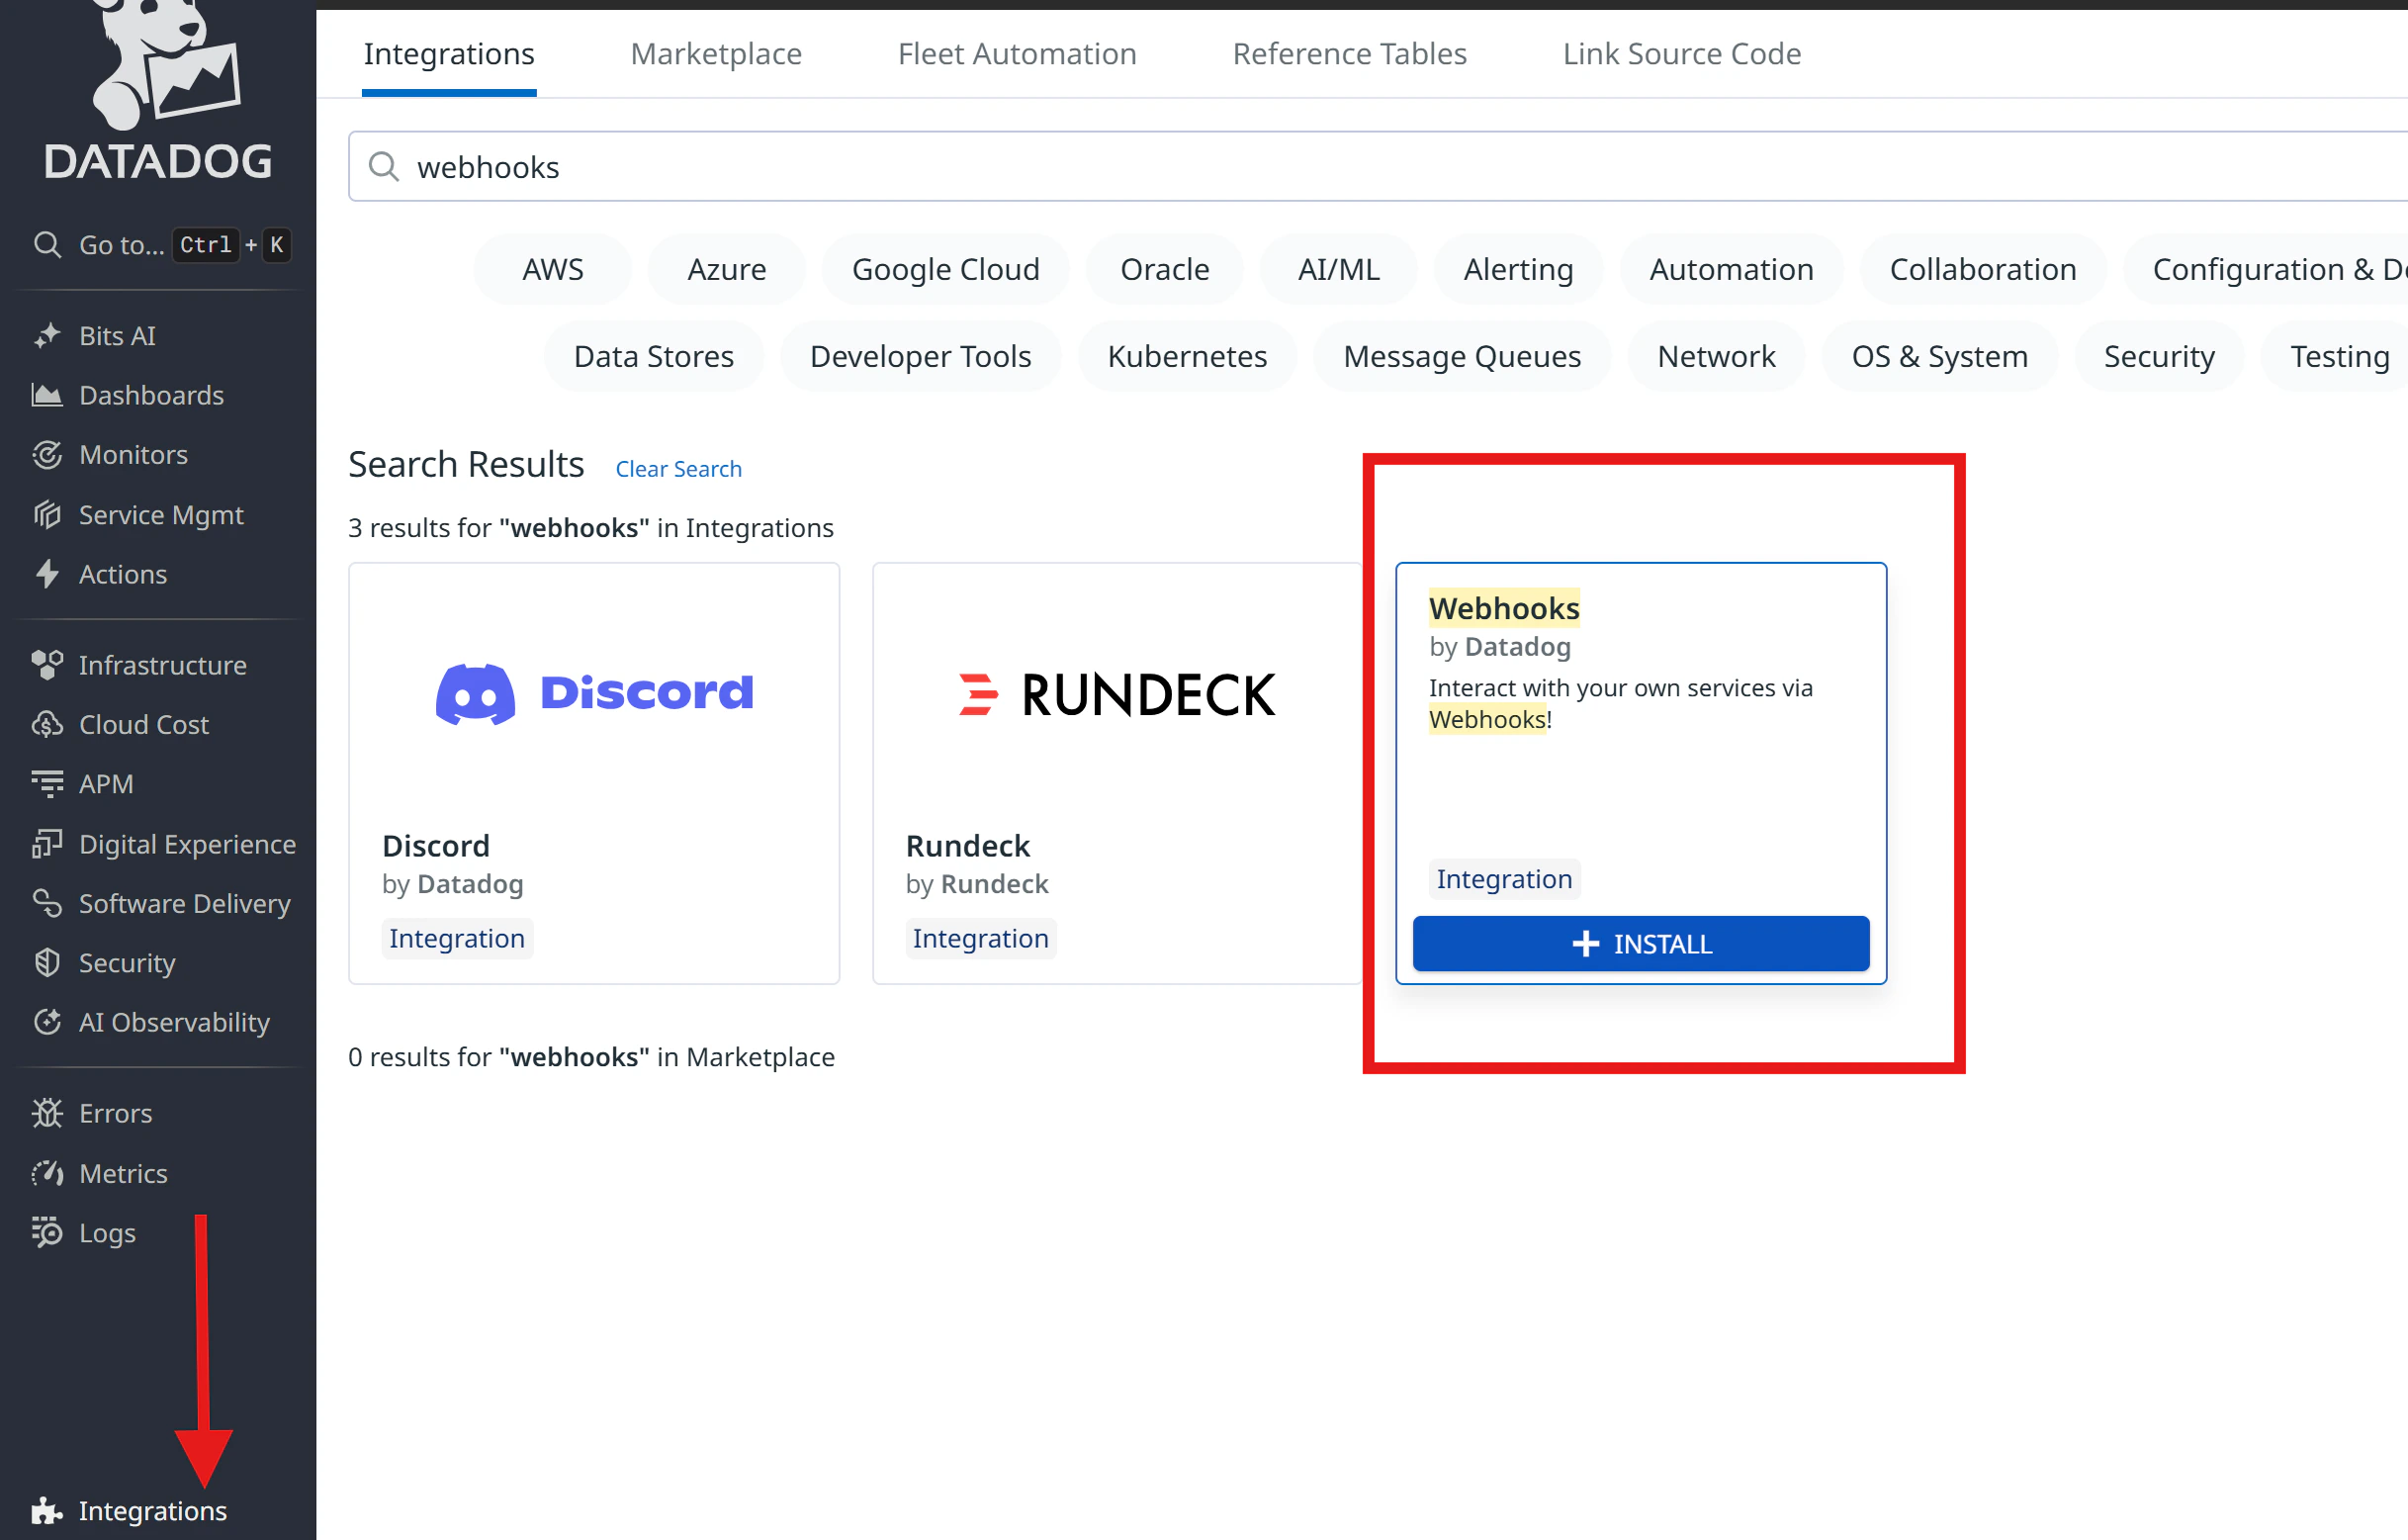
Create a new webhook
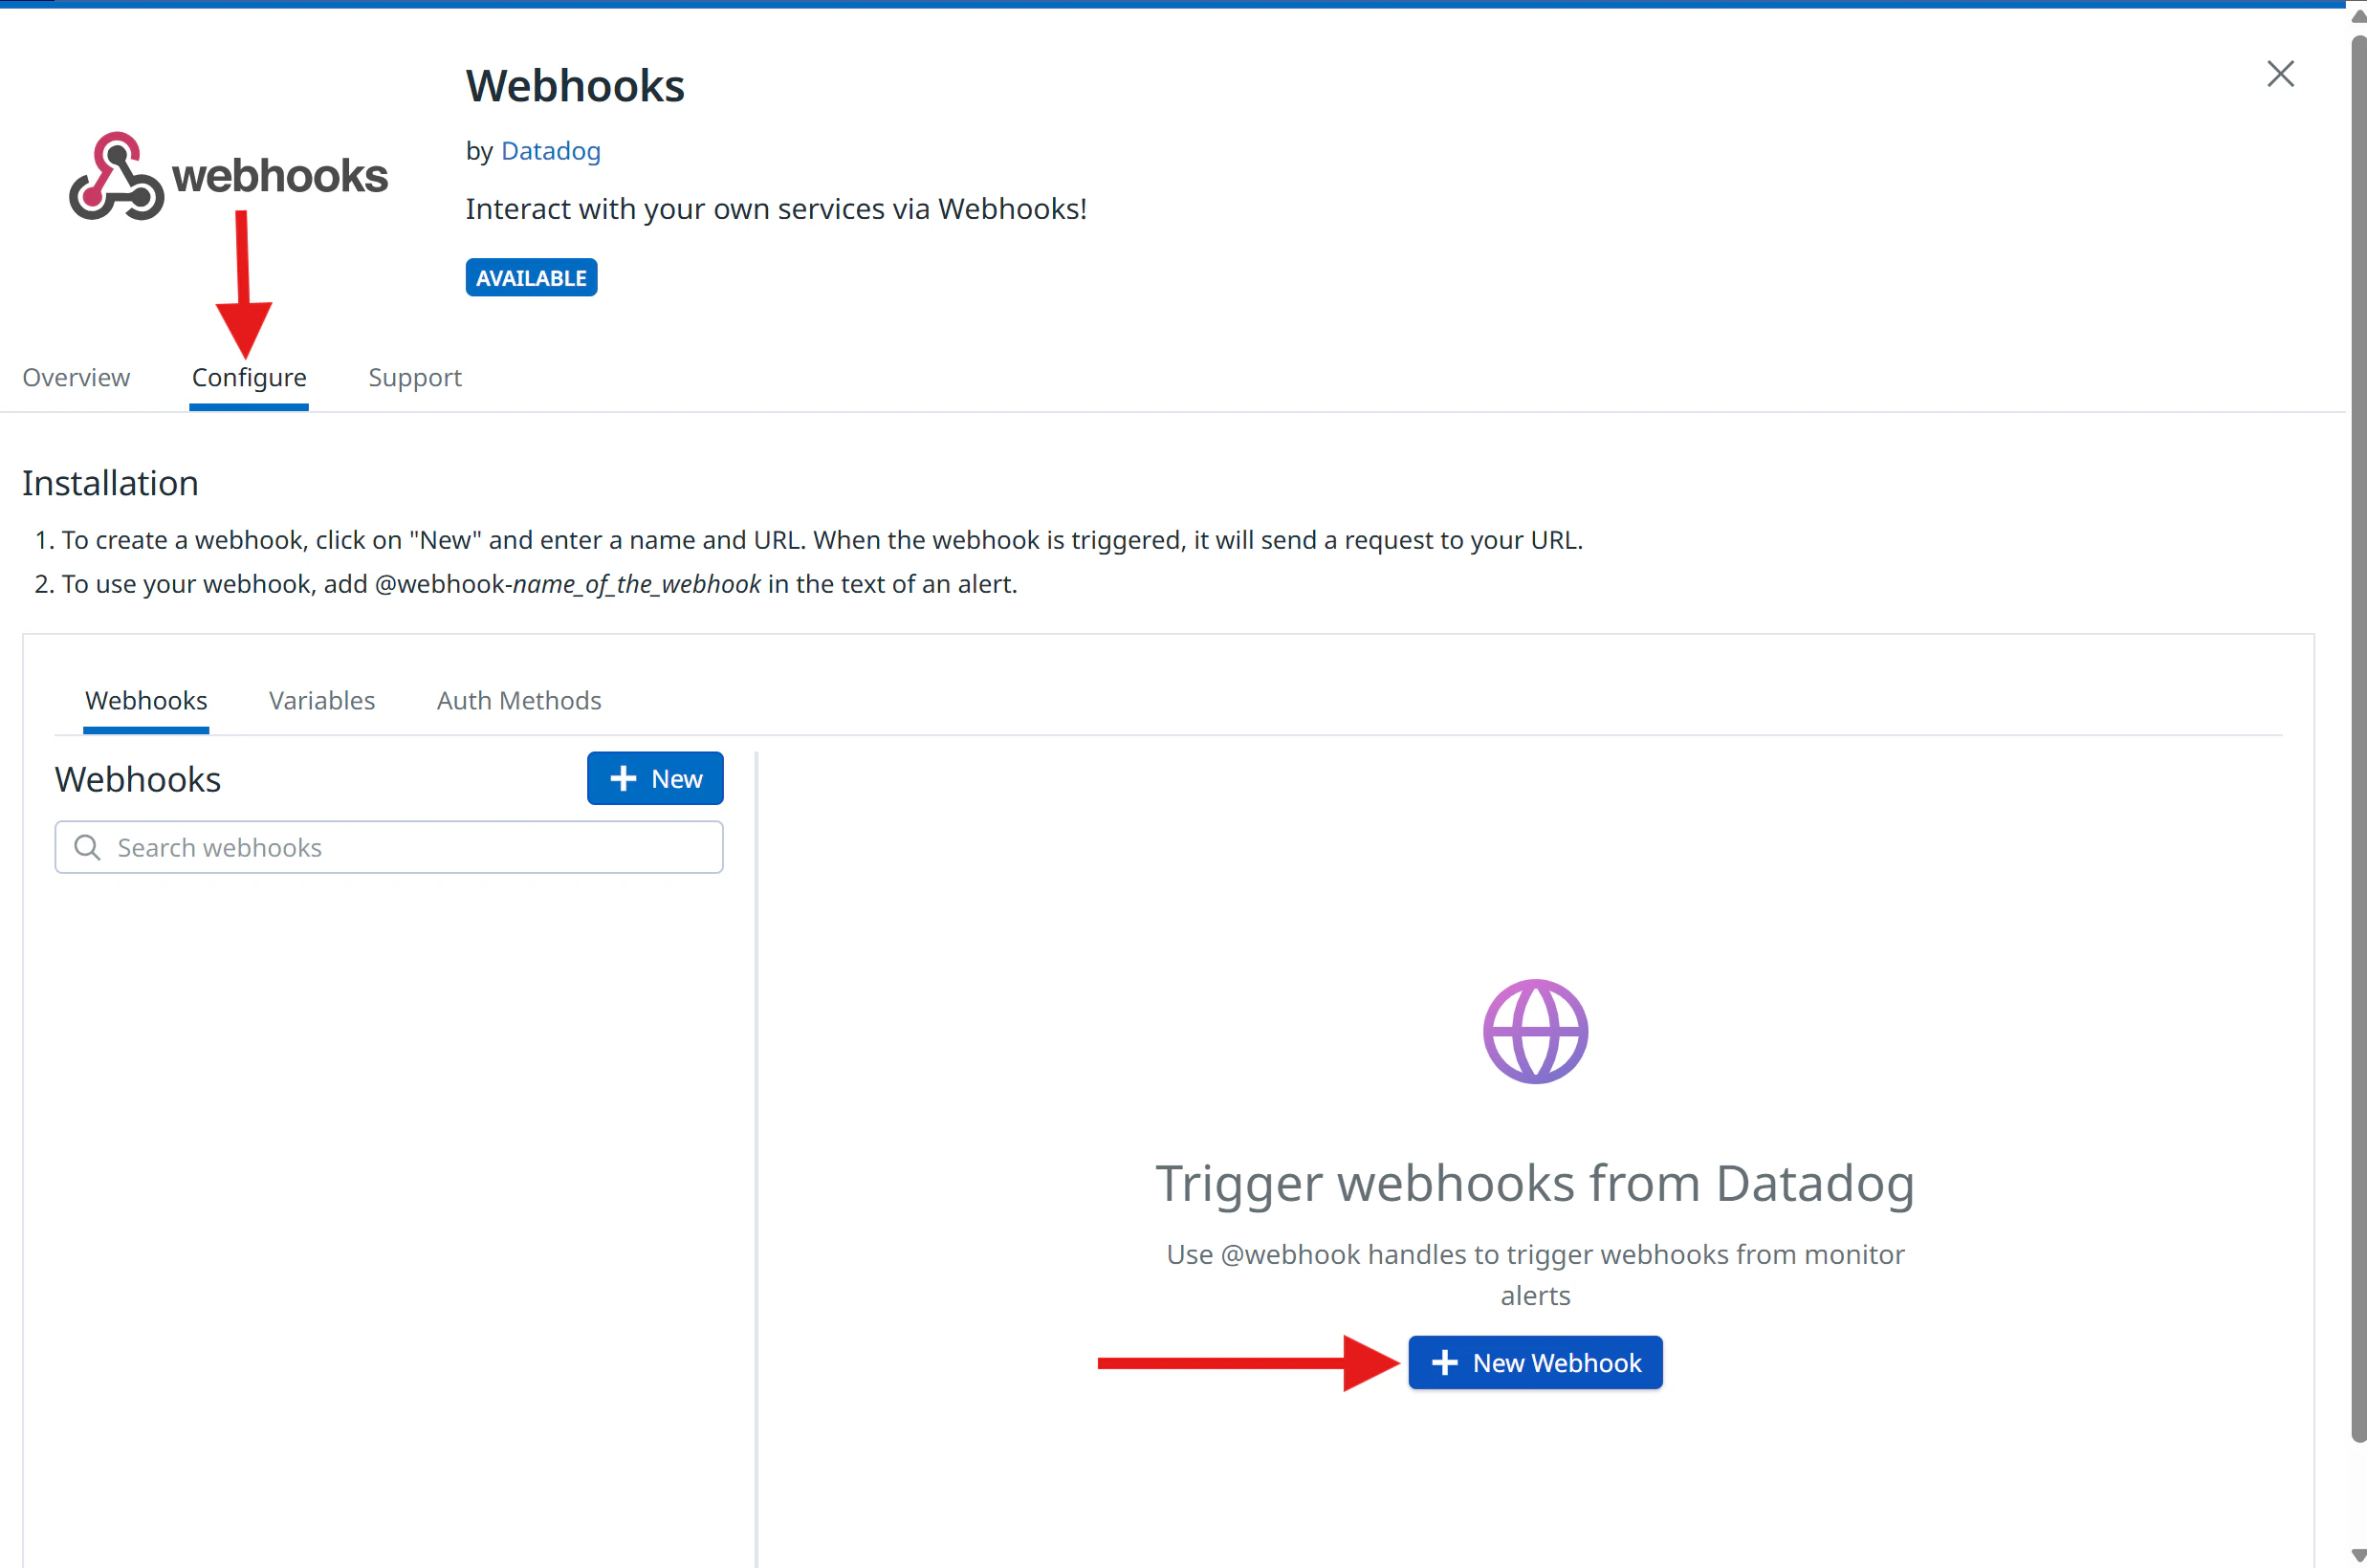
Configure the webhook
Rootly_Alerts)URL — enter:- General Alert
- Page On-Call
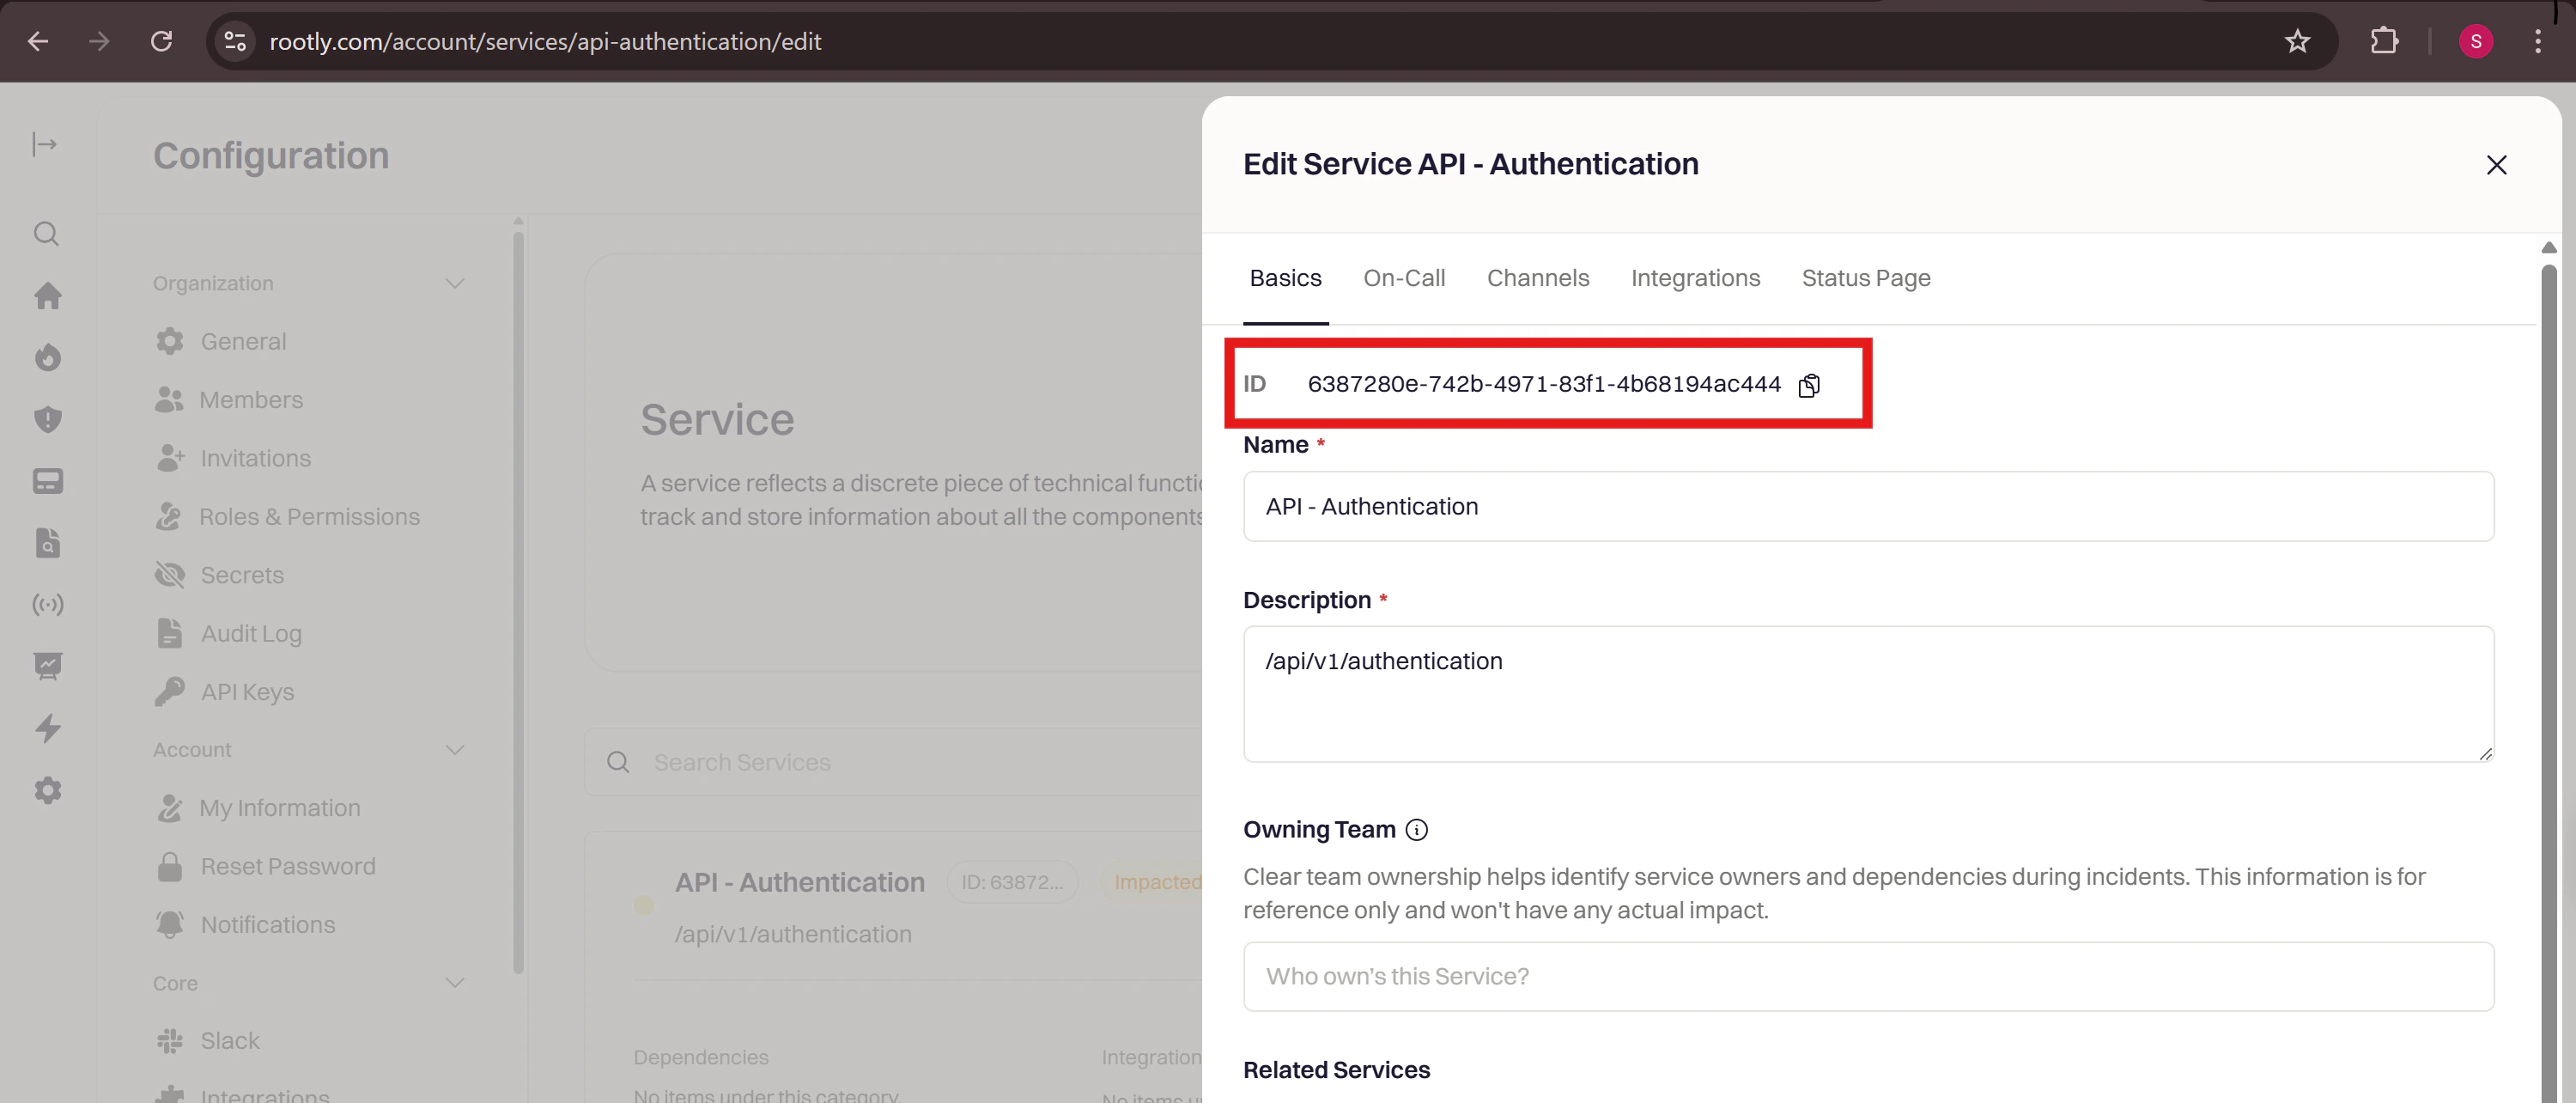
notification_target object. Including it tells Rootly who to page when the alert is received.Add the custom header
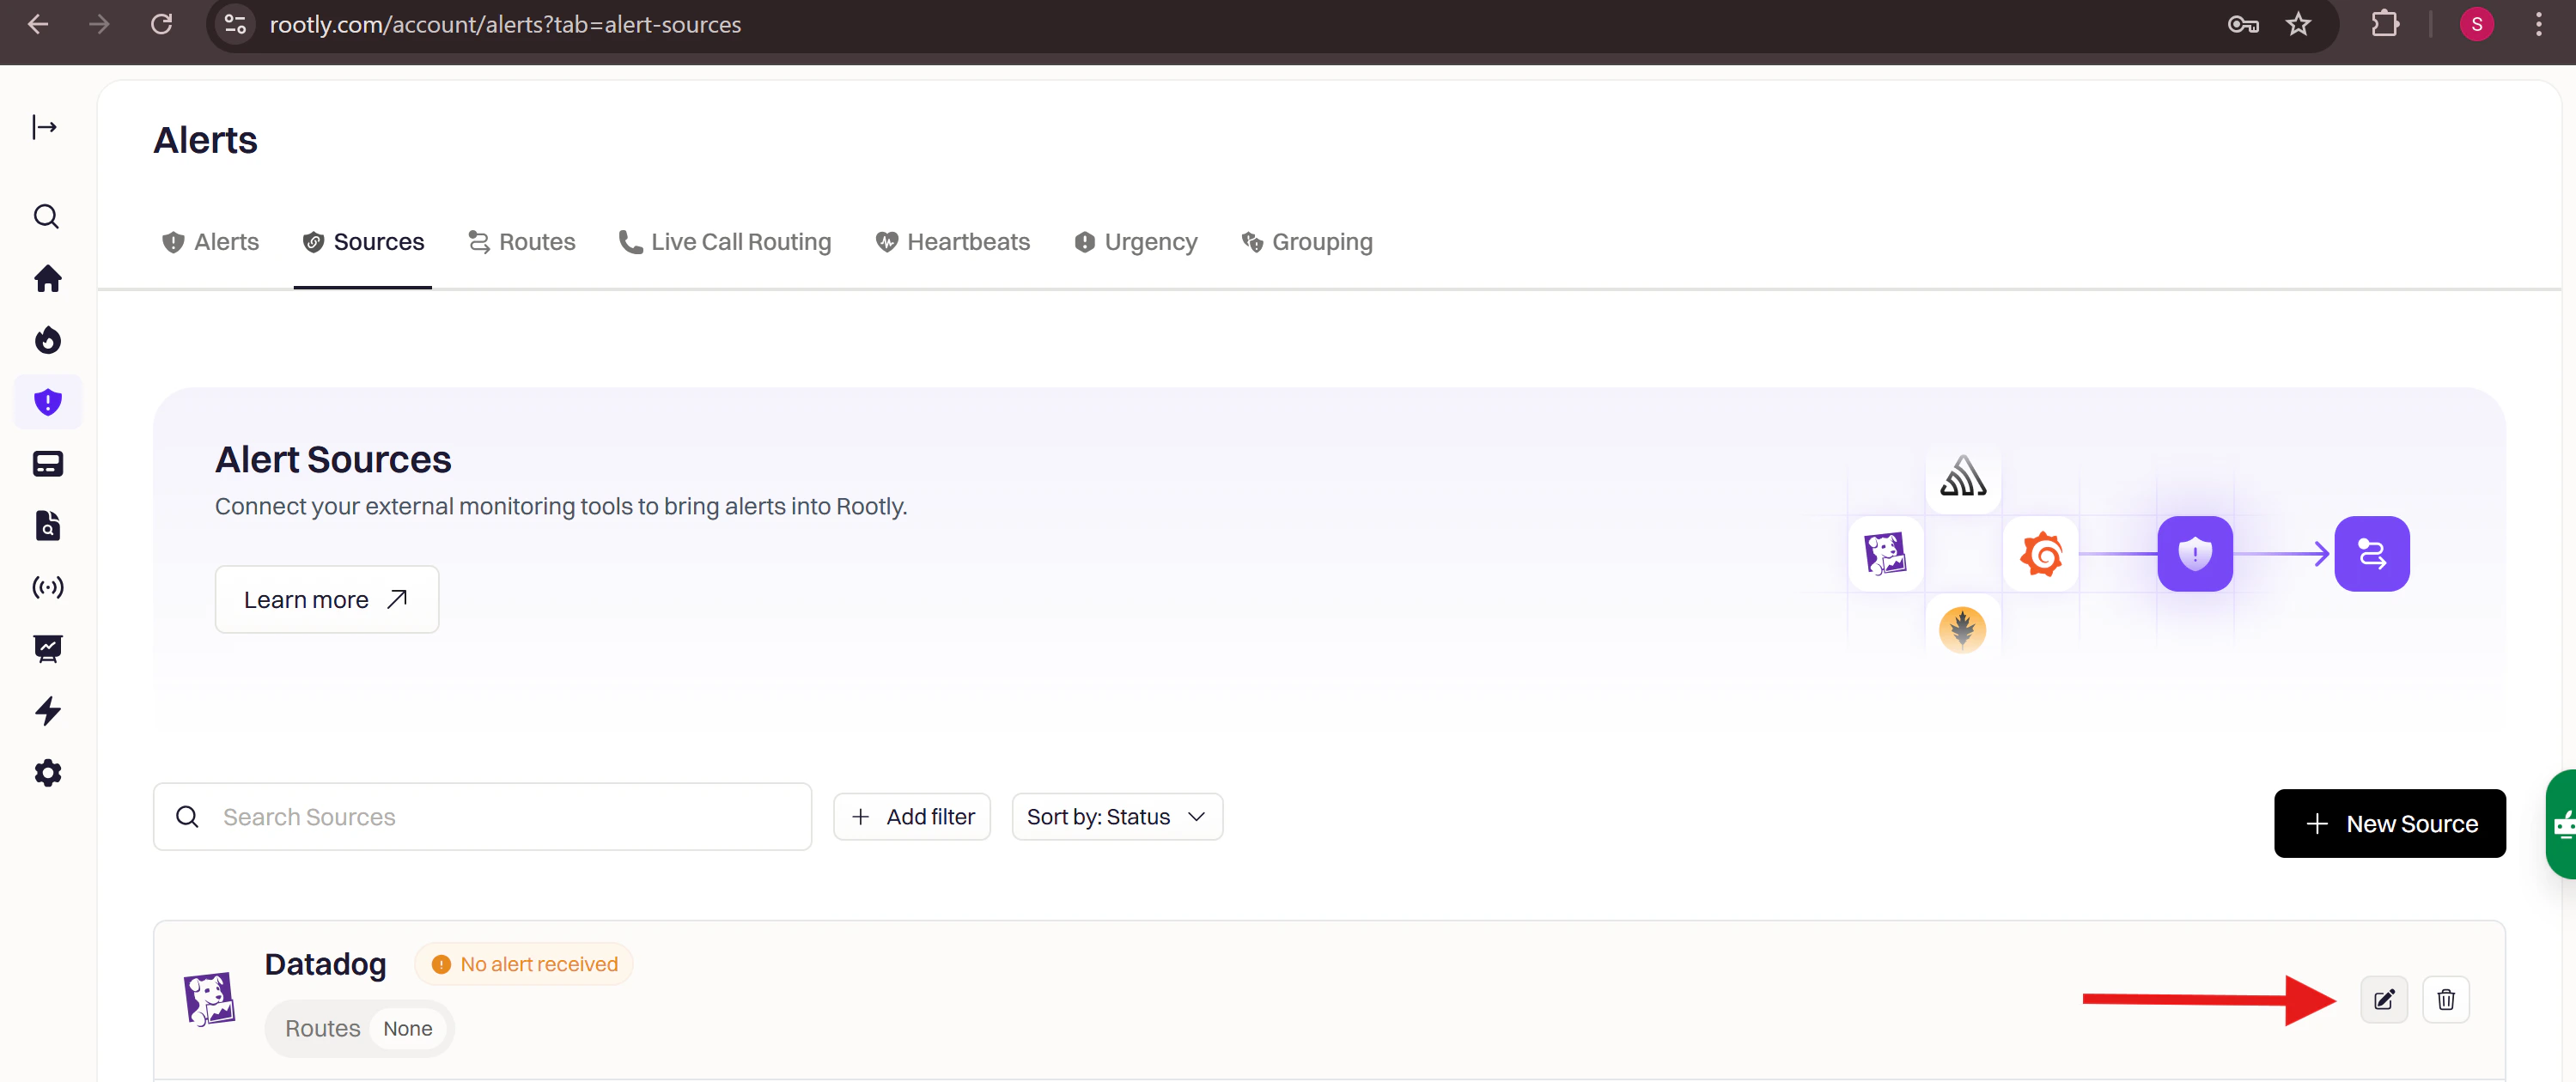
- In Rootly, go to Alerts → Sources → Datadog and click Configure
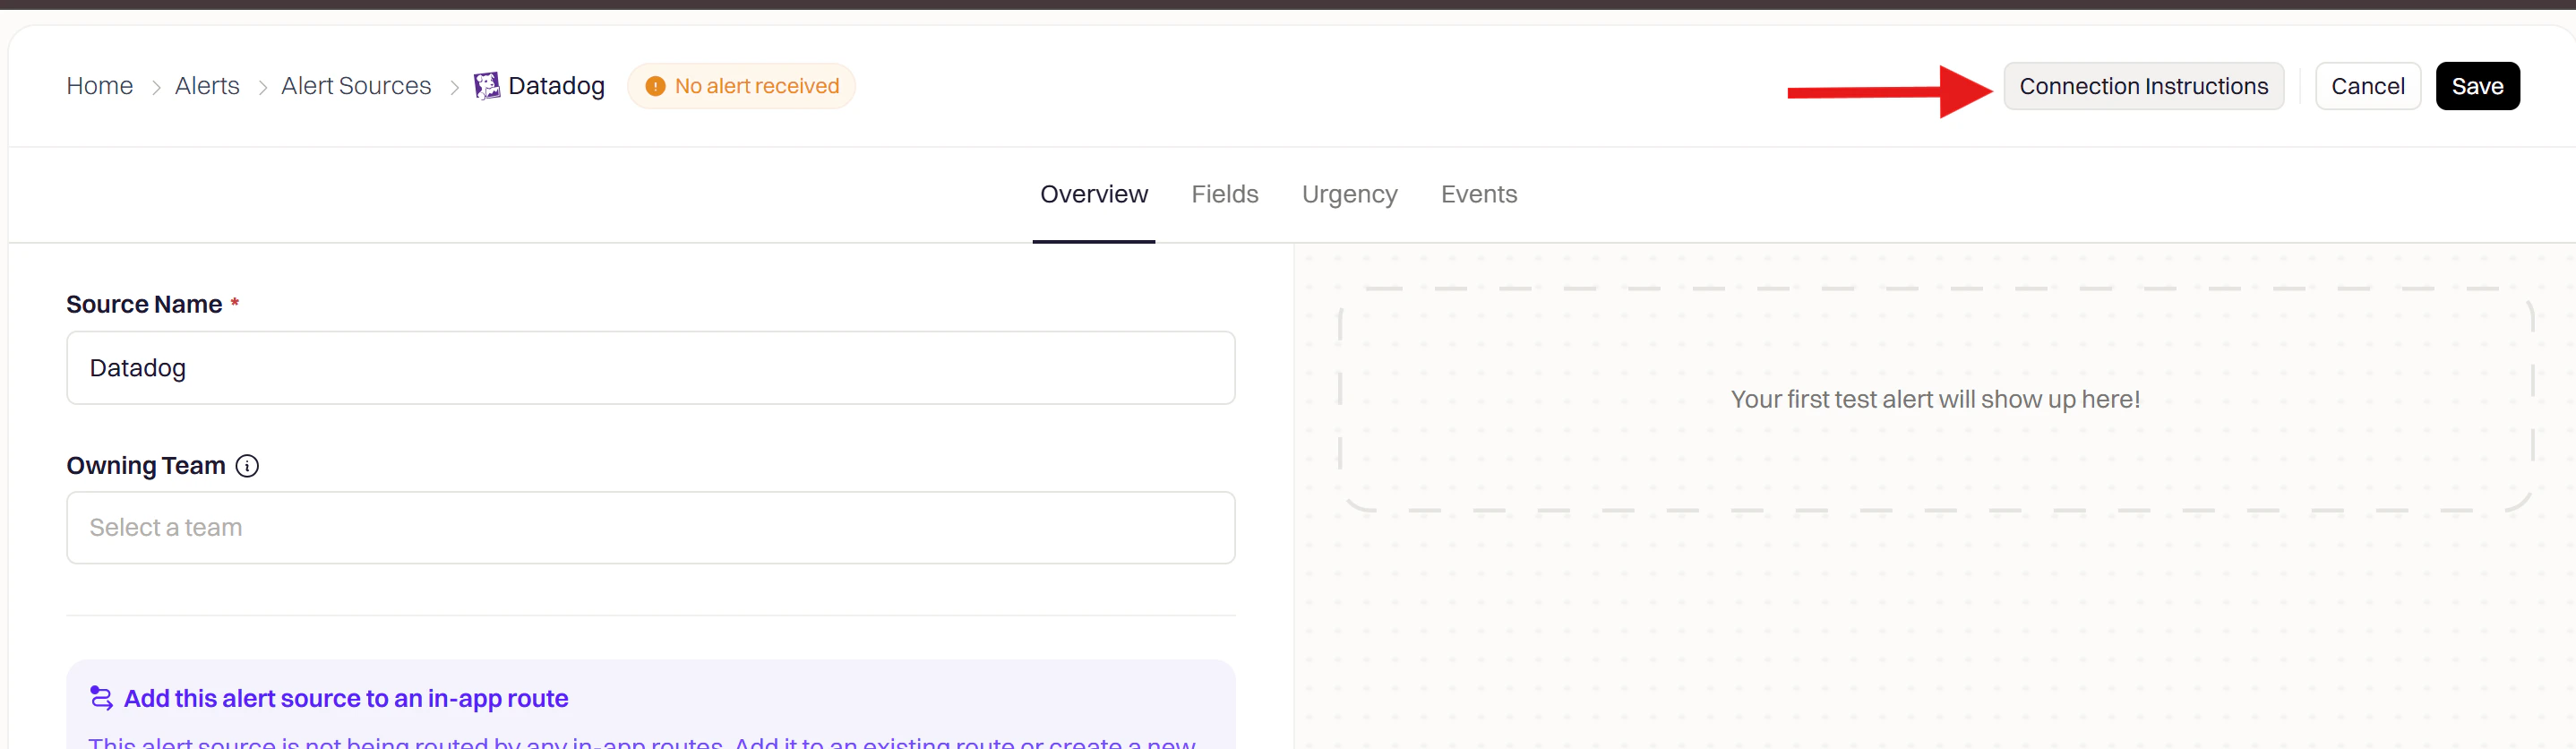
- Find the Connection Instructions panel on the right
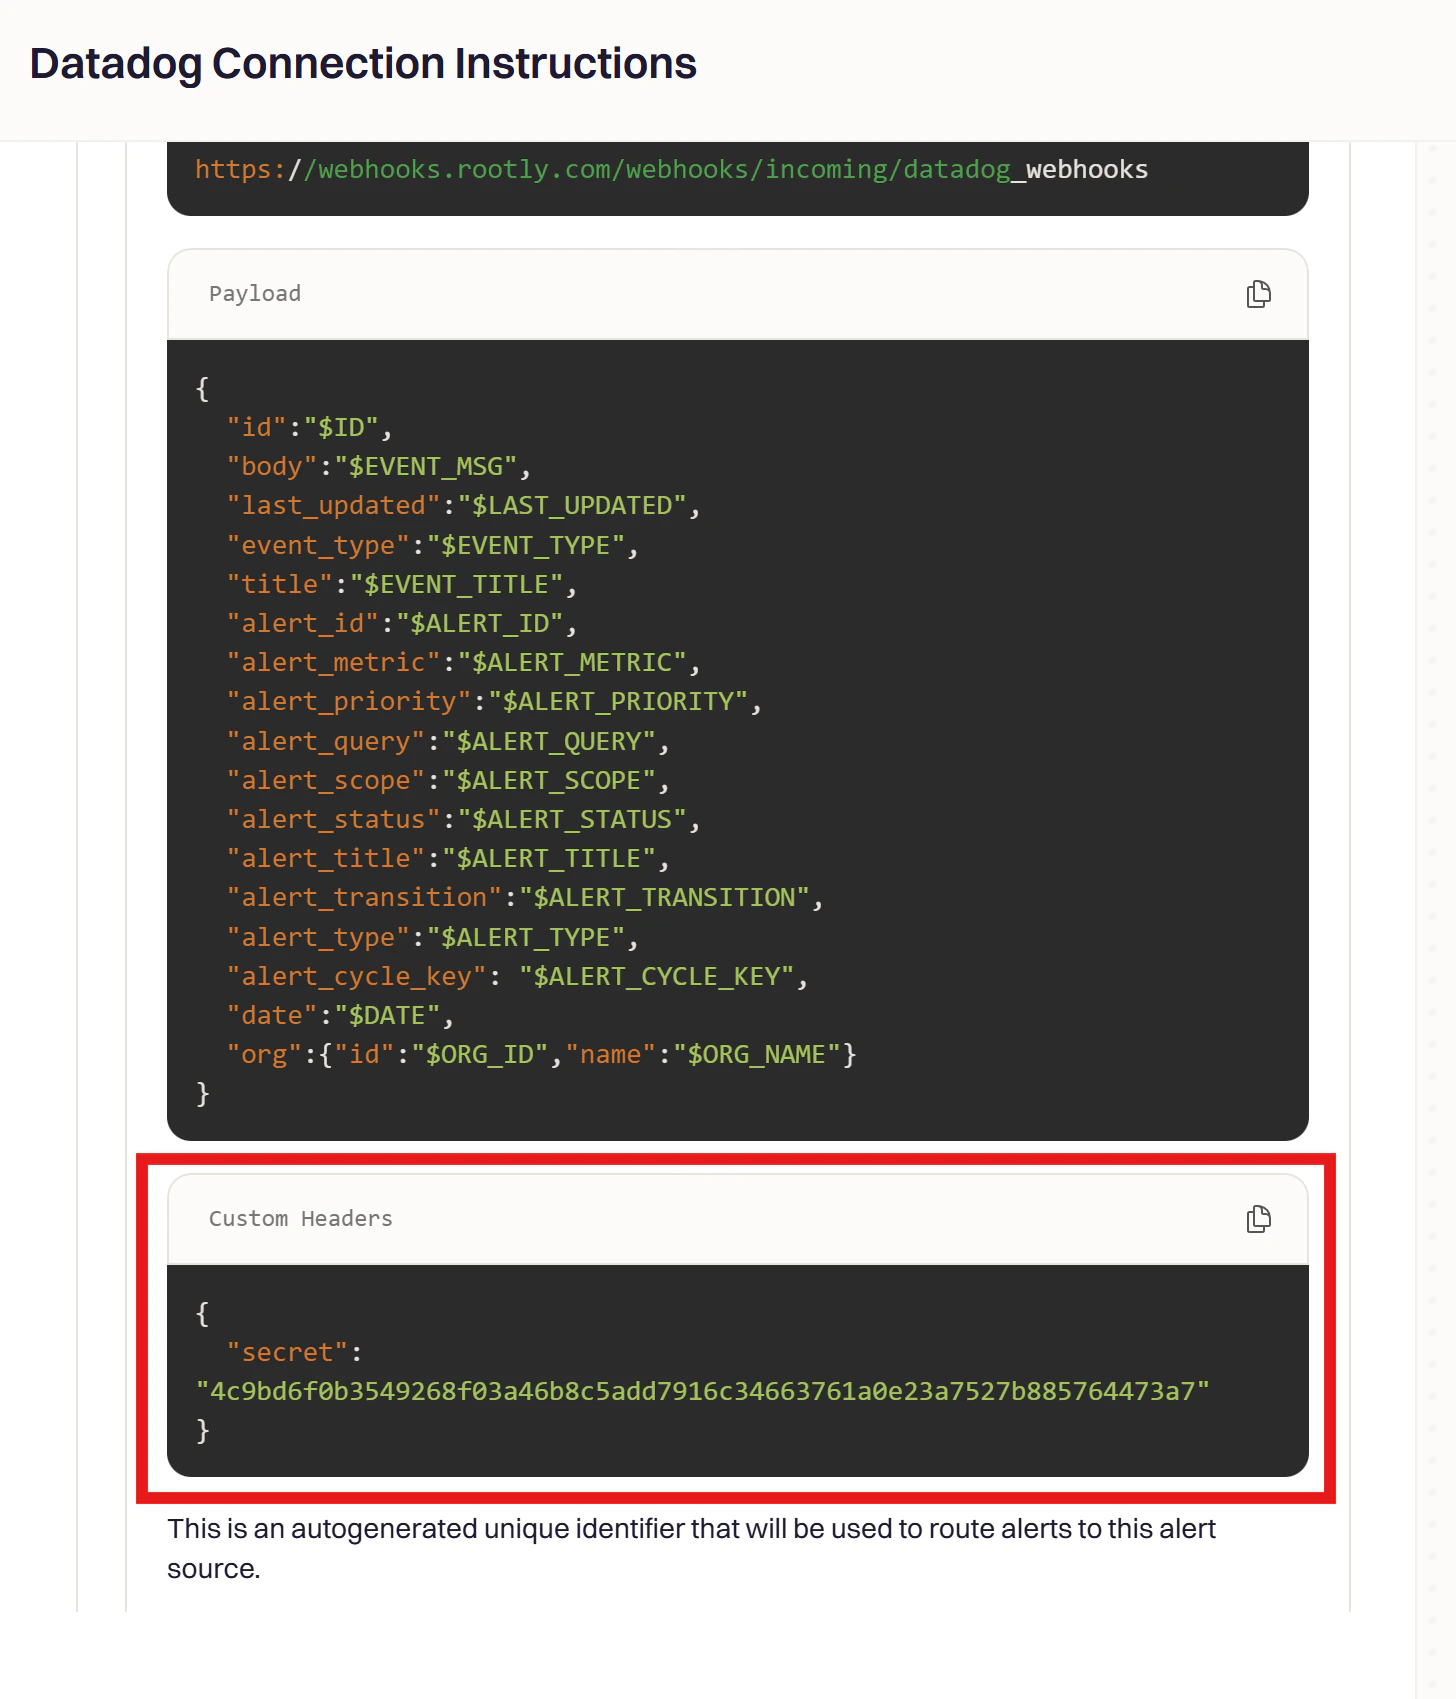
- Copy the secret value from the Custom Headers section
Save the webhook
Step 2: Attach the Webhook to a Monitor
Open a monitor
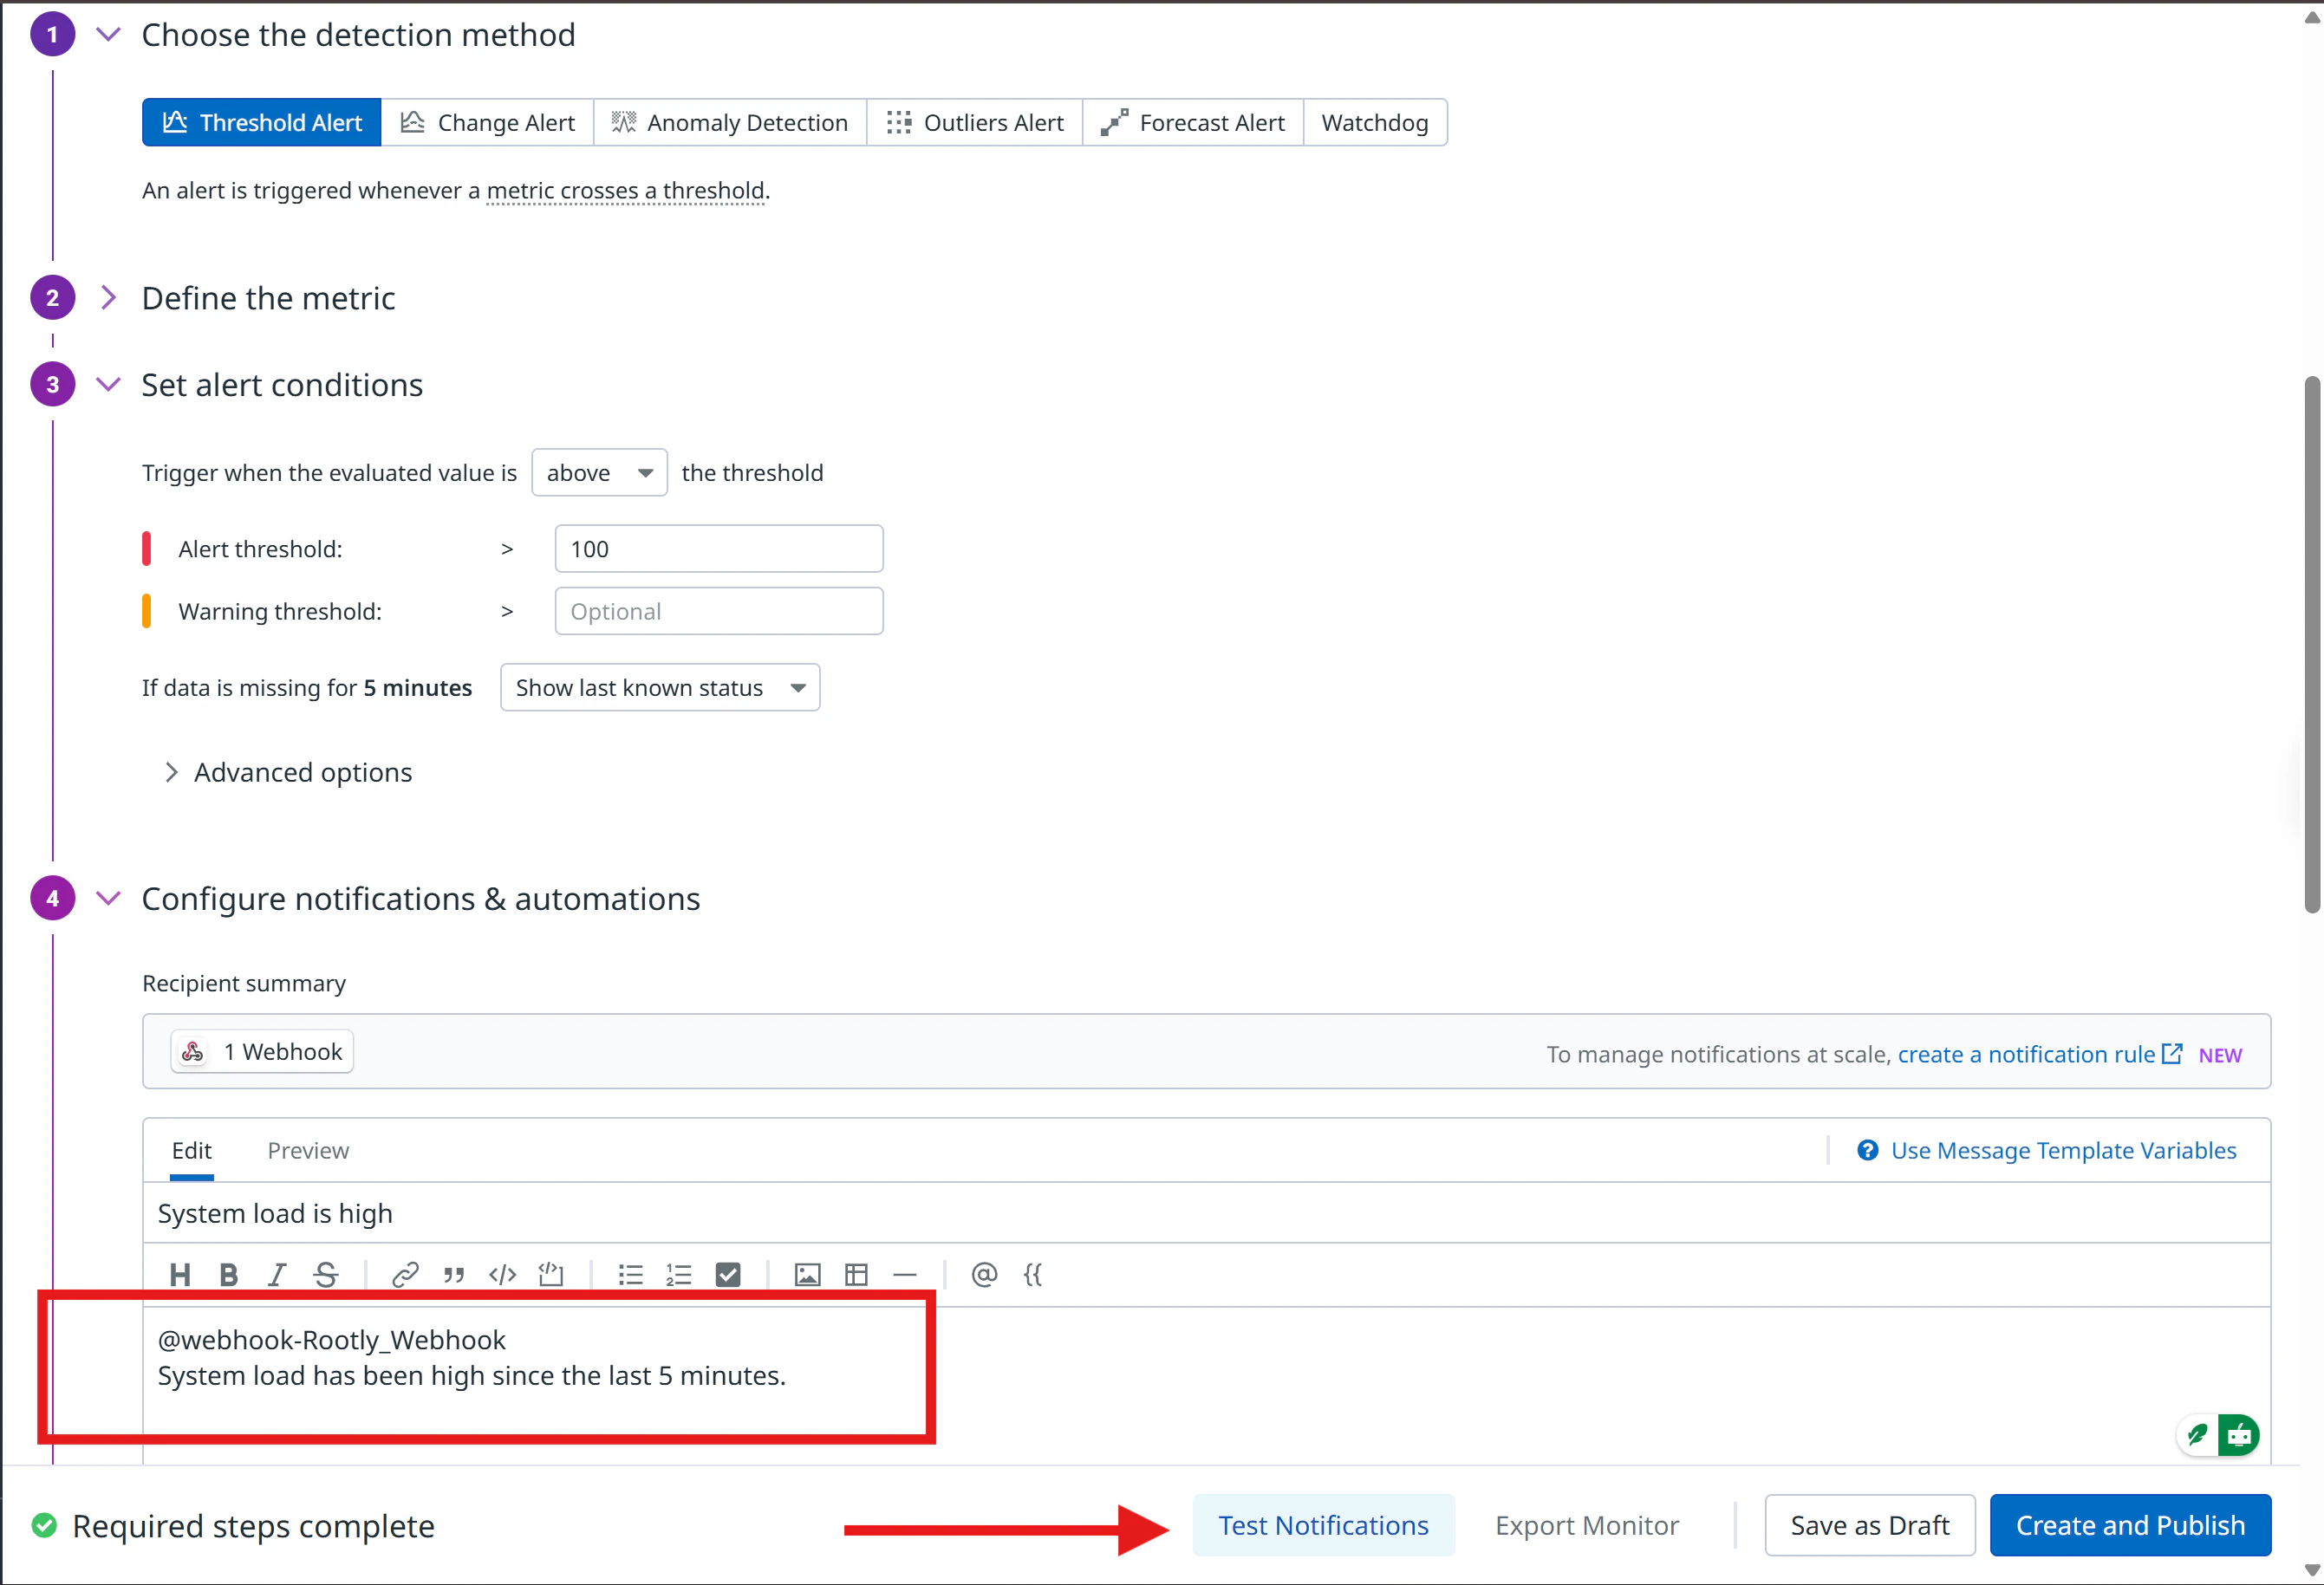
Add the webhook to notifications
@webhook-<WEBHOOK_NAME> syntax (for example, @webhook-Rootly_Alerts).Test and save
Step 3: Build Alert Workflows in Rootly
With alerts flowing into Rootly, create a workflow that reacts to them. Alert workflows let you check alert fields, apply conditions, and trigger automated actions like creating an incident or notifying responders.Open Workflows

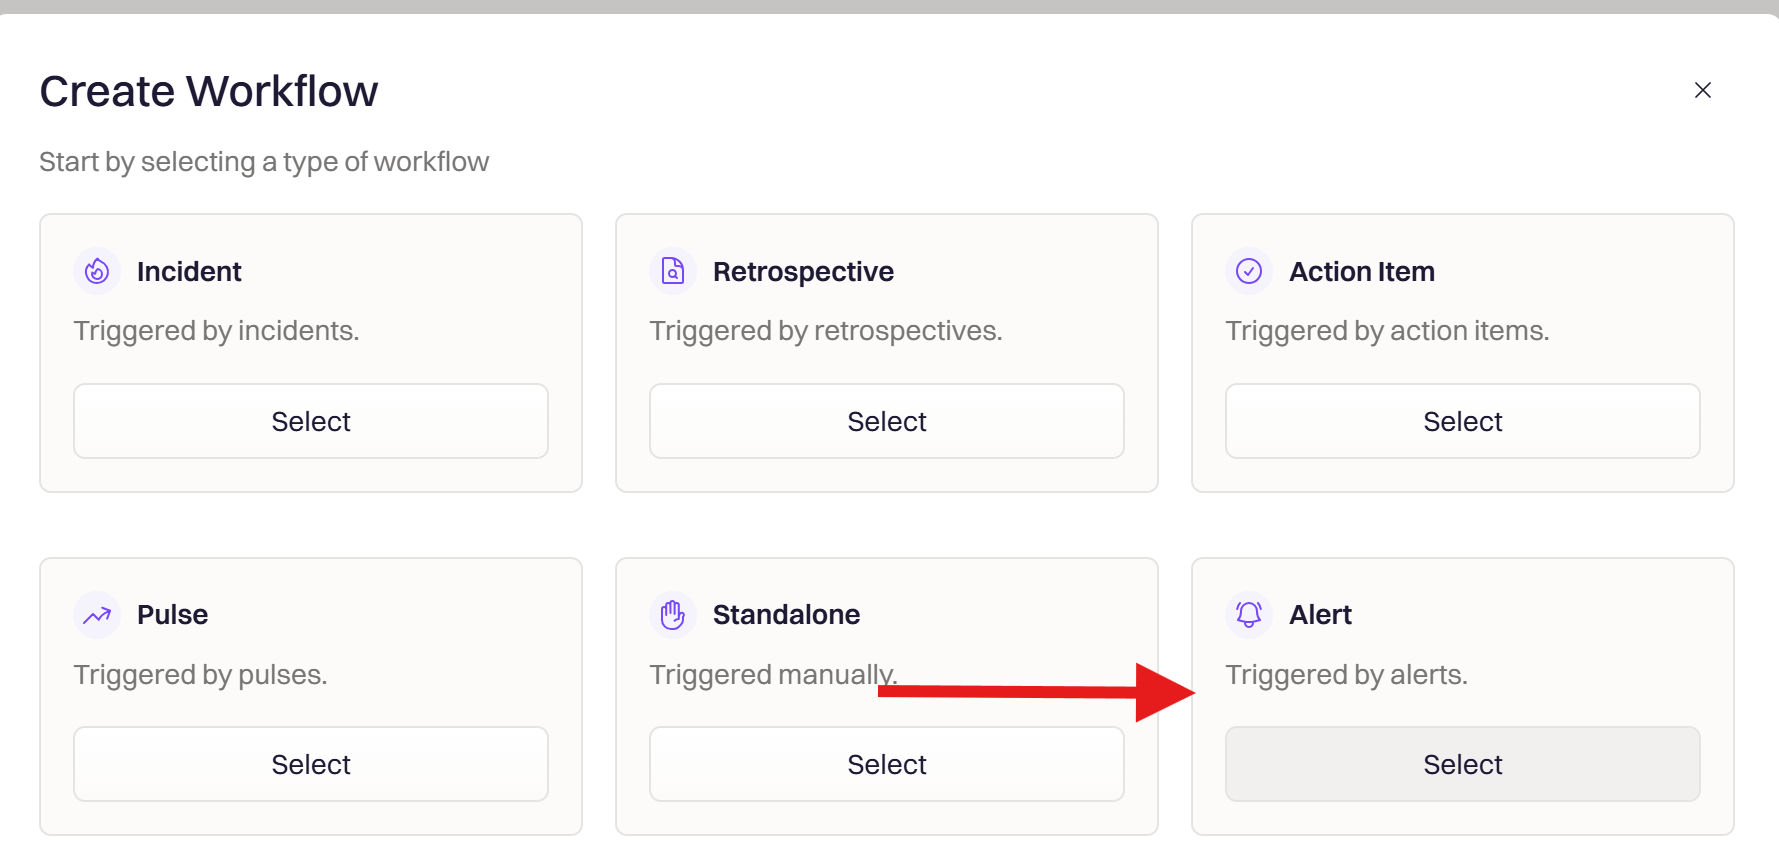
Choose Alert workflow type
Set the trigger
Add conditions
- Match by source
- Match by payload
alert_priority, alert_status, alert_type, and alert_title to build precise conditions.Add actions
Save the workflow
Create Incident from Datadog P1 Alert) and click Create Workflow.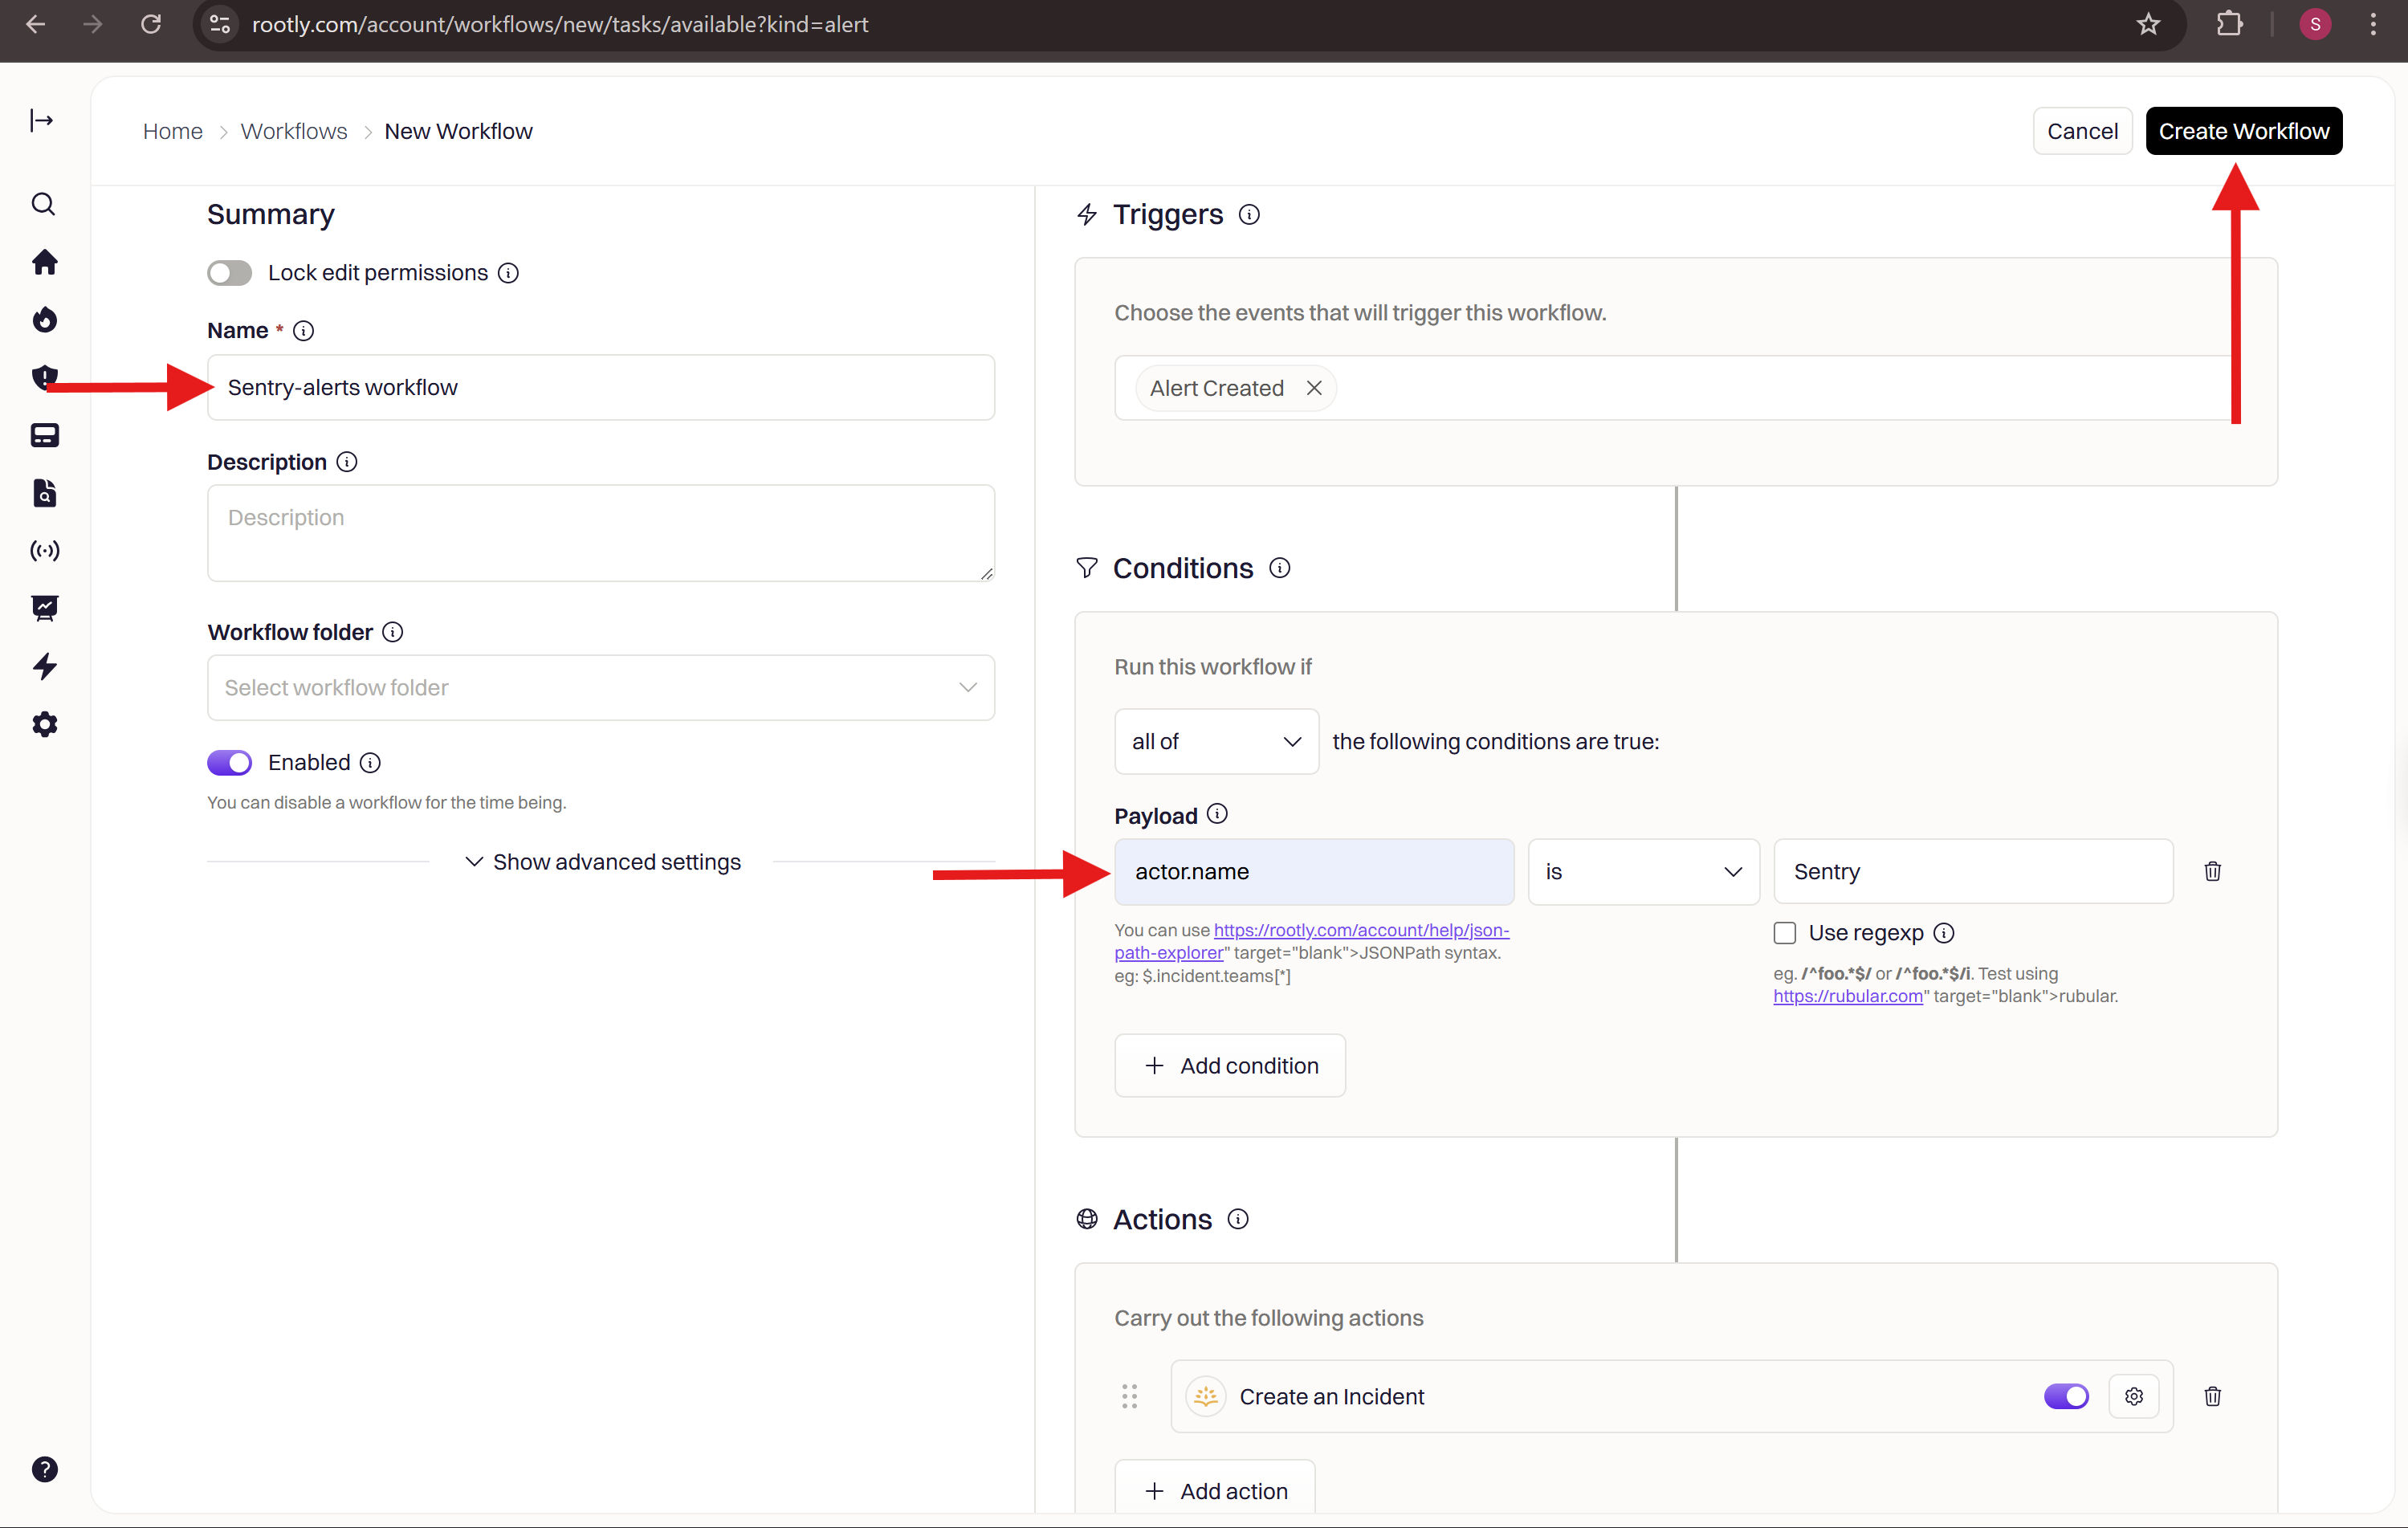
Verify the Workflow
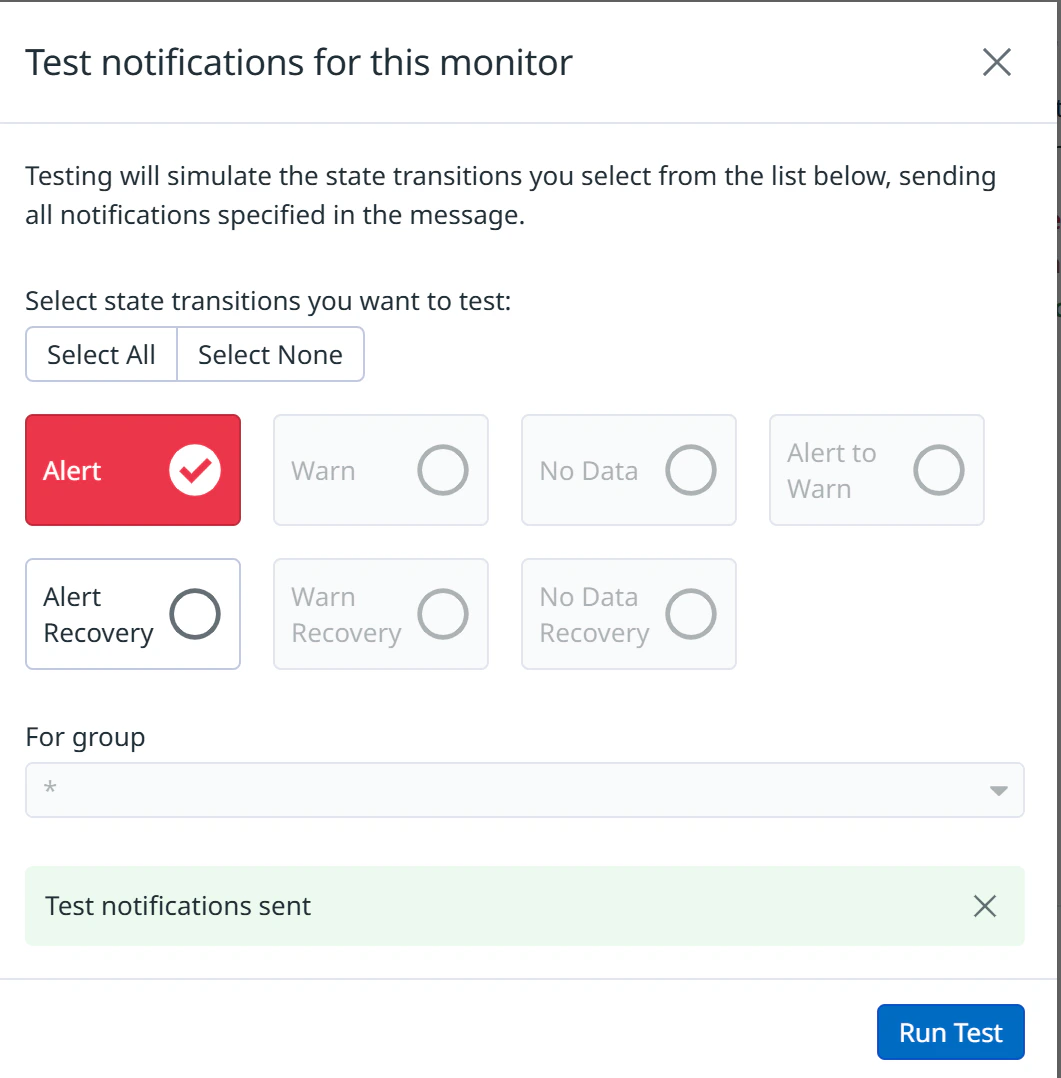
After saving the workflow:- Return to Datadog and trigger a test alert from your monitor by clicking Test Notifications
- Confirm the workflow activates in Rootly and performs the expected actions
- View the run log under Workflows → History in Rootly
Workflow Actions
Create Datadog Notebook
Use this action to automatically create a Datadog notebook when an incident starts or reaches a specific status. Notebooks are useful for capturing investigation notes, timelines, and graphs in a single Datadog-native view.Open workflow creation
Add the action
Configure the action
Save the workflow
Get Datadog Graph Snapshot
Use this action to capture a point-in-time graph from Datadog and attach it to the incident. This is useful for preserving the state of a metric at the time an incident was declared or escalated.Add the action
Configure the action
Get Datadog Dashboard
Use this action to retrieve a Datadog dashboard and surface its URL in the incident timeline. This gives responders quick access to the relevant monitoring view without leaving Rootly.Add the action
Configure the action
Alert Workflow Patterns
In addition to incident workflow actions, you can build Alert workflows in Rootly that trigger automatically when a Datadog alert arrives. These are separate from incident workflows and configured under Workflows → Alert. Common patterns:- Auto-create an incident when a SEV-1 Datadog alert fires
- Page on-call for alerts with
alert_priorityofP1orP2 - Send a Slack message to a channel when a monitor transitions to
ALERT - Resolve the alert automatically when Datadog sends a
RECOVERYtransition
alert_priority, alert_title, or alert_transition.
Uninstall
To remove the Datadog integration:- Go to Settings → Integrations and find Datadog
- Click the Connected button to reveal the disconnect option
- Click Delete
Frequently Asked Questions
Alerts are not appearing in Rootly
Alerts are not appearing in Rootly
https://webhooks.rootly.com/webhooks/incoming/datadog_webhooks. Confirm the Custom Headers secret value matches what is shown in Alerts → Sources → Datadog → Configure in Rootly. Check that the Datadog integration is still connected under Settings → Integrations.How do I find the ID for the notification_target?
How do I find the ID for the notification_target?
id field of the paging payload.Can I send alerts from multiple Datadog monitors to Rootly?
Can I send alerts from multiple Datadog monitors to Rootly?
@webhook-<WEBHOOK_NAME> to each monitor’s notification body. Each alert will appear separately in Rootly’s Alerts page.What alert workflow triggers are available?
What alert workflow triggers are available?
alert_priority or alert_title, or alert status.Why aren't my WARNING alerts paging me?
Why aren't my WARNING alerts paging me?
alert_status field in the webhook payload — not alert_priority (which is your monitor’s P1–P5 importance and is independent of state). To extend paging to WARNING alerts, either configure your monitor to fire on the threshold you want treated as paging-eligible, or build an alert workflow that matches alert_status equals Warn (or Warning, depending on the value Datadog sends) and routes to the same target as CRITICAL.Workflow Questions
The Create Notebook action ran but no notebook appeared in Datadog
The Create Notebook action ran but no notebook appeared in Datadog
Can I chain Datadog actions with other workflow steps?
Can I chain Datadog actions with other workflow steps?
What Liquid variables can I use in notebook names or metric queries?
What Liquid variables can I use in notebook names or metric queries?