Use the Generic Webhook Alert Source when your monitoring or observability tool can send webhook events to Rootly but does not have a dedicated Rootly integration.

Before You Begin

Before creating a Generic Webhook Alert Source, make sure you have:
  • Access to create alert sources in Rootly
  • A tool that can send POST requests with a JSON body
  • A plan for how alerts should be routed after ingestion
  • The fields you want Rootly to extract, such as:
    • Alert title
    • Description
    • External identifier
    • Alert state
    • Routing target
For best results, send requests with Content-Type: application/json. In production, the Generic Webhook Alert Source uses these endpoint patterns:
  • Base endpoint: POST https://webhooks.rootly.com/webhooks/incoming/generic_webhooks
  • Fixed target endpoint: POST https://webhooks.rootly.com/webhooks/incoming/generic_webhooks/notify/<type>/<id>
Use the base endpoint when routing will be determined from the incoming payload. Use the notify endpoint only when both the target type and target ID are included in the URL.

Create and Configure the Source

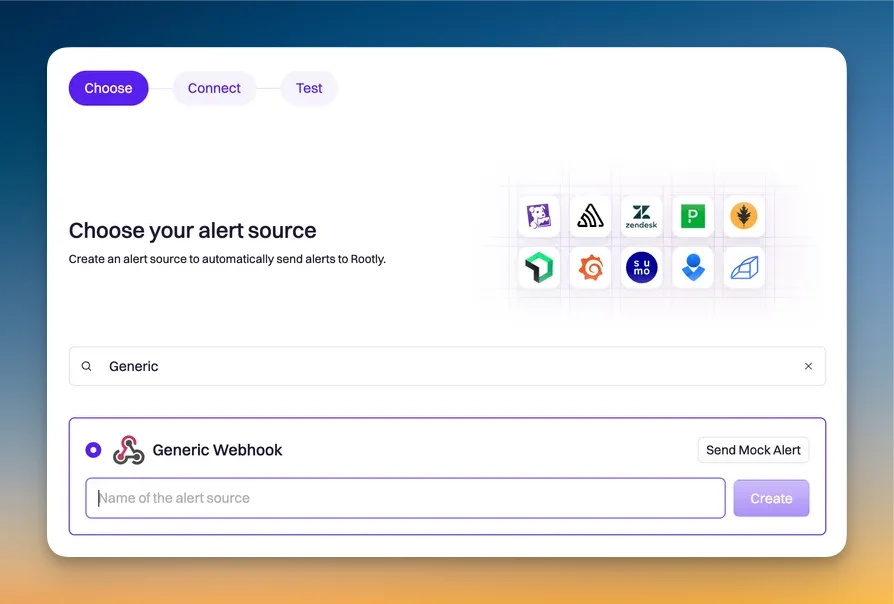
Create the Generic Webhook Alert Source

Go to the new alert source page and locate Generic Webhook Alert Source.
Generic Webhook Alert Source on the alert source page
You will be prompted to name the source.
Name your Generic Webhook Alert Source

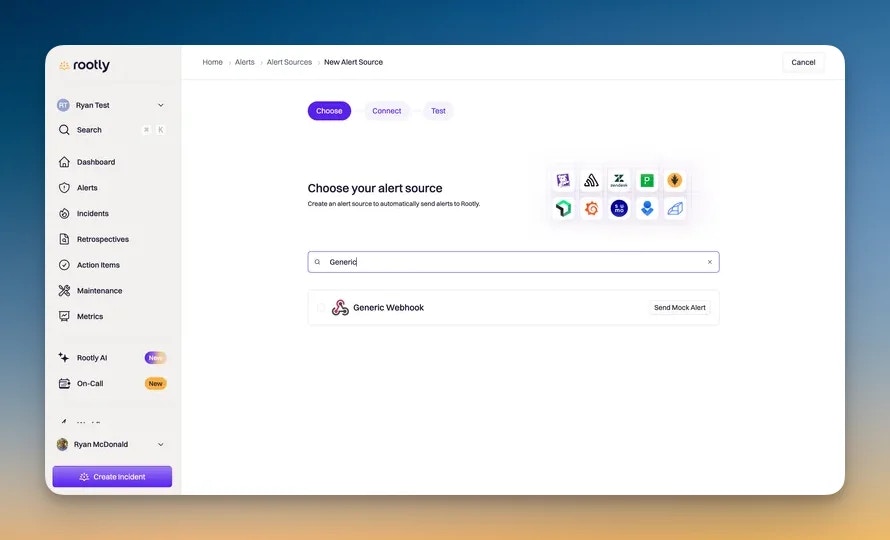
Authenticate incoming requests

Rootly supports two authentication methods for incoming generic webhook requests: Bearer Token and HMAC Signature.

Bearer Token (default)

With Bearer Token authentication, Rootly verifies the request using a static secret. You can provide the secret in either of these ways:
  • Authorization: Bearer <secret>
  • secret as a query string or request parameter
If the secret is missing or invalid, Rootly rejects the request.

HMAC Signature

HMAC signature authentication must be enabled for your organization. Contact Rootly support to enable it.
HMAC provides a stronger authentication model where the signing secret never travels over the wire. Instead, the sender signs the request body and Rootly verifies the signature.When you select HMAC Signature as the authentication type during source creation, Rootly generates a signing secret for you. Your external system must use this secret to sign every request.To configure HMAC authentication:
  1. Select HMAC Signature as the authentication type when creating or editing the source
  2. Copy the HMAC Signing Secret shown in the setup instructions
  3. For each request, compute the signature over the raw request body:
    sha256=HMAC-SHA256(<signing_secret>, <raw_request_body>)
    
  4. Include the signature in the X-Webhook-Signature-256 header
The Authorization: Bearer <secret> header is still required when using HMAC authentication. Rootly uses the Bearer token to identify the alert source, and the HMAC signature to verify the request body has not been tampered with.
Rootly verifies the signature using a timing-safe comparison. If the X-Webhook-Signature-256 header is missing or the signature does not match, Rootly returns a 401 Unauthorized response.Example (Python):
import hmac
import hashlib
import requests

signing_secret = "your_hmac_signing_secret"
payload = '{"title": "High CPU usage", "state": "triggered"}'

signature = "sha256=" + hmac.new(
    signing_secret.encode(),
    payload.encode(),
    hashlib.sha256
).hexdigest()

requests.post(
    "https://webhooks.rootly.com/webhooks/incoming/generic_webhooks",
    headers={
        "Authorization": "Bearer <your_bearer_secret>",
        "Content-Type": "application/json",
        "X-Webhook-Signature-256": signature,
    },
    data=payload,
)
Example (Node.js):
const crypto = require("crypto");

const signingSecret = "your_hmac_signing_secret";
const payload = JSON.stringify({ title: "High CPU usage", state: "triggered" });

const signature =
  "sha256=" +
  crypto.createHmac("sha256", signingSecret).update(payload).digest("hex");

fetch("https://webhooks.rootly.com/webhooks/incoming/generic_webhooks", {
  method: "POST",
  headers: {
    Authorization: "Bearer <your_bearer_secret>",
    "Content-Type": "application/json",
    "X-Webhook-Signature-256": signature,
  },
  body: payload,
});

Map the incoming payload fields

Generic webhook sources do not require a strict vendor-specific payload shape. Instead, you configure how Rootly should interpret the incoming JSON by mapping fields from the webhook payload.At a minimum, you should map a field for the alert title so alerts are easy to identify in Rootly.Depending on your use case, you may also want to map:
  • Alert description
  • External URL
  • External identifier
  • Alert state
  • Notification target type
  • Notification target ID
Follow the instructions shown on the Generic Webhook creation page to configure these mappings.

Configure Routing Targets

There are two main ways to tell Rootly where an alert should route.

Set the target in the webhook URL

This is the simplest option when each webhook should always route to the same target.With this approach, you include the target type and target ID in the webhook URL. This is useful when alerts from a given source should always be associated with the same service, team, escalation policy, or other supported target.Common target types include:
  • service
  • group or team
  • escalationPolicy
Webhook URL configuration with notification target
When the target is defined in the webhook URL, you do not need to separately map the target type and target ID in the payload mapping step.

Set the target from the incoming payload

This option is more flexible when the same webhook source may need to route alerts to different targets.With this approach, your external system sends the target information in the webhook JSON body, and Rootly extracts it using your configured field mappings.Use this option when:
  • A single source may route alerts to different services or teams
  • Your observability tool already includes routing metadata in the webhook body
  • You want the routing decision to come from the event payload itself
Advanced payloads can also include a Rootly notification target object directly in the JSON body when needed.

Test the Source

Send a test alert

After setup, send a test alert from your observability provider and confirm that Rootly receives and processes it as expected.
Testing a Generic Webhook Alert Source

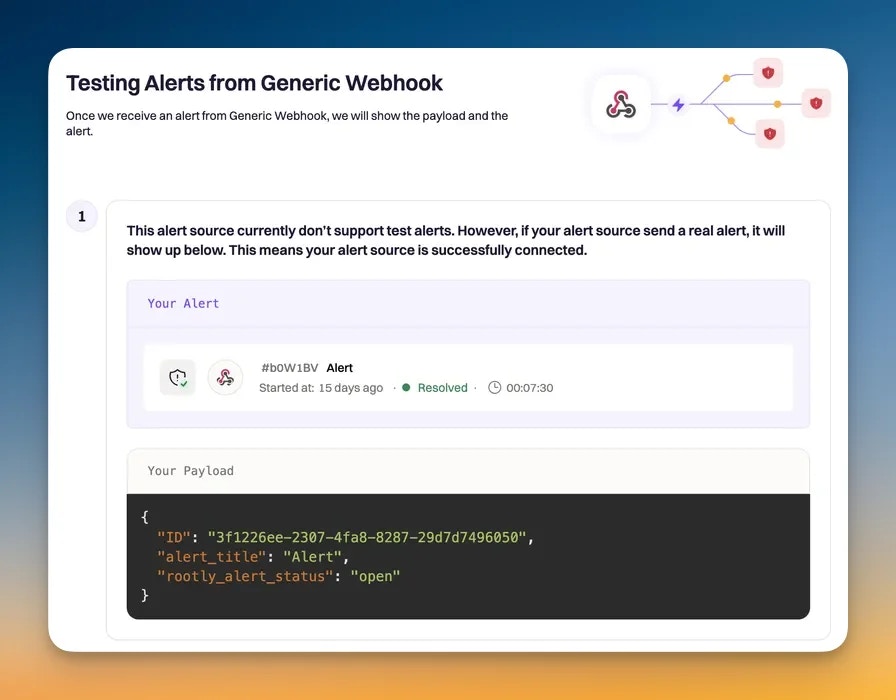
Confirm the alert was processed correctly

A successful test should confirm that:
  • The webhook request reaches Rootly
  • The payload is parsed correctly
  • The alert title and other mapped fields are populated as expected
  • The alert routes to the correct target
  • The alert appears in Rootly
Rootly processes webhook events asynchronously, so the alert may appear shortly after a successful request.If the request is authenticated correctly but the payload is missing expected fields, Rootly may still ingest the event, but the alert may not contain the data you intended.

Next Steps

Auto-Resolution

Configure Rootly to resolve alerts automatically when your source sends recovery events.

Alert Workflows

Automate incidents, notifications, and follow-up actions for alerts created through this source.