Connect Google Docs to Rootly to automatically create incident retrospective documents from templates using Liquid variables.
Rootly’s Google Docs integration automates the creation of incident documentation. When an incident resolves or a retrospective begins, Rootly generates a Google Doc from your template and populates it with incident data, timeline events, affected services, and follow-up items — eliminating manual copy-paste work and ensuring consistent documentation across every incident.You create a template document once with Liquid variables as placeholders. Rootly copies that template for each incident and replaces the variables with actual data. The generated document is saved to your specified Google Drive folder and can be automatically shared with the right people.
You must be an Admin or Owner in Rootly to install integrations.
OAuth: Requires a Google account with access to Google Drive
Service Account: Requires Google Workspace admin access and a Google Cloud project
Choose your setup method based on your environment:
OAuth (Personal Account)
Best for: Testing, evaluation, or personal useConnects your personal Google account. If that account loses access or the person leaves, the integration breaks.
Service Account (Recommended)
Best for: Teams and production environmentsUses a dedicated service account that isn’t tied to any individual. More resilient and easier to manage at scale.
OAuth connects your personal Google account in about 2 minutes.
1
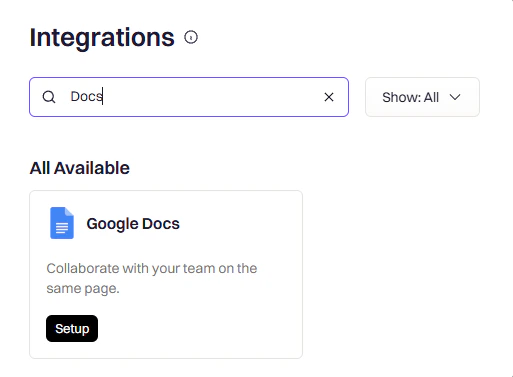
In Rootly, go to Configuration → Integrations
Use the search bar to find Google Docs among the available integrations.
2
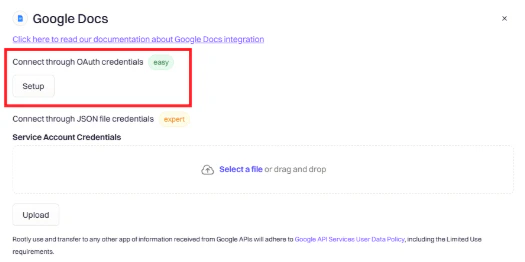
Click Setup and choose OAuth
Select the OAuth connection method, then choose which Google account to connect.
3
Approve the requested permissions
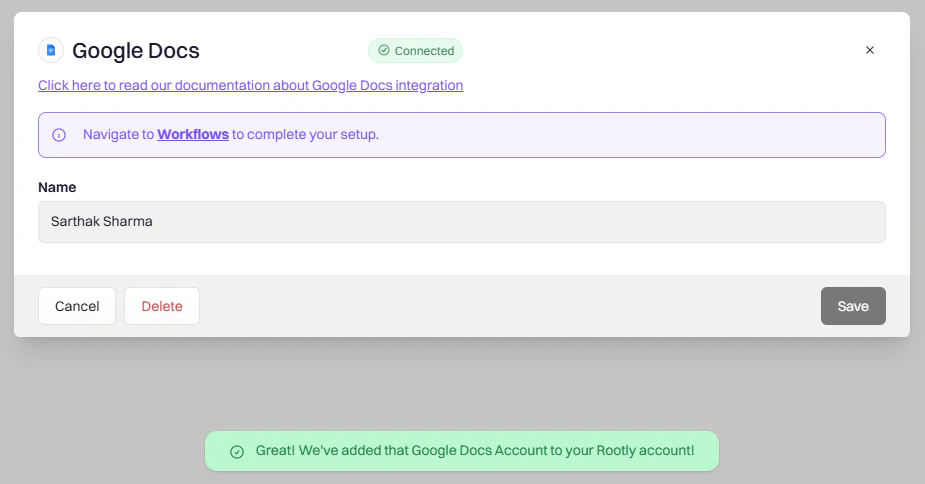
Google will ask Rootly to access Google Drive and Docs on your behalf. Approve to complete the connection.You’ll be redirected back to Rootly once the authorization completes.
A service account keeps the integration running independent of any individual’s Google account. This setup involves creating the account in Google Cloud, uploading its credentials to Rootly, and granting it domain-wide delegation.
1
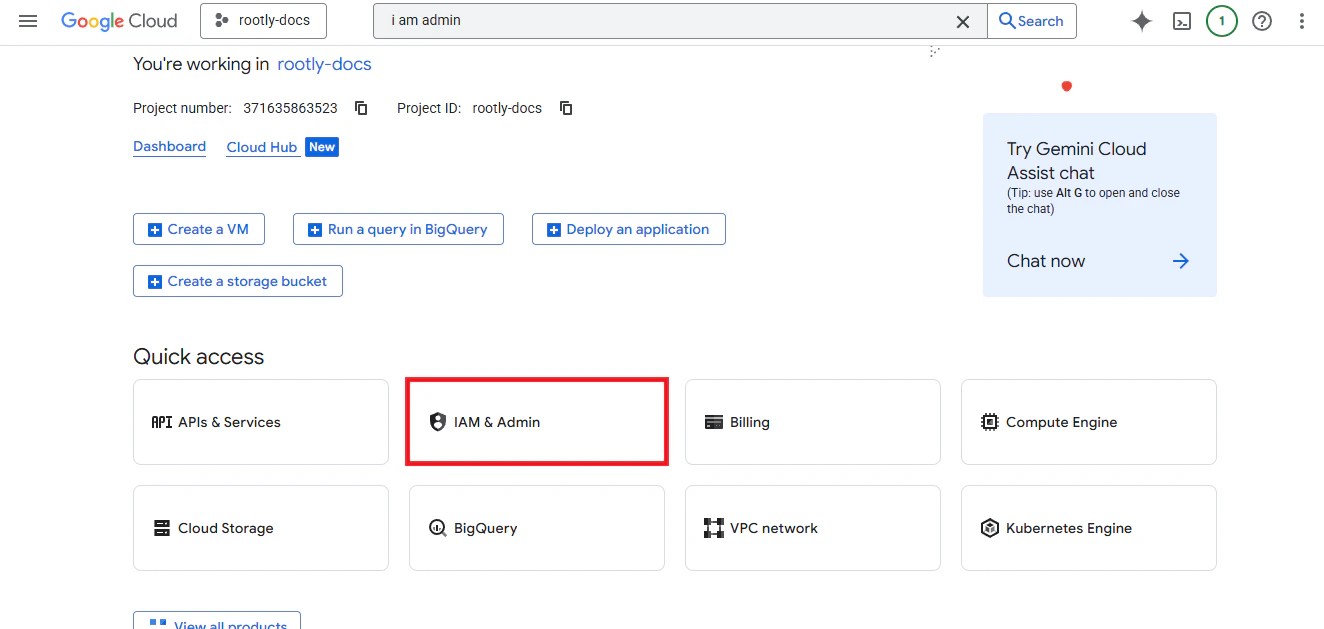
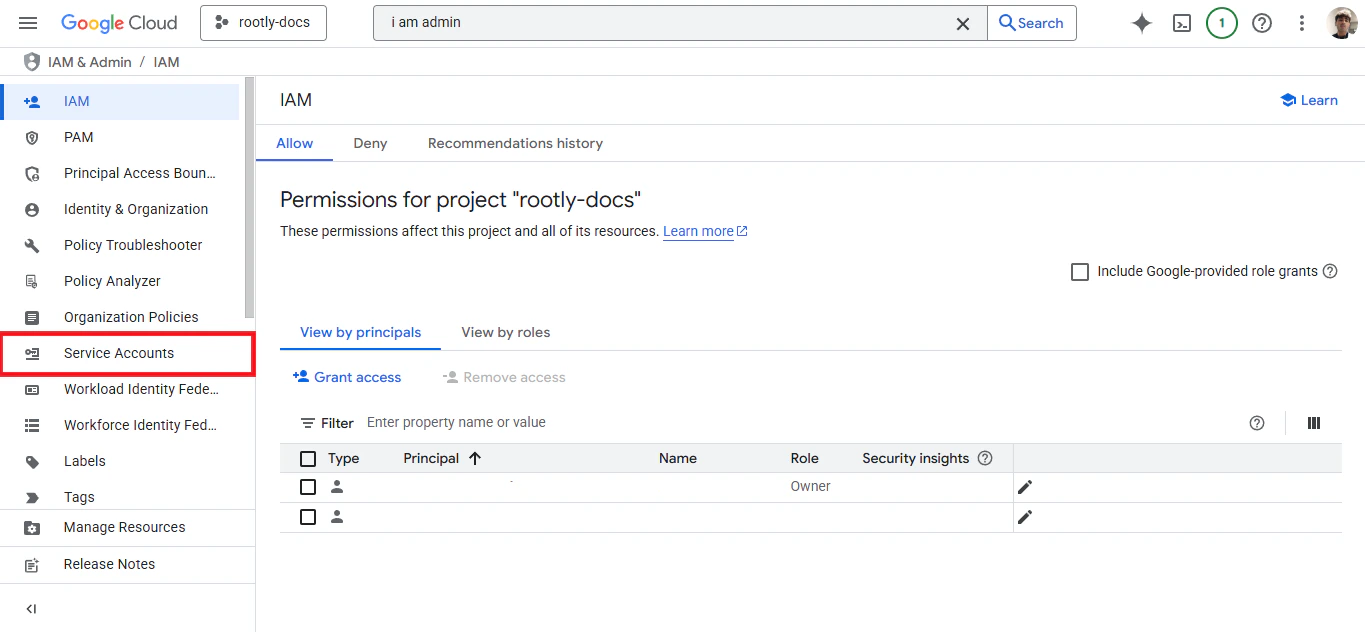
In Google Cloud Console, go to IAM & Admin → Service Accounts
If you don’t have a project yet, create one first. You’ll create the service account inside an existing project.
2
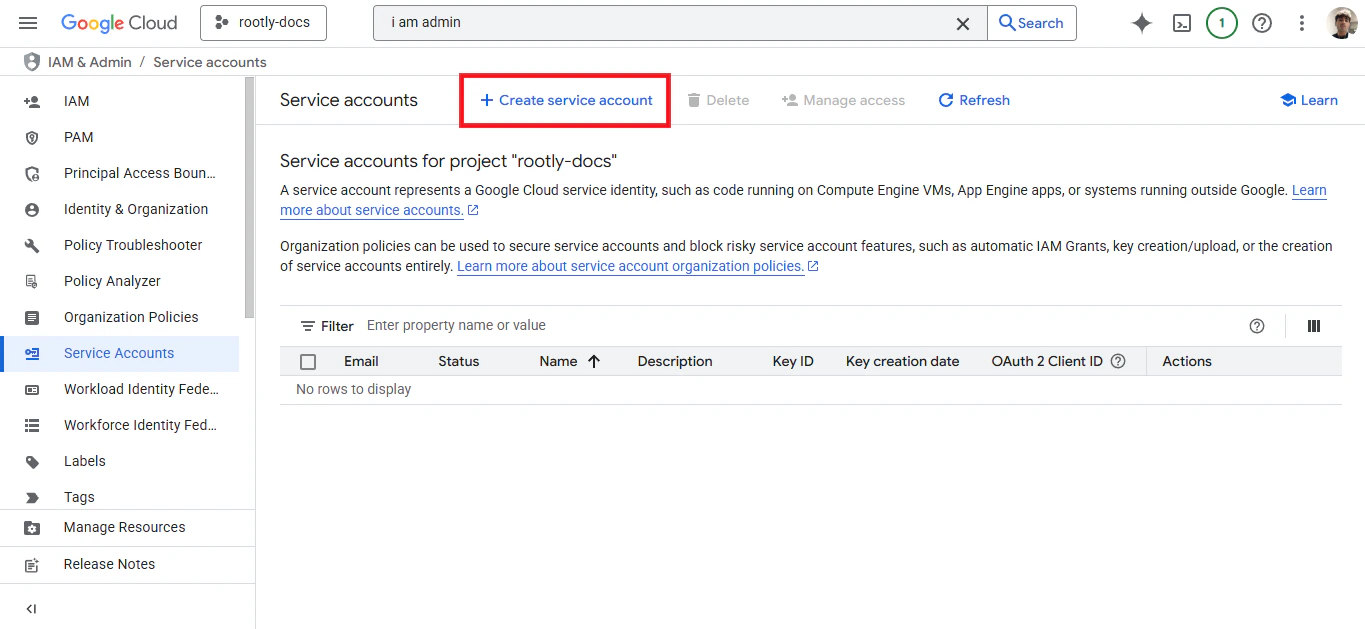
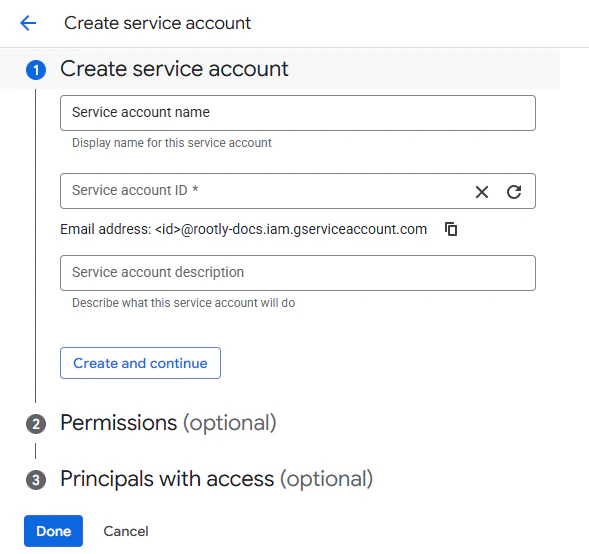
Create a new Service Account
Click Create Service Account, fill in a name and description, then click Done.
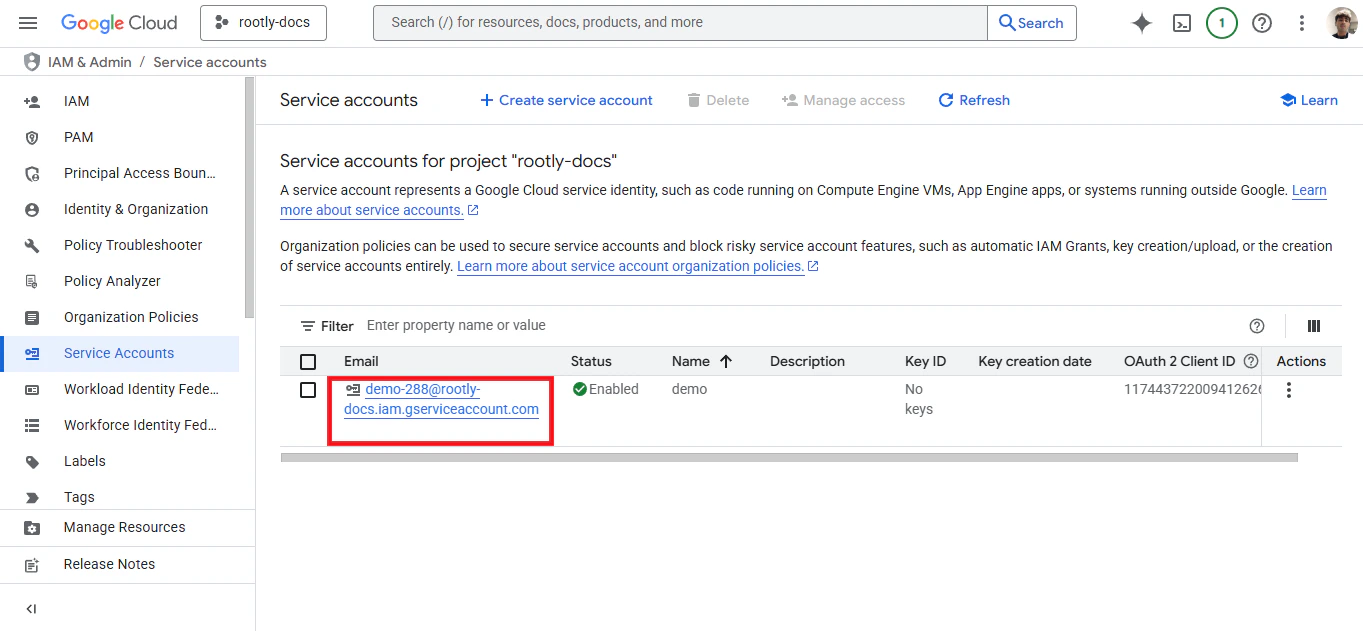
After creating the account, click on its email address to open its details.
3
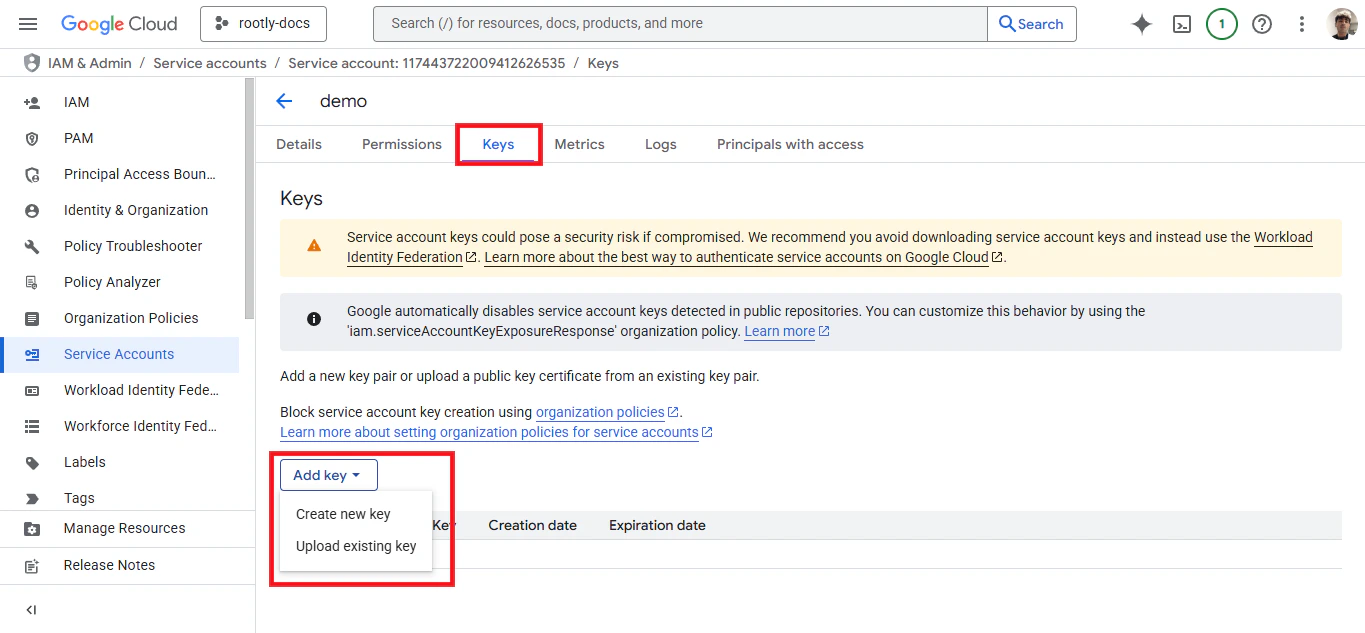
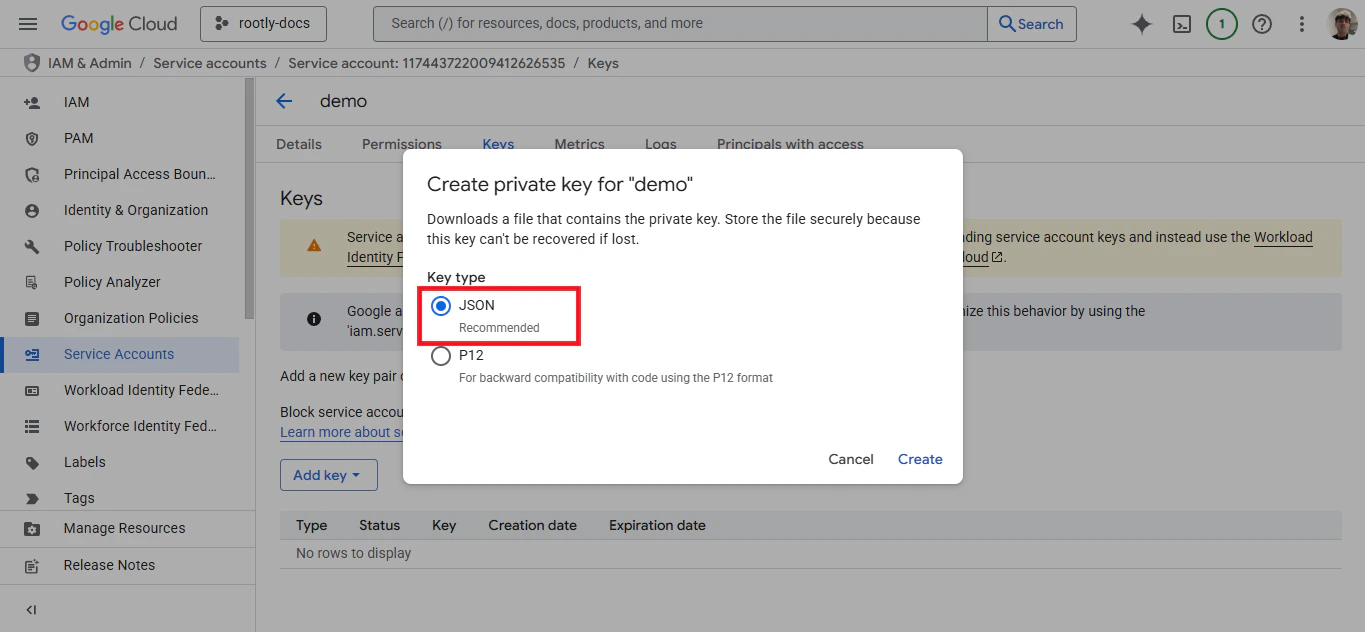
Create a JSON key for the service account
Go to the Keys tab → Add Key → Create new key. Select JSON as the key type and click Create.
A .json file will download automatically — keep it safe, you’ll need it in the next step.
4
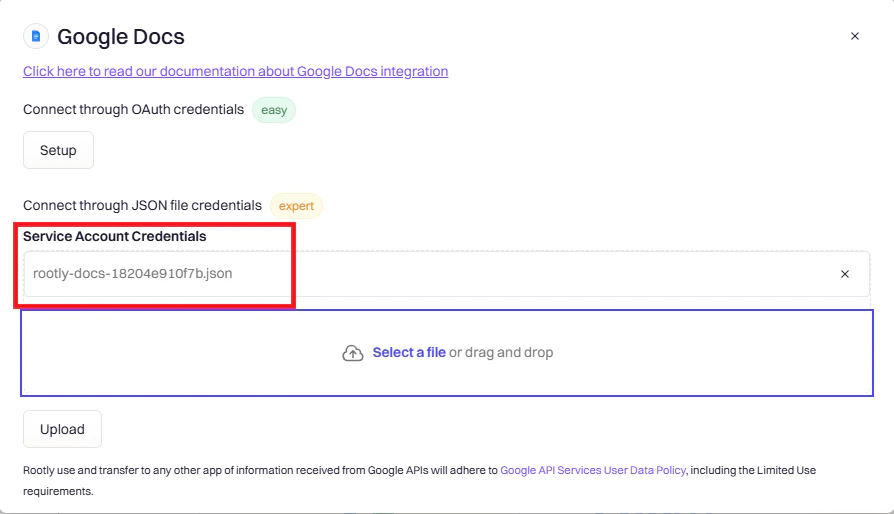
Upload the JSON key to Rootly
In Rootly, go to Configuration → Integrations → Google Docs → Setup. Choose the Service Account connection method and upload the JSON file you just downloaded.
You should see a success message confirming the integration is active.
5
Enable Domain-wide Delegation
The service account needs domain-wide delegation to create documents on behalf of users in your Google Workspace.In Google Admin Console, go to Security → API Controls → Domain-wide Delegation and click Add new. Enter your service account’s Client ID (found in GCP Console under the service account details), then add these OAuth scopes:
Without domain-wide delegation, the service account can’t create documents on behalf of users. If you skip this step, document creation will fail silently in workflows.
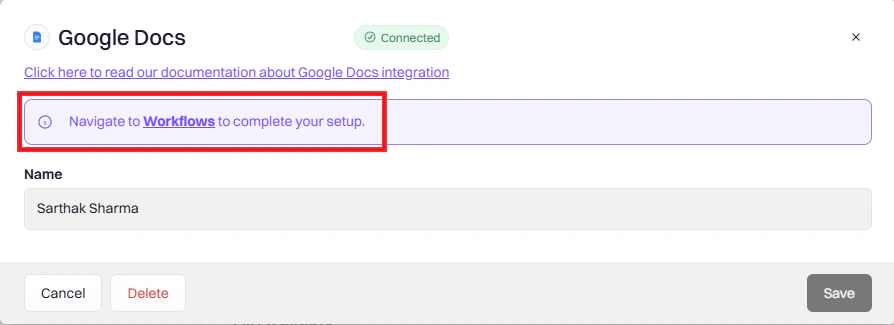
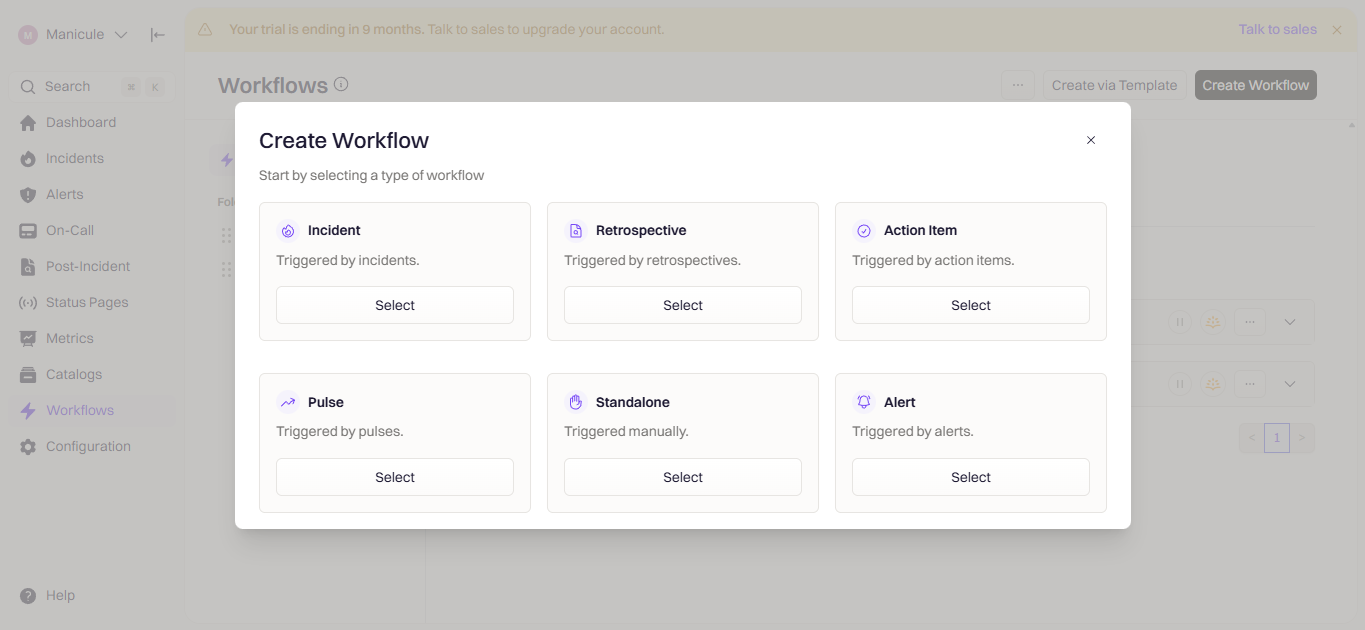
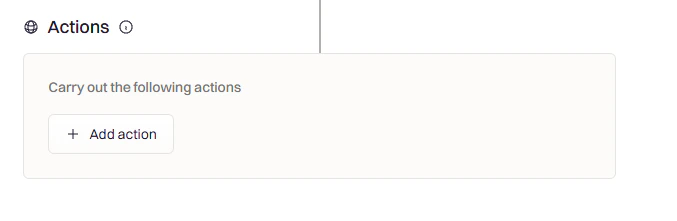
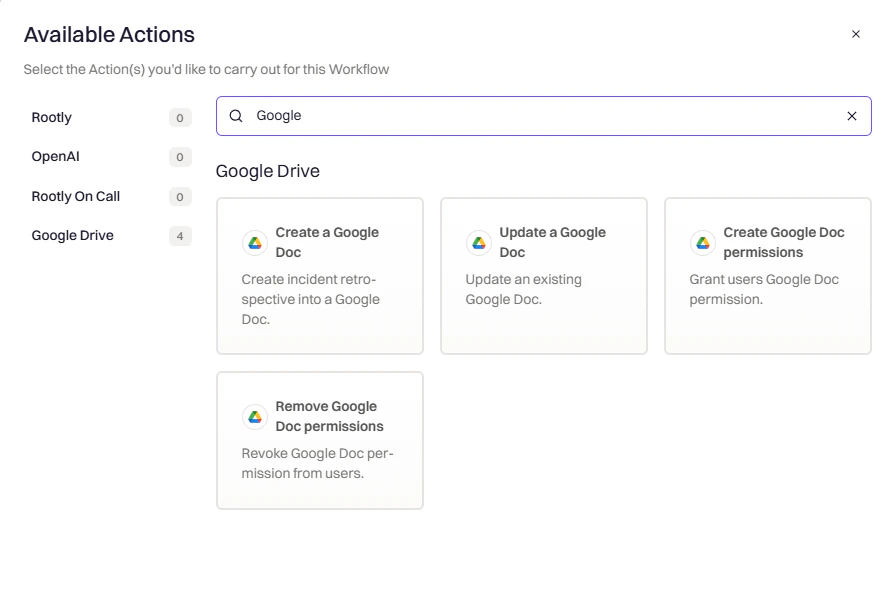
Rootly generates Google Docs from your templates when incidents are created, updated, or resolved. The steps below cover creating a template, sharing it with Rootly, and wiring it up in a workflow.
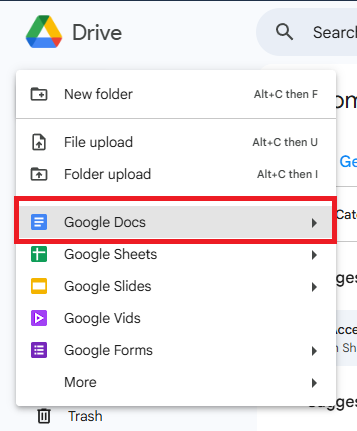
You create one template document with Liquid variable placeholders. Each time the workflow fires, Rootly copies that template and replaces the variables with real incident data — so you never manually copy-paste incident details again.
Go to New → Google Docs. Give it a clear, descriptive name so it’s easy to find later — for example:
“Rootly Retrospective Template”
“Executive Summary Template”
“Incident Runbook Template”
2
Add structure and Liquid variables
Design your document the way you’d want every generated doc to look. Use Liquid variables anywhere you want incident data to appear. See the template examples below for a starting point.
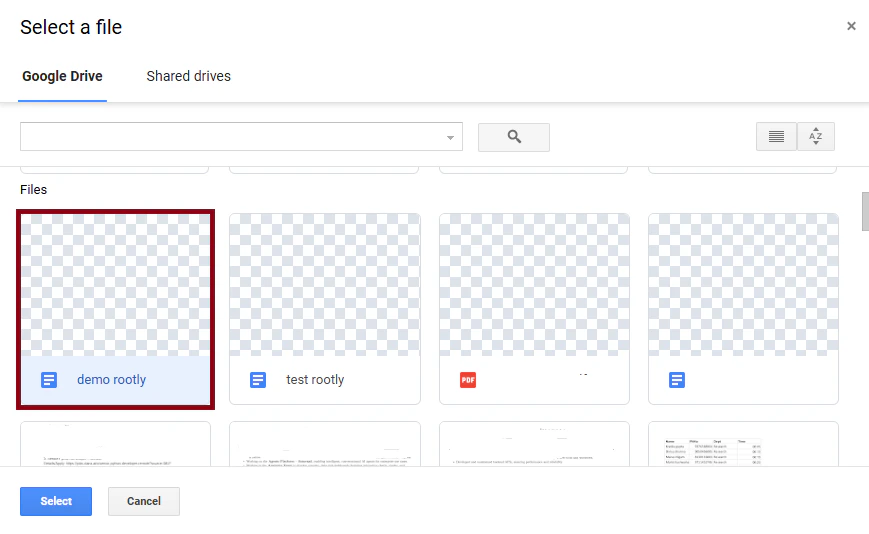
Before Rootly can use your template, it needs read access to the document.
OAuth Users
Service Account Users
Nothing to do here — the Google account you connected in the installation step already has access to documents you own.
You need to explicitly share the template with the service account email.
1
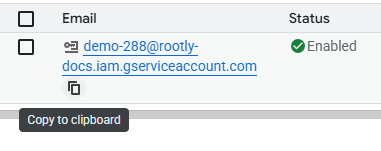
Find your service account email
The email follows the pattern name@project.iam.gserviceaccount.com. You can find it in Google Cloud Console under IAM & Admin → Service Accounts.
2
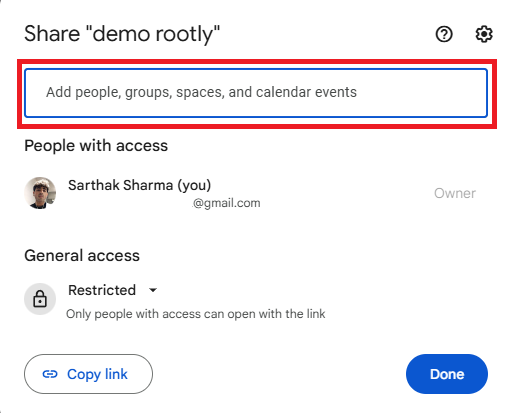
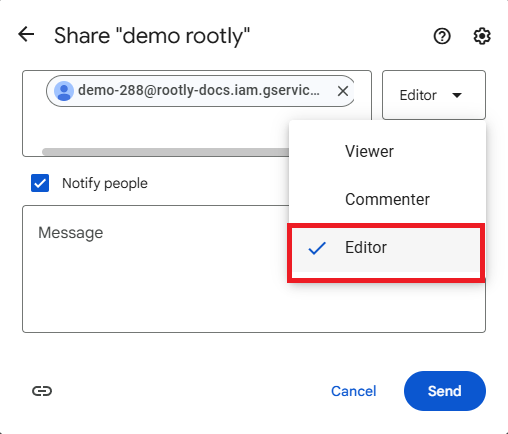
Share the template with the service account
Open your template document, click Share, add the service account email, and set the permission to Editor.
The permission must be Editor, not Viewer or Commenter. Rootly needs write access to copy and populate the template — anything less will cause workflow failures.
OAuth: Try signing in again using a different browser or an incognito window.Service Account: Verify the JSON key file is valid and hasn’t been corrupted or truncated.
403 Forbidden when creating documents
This is almost always a domain-wide delegation issue. Check that:
The Client ID in Google Admin matches your service account exactly
All three OAuth scopes are entered as shown (no extra spaces or typos)
You’ve waited at least 15 minutes for Google to propagate the changes
Integration shows connected but documents aren't created
OAuth: Re-authenticate to refresh your access token.Service Account: Confirm the service account has Editor access to the target folder in Google Drive.
To remove the Google Docs integration, go to Configuration → Integrations, find Google Docs, and click the Connected button to reveal the disconnect option.
Disconnecting stops Rootly from creating new documents. Documents already generated by Rootly are not affected.
Was this page helpful?
⌘I
Assistant
Responses are generated using AI and may contain mistakes.