Before You Begin
This setup involves authorizing Rootly inside your Linear workspace. Make sure you have the right access in both systems before starting — the OAuth flow will fail silently if your Linear account doesn’t have the correct permissions.Connect Your Linear Account
The connection is established through Linear’s OAuth flow — Rootly redirects you to Linear, you approve access, and you’re brought back to Rootly with the integration active. You won’t need to handle any API keys or tokens manually.1
Open Rootly Integrations
Navigate to Configuration → Integrations in your Rootly dashboard. This is where all third-party integrations are managed.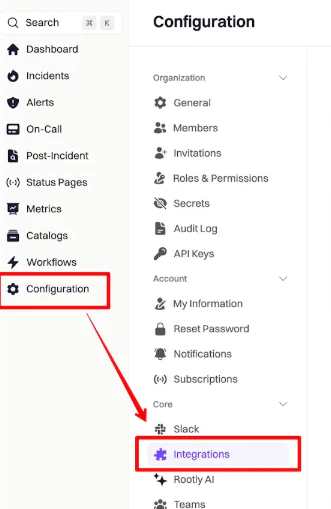
2
Find Linear and click Setup
Search for Linear in the integrations catalog and click Setup to begin the OAuth authorization flow.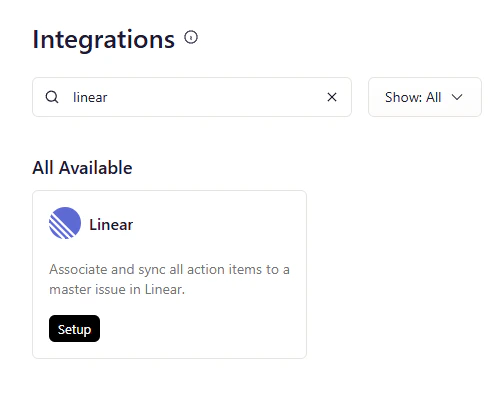
3
Authorize Rootly in Linear
You’ll be redirected to Linear’s authorization page. Review the requested permissions — Rootly needs write access to create and update issues on your behalf. Click Allow Access to proceed.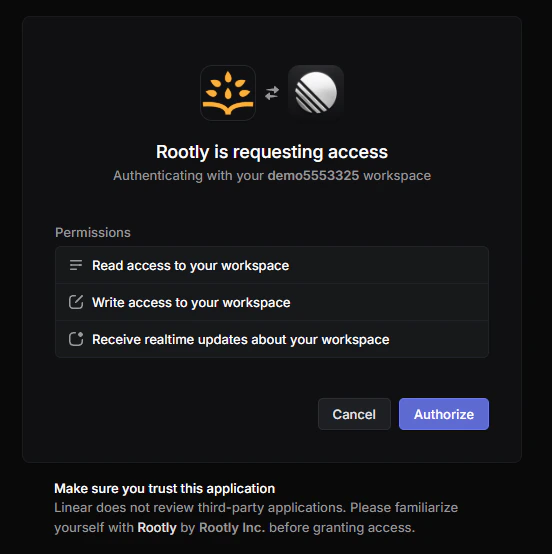
4
Select your workspace
If you belong to multiple Linear workspaces, choose the one you want to connect to Rootly and click Authorize. You can only connect one workspace per Rootly account.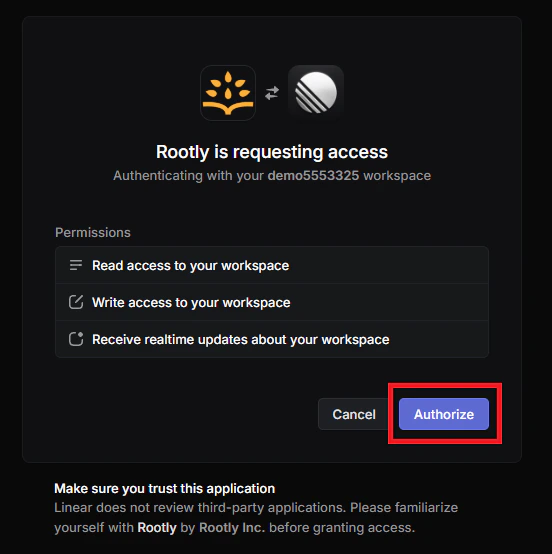
5
Confirm the connection
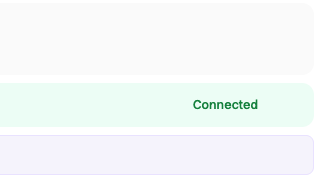
You’ll be redirected back to Rootly and see a confirmation: “Great! We’ve added that Linear account to your Rootly account!” The integration is now active.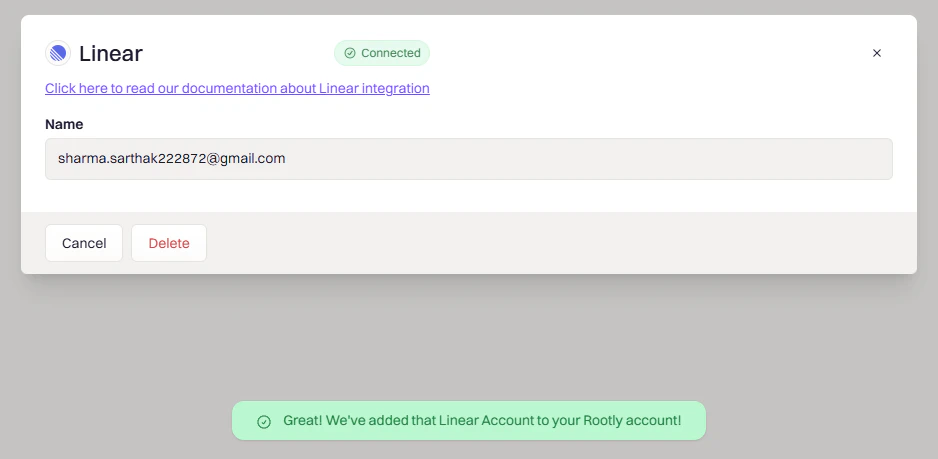
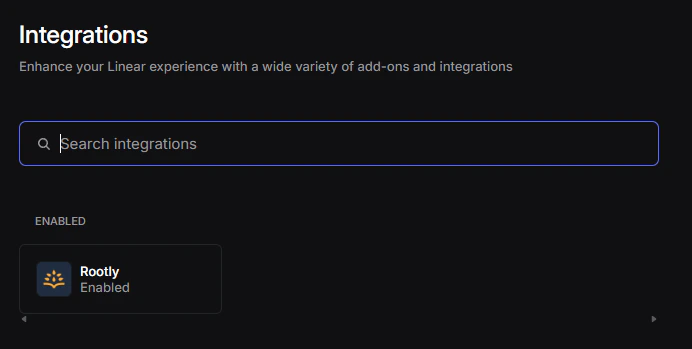
Verify the Connection
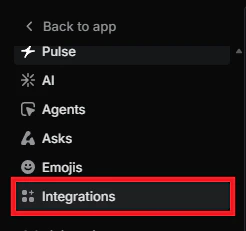
Once connected, it’s worth confirming the integration is active on both sides before building workflows. In Rootly: The integration should show Connected status on the Integrations page. In Linear: Open your workspace menu, go to Settings → Integrations, and confirm Rootly appears in your connected apps list. If it’s missing, the OAuth flow may not have completed successfully — try reconnecting.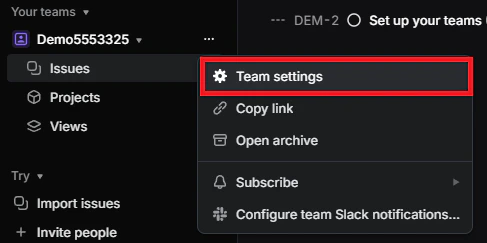
Troubleshooting
Rootly not appearing in Linear integrations
Rootly not appearing in Linear integrations
Confirm you completed the OAuth flow and granted Rootly access to your workspace. In Linear, go to Settings → Integrations and verify Rootly is listed and enabled. If it’s missing or showing an error, disconnect the integration in Rootly and reconnect from scratch — the OAuth token may have expired or been revoked.
No teams or projects available during setup
No teams or projects available during setup
You must be a member of at least one Linear team with write permissions — read-only roles won’t allow issue creation. If your workspace uses restricted teams, a Linear admin needs to add you before you can proceed. After your permissions are updated, restart the authorization flow so Linear returns the correct team list.
Uninstall
To remove the Linear integration, go to Configuration → Integrations, find Linear, and click the Connected button to reveal the disconnect option.