Create a Linear Issue Workflow
This is the core workflow: whenever an incident is declared in Rootly, a corresponding Linear issue is created automatically with incident data populated into the fields you configure.1
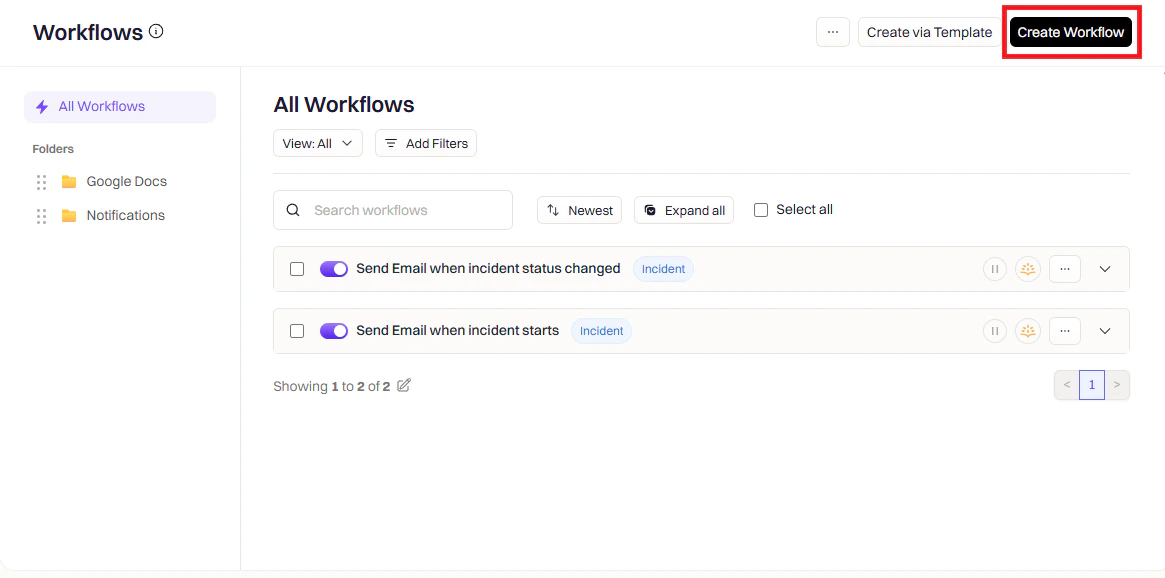
Open Workflows and create a new workflow
Go to Rootly → Workflows → Create Workflow.
2
Choose a workflow type
Select the event type that should trigger this workflow — for example, Incident, Retrospective, or Pulse.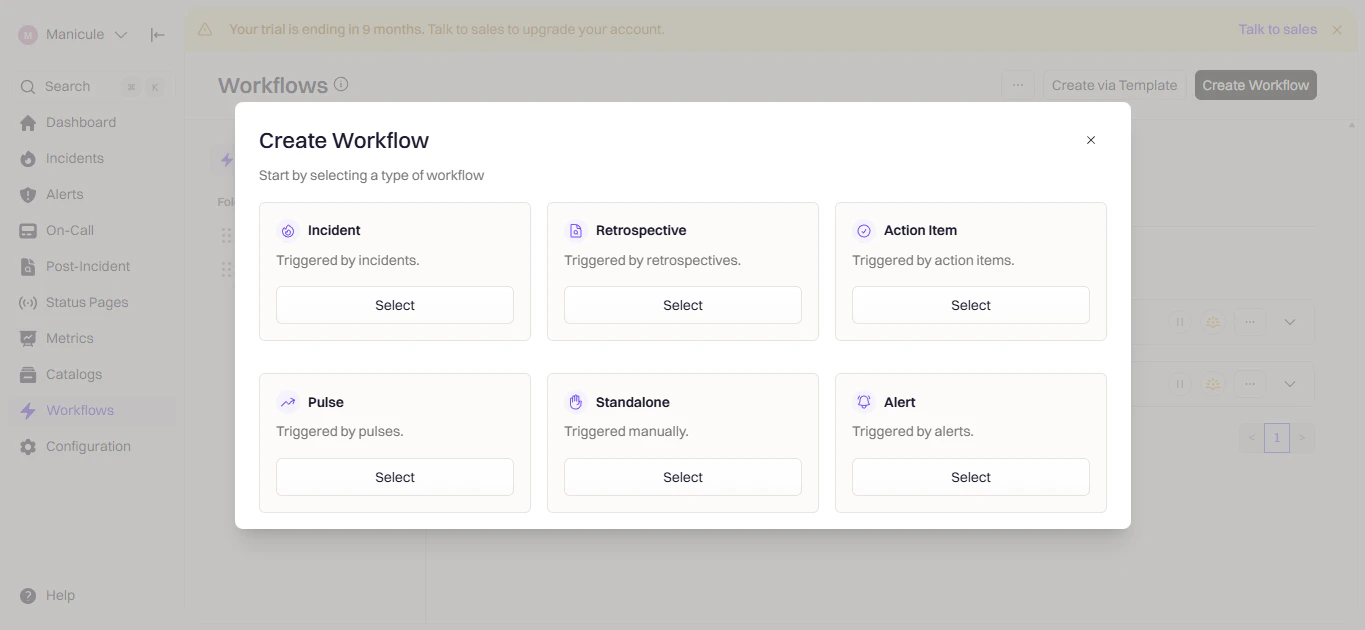
3
Configure triggers
Triggers define when this workflow fires. Choose the event that should kick off Linear issue creation.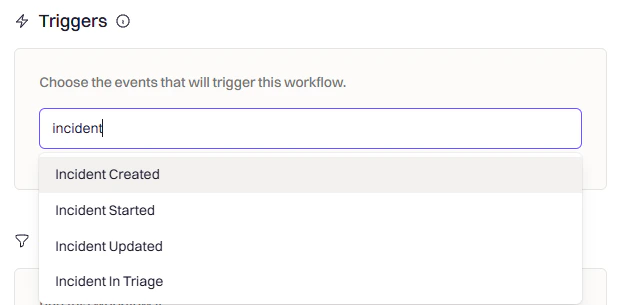
4
Add conditions (optional)
Conditions let you filter which incidents trigger the workflow — for example, only SEV-1 incidents, only specific teams, or only production environments.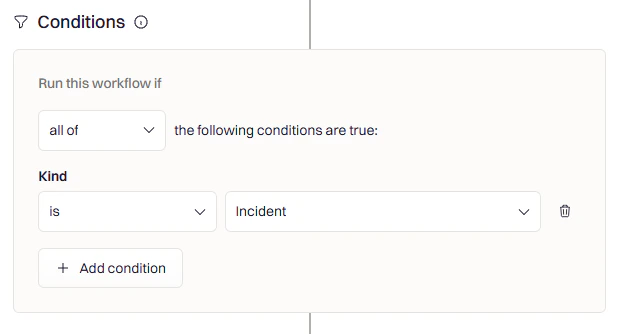
5
Add a Linear action
Click Add Action, search for Linear, and select Create Linear Issue.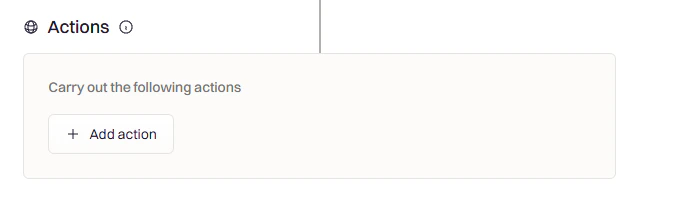

6
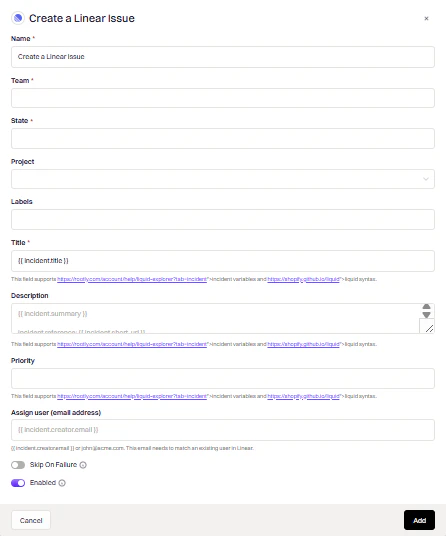
Configure the action fields
Fill in the fields to control how the Linear issue is created:
The Linear team where the issue will be created.
The initial workflow state for the issue — for example, Todo or In Progress.
Optional. Associate the issue with a specific Linear project.
Add labels to the issue for filtering and triage.
The issue title. Supports Liquid — use
{{ incident.title }} to default to the incident title.The issue body. Supports Liquid — use
{{ incident.summary }} to populate with the incident summary.The issue priority. Select Auto to automatically map incident severity to a corresponding Linear priority, or choose Urgent, High, Medium, or Low manually.
Email address of the Linear user to assign the issue to.
7
Save the workflow
Click Add, give your workflow a name, and click Create Workflow.
Update a Linear Issue
Use the Update Linear Issue action to keep the Linear issue in sync as the incident progresses — for example, moving it to Done when the incident resolves, or updating priority when severity changes. Configure the action with:Use
{{ incident.linear_issue_id }} to reference the issue that was created when the incident was declared.- Move to Done when the incident is resolved
- Update priority when severity escalates
- Change assignee as ownership transfers
Create Linear Sub-Issues
To track action items as Linear sub-issues, create a separate workflow triggered by Action Item Created and use the Create Linear Sub-Issue action.Use
{{ incident.linear_issue_id }} to nest the sub-issue under the parent incident issue.Use
{{ action_item.summary }} to populate the sub-issue title from the action item.Triage Responsibility
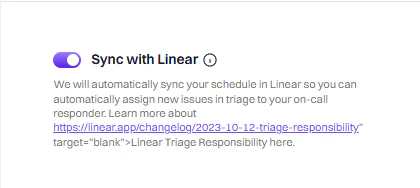
Connect Linear’s Triage Responsibility feature to your Rootly on-call schedules so new Linear issues are automatically assigned to whoever is currently on call. This keeps your triage queue aligned with your incident response rotation.1
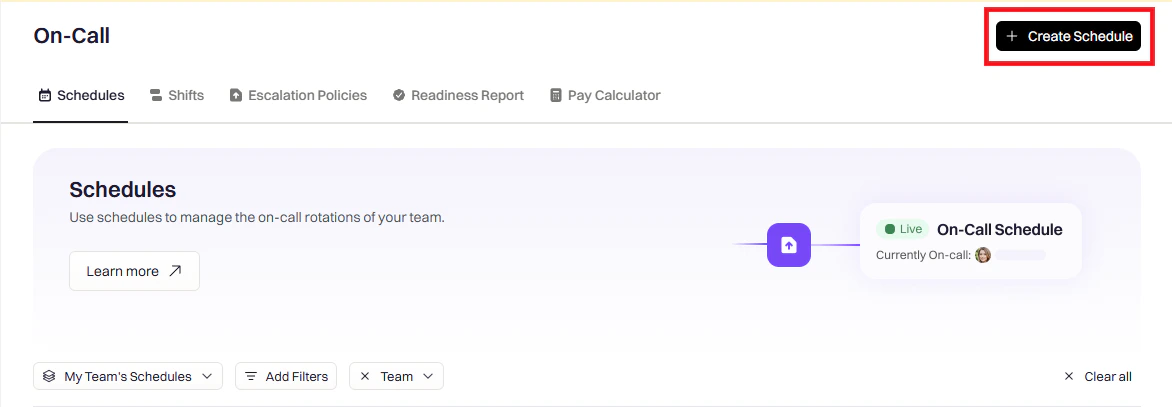
Create a schedule in Rootly
Go to Schedules and click Create Schedule.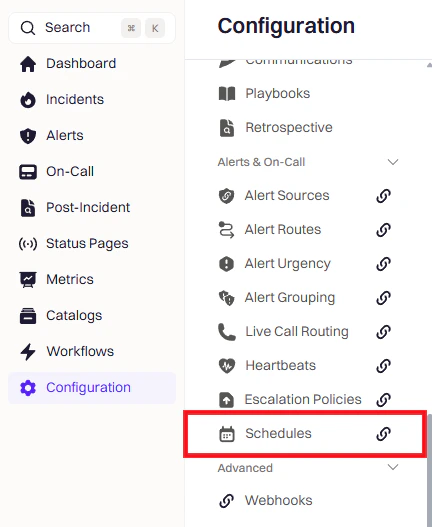
2
Enable Linear sync on the schedule
In the Integrations tab, toggle on Sync with Linear.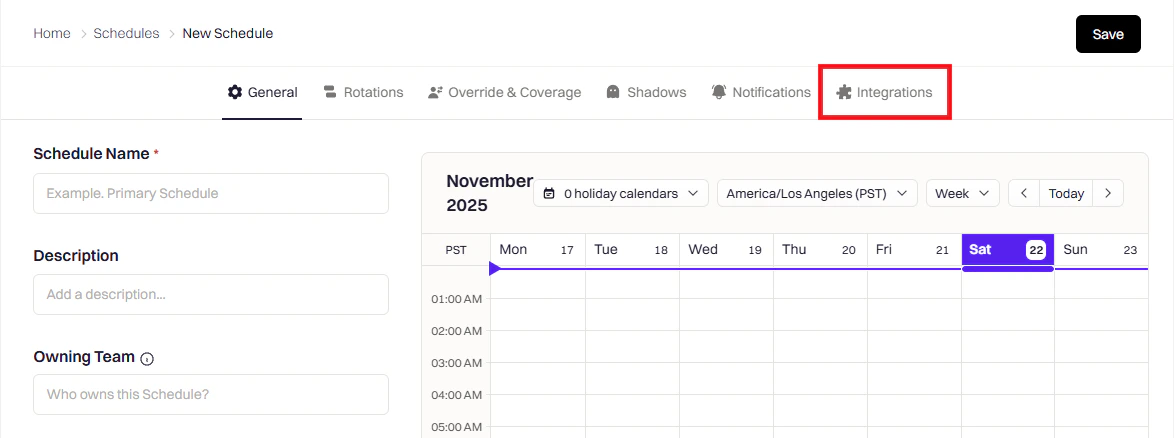
3
Configure and save the schedule
Give the schedule a name, add members, and click Save.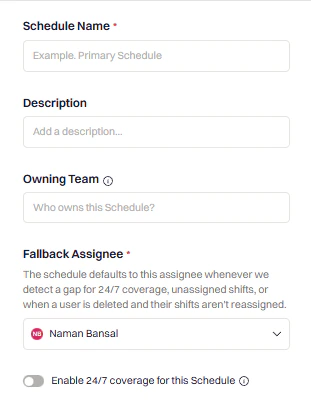
4
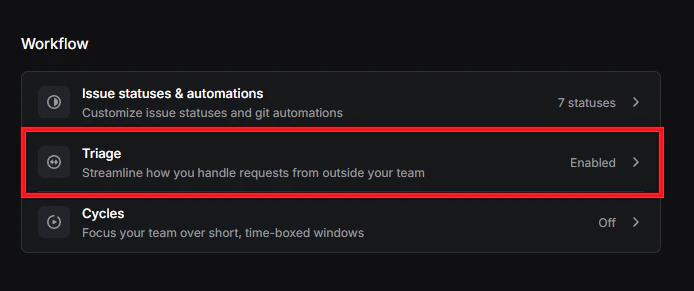
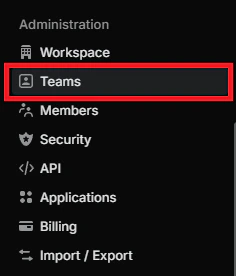
Open your team settings in Linear
In Linear, navigate to Settings → Teams and select the team you want to configure.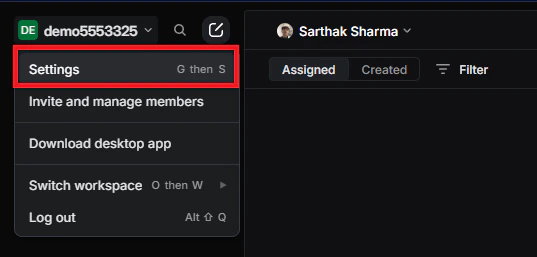

5
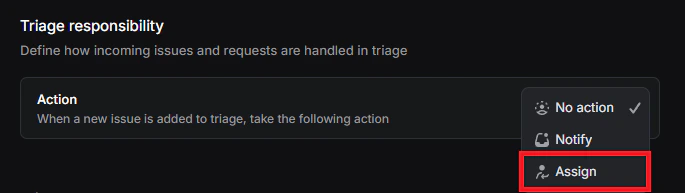
Set Triage Responsibility to your Rootly schedule
Under Workflow → Triage, find Triage responsibility and select Use schedule. Choose the Rootly schedule you just created.