Overview
Connecting Webex to Rootly takes just a few minutes. You’ll authorize Rootly to access your Webex account via OAuth, after which the Create Webex Meeting workflow action becomes available.Before You Begin
We recommend installing with a service account (e.g.,
incidents@yourcompany.com) rather than a personal account. This ensures the integration stays active if the installing user leaves the company.You must be logged into Rootly as an Admin to complete setup.Connect Webex to Rootly
1
Open Integrations
In Rootly, go to Configuration → Integrations and find Webex. Click Setup.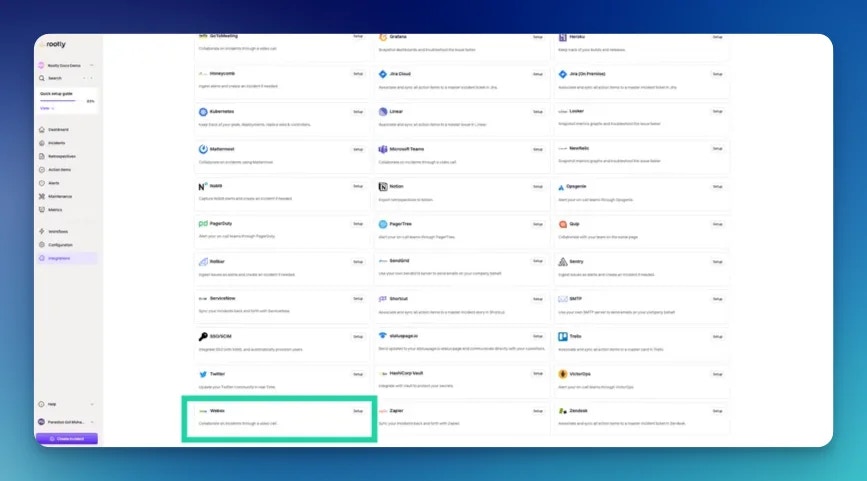
2
Authorize in Webex
You’ll be redirected to Webex. Sign in with your Webex account (or create one), then click Allow to grant Rootly access.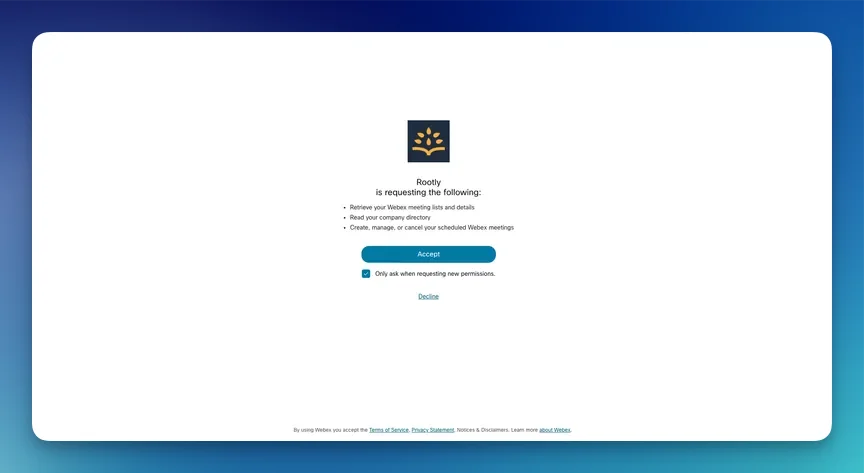
3
Confirm Connection
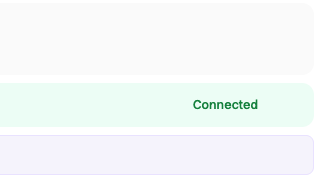
You’ll be redirected back to Rootly. The integration will show as Connected.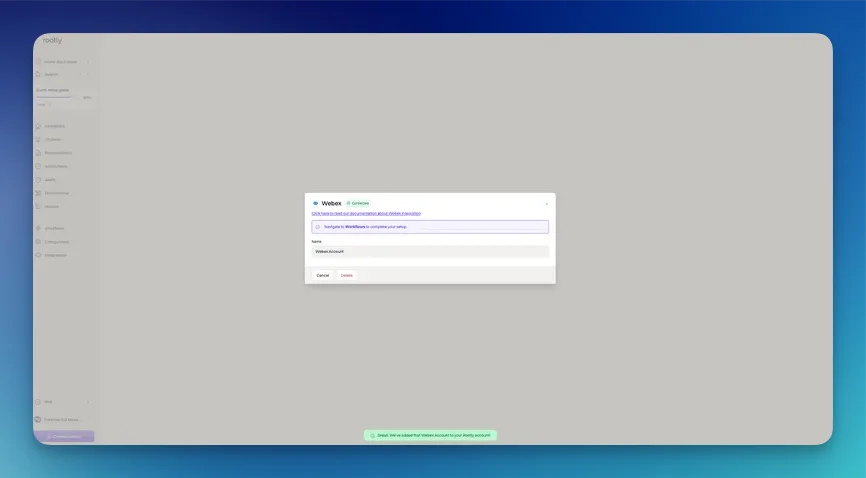
Uninstall
To remove the Webex integration:- Go to Configuration → Integrations and find Webex
- Click Connected to reveal the disconnect option
- Click Disconnect
Frequently Asked Questions
Can I use a personal Webex account instead of a service account?
Can I use a personal Webex account instead of a service account?
Yes, but it’s not recommended. If the personal account is deactivated or the user leaves the company, the integration will stop working. A shared service account avoids this risk.
What permissions does Rootly request from Webex?
What permissions does Rootly request from Webex?
Rootly requests OAuth permissions to create meetings on behalf of the connected account. Rootly does not read your existing meetings or contacts.
Can I connect multiple Webex accounts?
Can I connect multiple Webex accounts?
Only one Webex account can be connected at a time per Rootly organization.